
Tiger, Be very careful! Splitting on a trolley jack is the most dangerous way to do it especially with a live clutch. You will need to do a lot of riggling to get her back together and it is easy to overturn the jack and drop the engine.
I take it by lugs you mean the lock tabs. You can use Loctite instead.
Newbie with my first project
Thanks for the words of caution Brian i was Very careful and used plenty of axle so it wouldn't fall far, it was the locating stud out of the flywheel i needed but i managed to get the old one out.
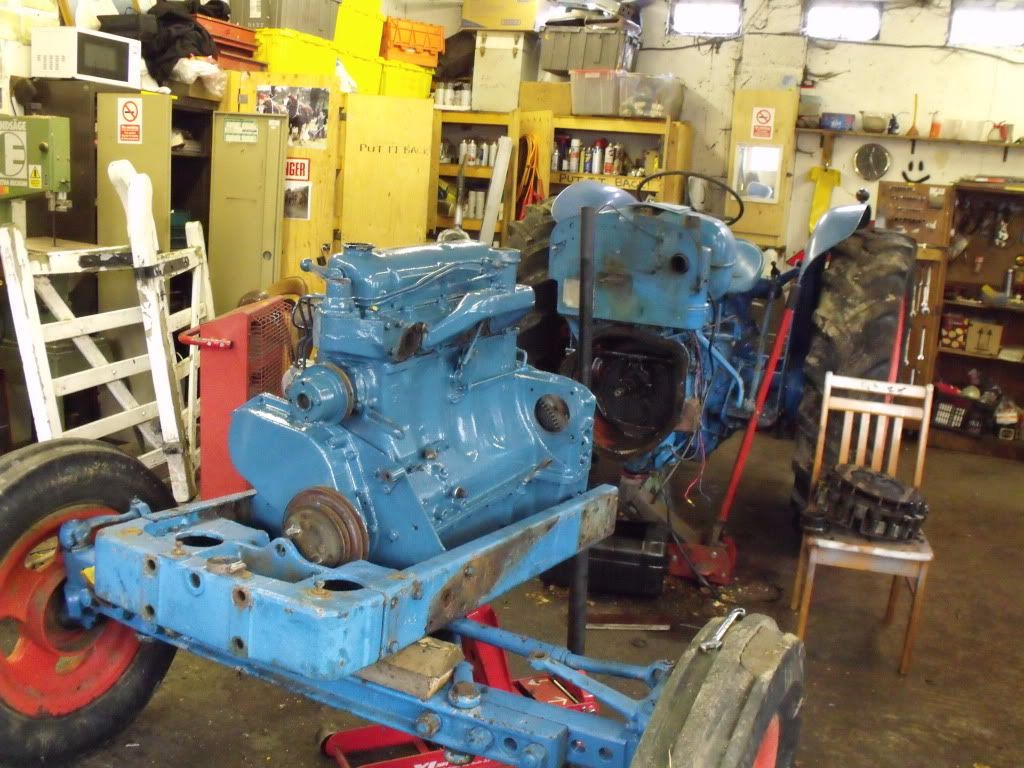
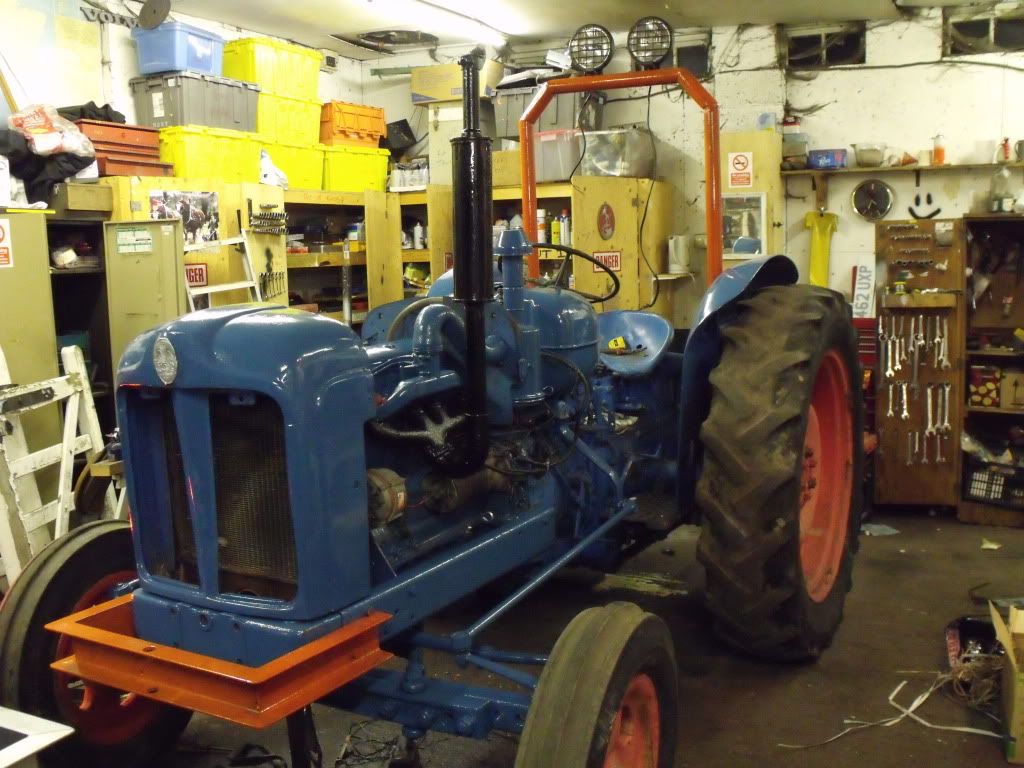
Clutch plates and bearing turned up at 15.30 and just finished putting her together now. Lining up the clutches was a pig
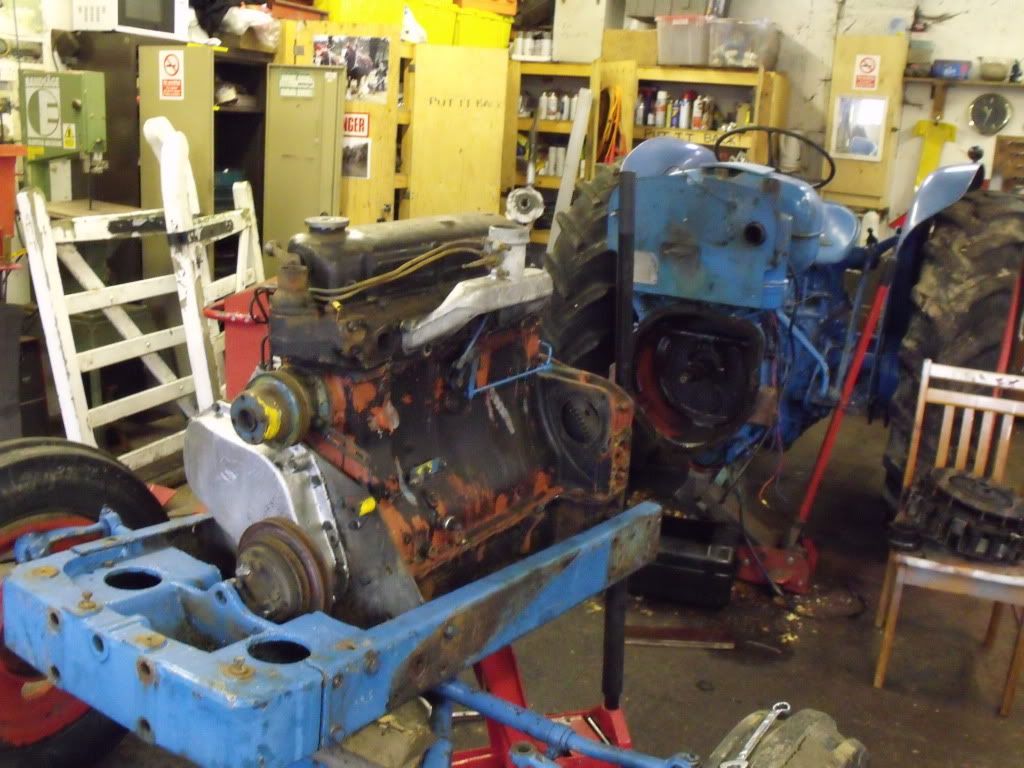
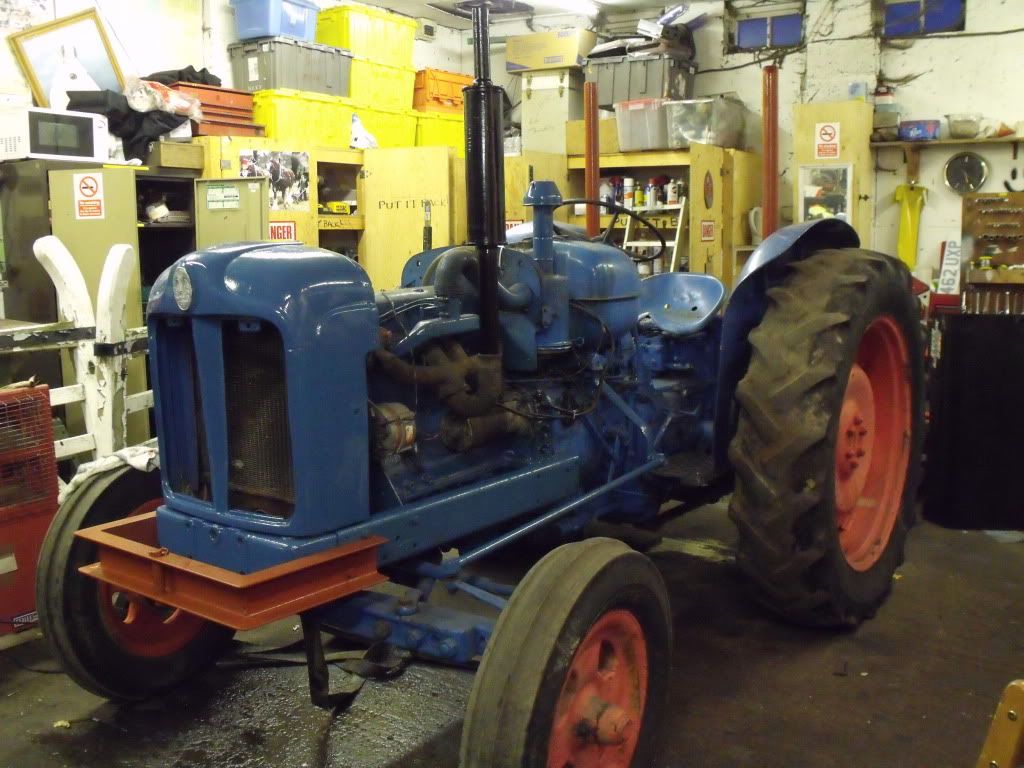
Gave the engine a coat of paint while i waited for the parts to turn up hopefully finish putting her back together tomorrow and start her up. Fingers crossed
Clutch plates and bearing turned up at 15.30 and just finished putting her together now. Lining up the clutches was a pig
Gave the engine a coat of paint while i waited for the parts to turn up hopefully finish putting her back together tomorrow and start her up. Fingers crossed
Another unfinished project
Tiger,Tiger wrote:
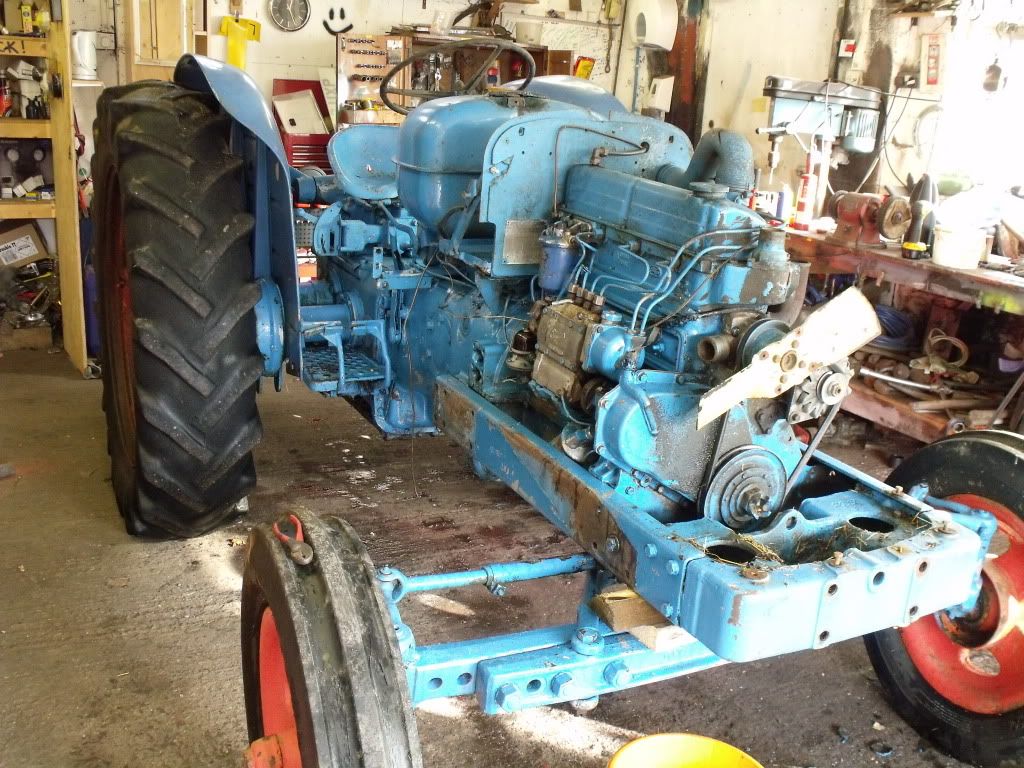
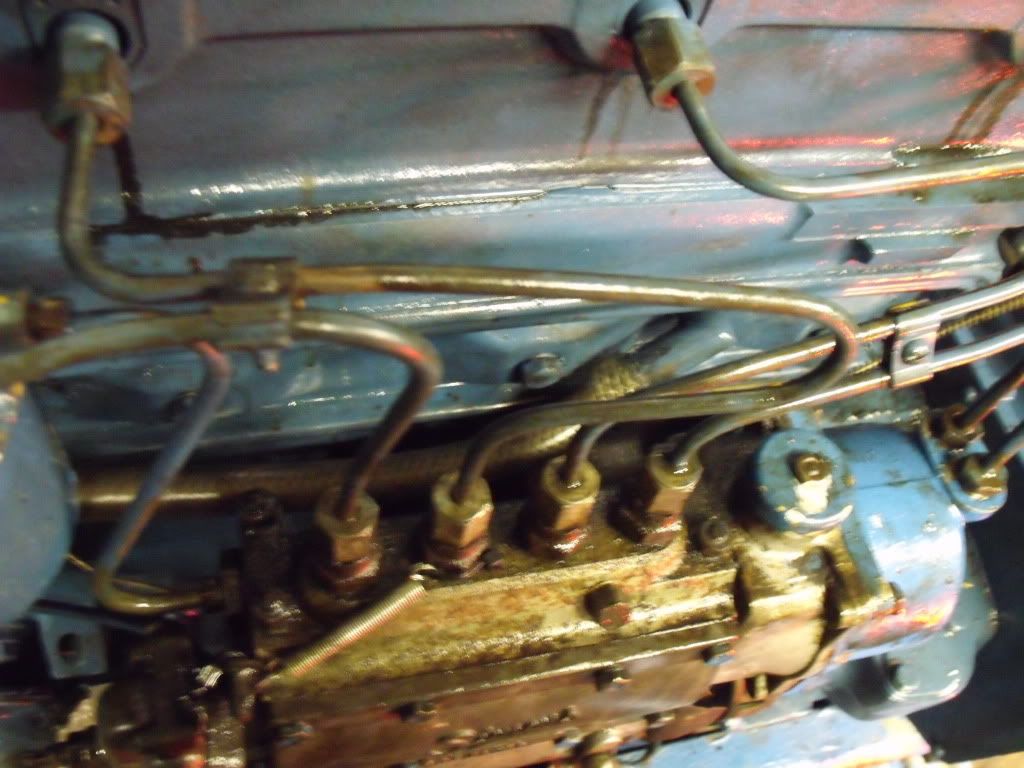
Does anybody know what the pipe is coming out of the rocker cover, it goes to the air filter and my new engine does not have this
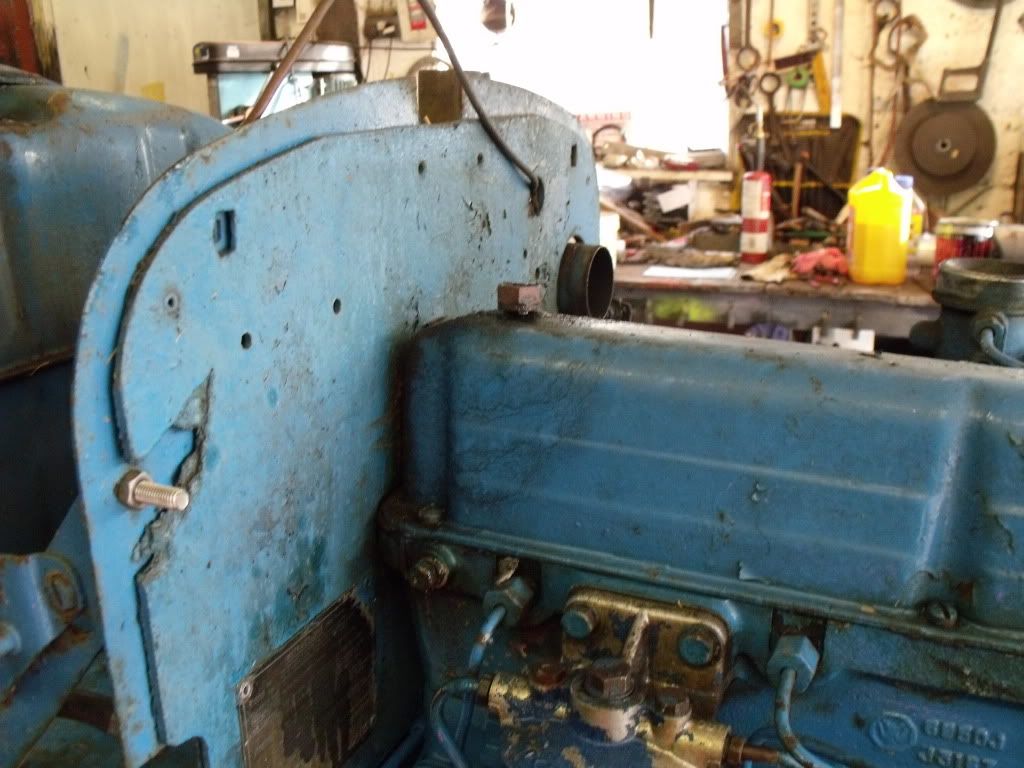
That's your breather tube, or some people call it a "blow by" tube, anyway you call it this lets your engine breathe, you will need to put that back on.
See ya
Mark
When all else fails, get a bigger hammer
Mark
When all else fails, get a bigger hammer
Hi Ian thanks for the comments, i will probably keep the old engine and rebuild it some time.
Thanks Mark i will re tap the valve and re plumb it, Just one question how did this engine manage without the breather. There is a 2" elbow pipe coming out from behind the pump that is unaccounted for at the moment. (probably answered my own question)
Chris
Thanks Mark i will re tap the valve and re plumb it, Just one question how did this engine manage without the breather. There is a 2" elbow pipe coming out from behind the pump that is unaccounted for at the moment. (probably answered my own question)
Chris
Another unfinished project
Ian P.s there is a knackered engine on ebay at the min £53 at the min
http://cgi.ebay.co.uk/fordson-super-maj ... 500wt_1182
http://cgi.ebay.co.uk/fordson-super-maj ... 500wt_1182
Another unfinished project
Thats a 3 pot dexta unit, looks a bargain if all the accessories funtion too, a starter motor, pto shaft and hydraulic pump. A funtioning hyd pump is worth £50 on its own.Tiger wrote:Ian P.s there is a knackered engine on ebay at the min £53 at the min
http://cgi.ebay.co.uk/fordson-super-maj ... 500wt_1182
-------------------------------------------------------
1962 Fordson Super Dexta (since 1970 ish)
Our workhorse currently undergoing overhaul
Follow us at www.fordsonsuperdexta.co.uk
-------------------------------------------------------
1962 Fordson Super Dexta (since 1970 ish)
Our workhorse currently undergoing overhaul
Follow us at www.fordsonsuperdexta.co.uk
-------------------------------------------------------
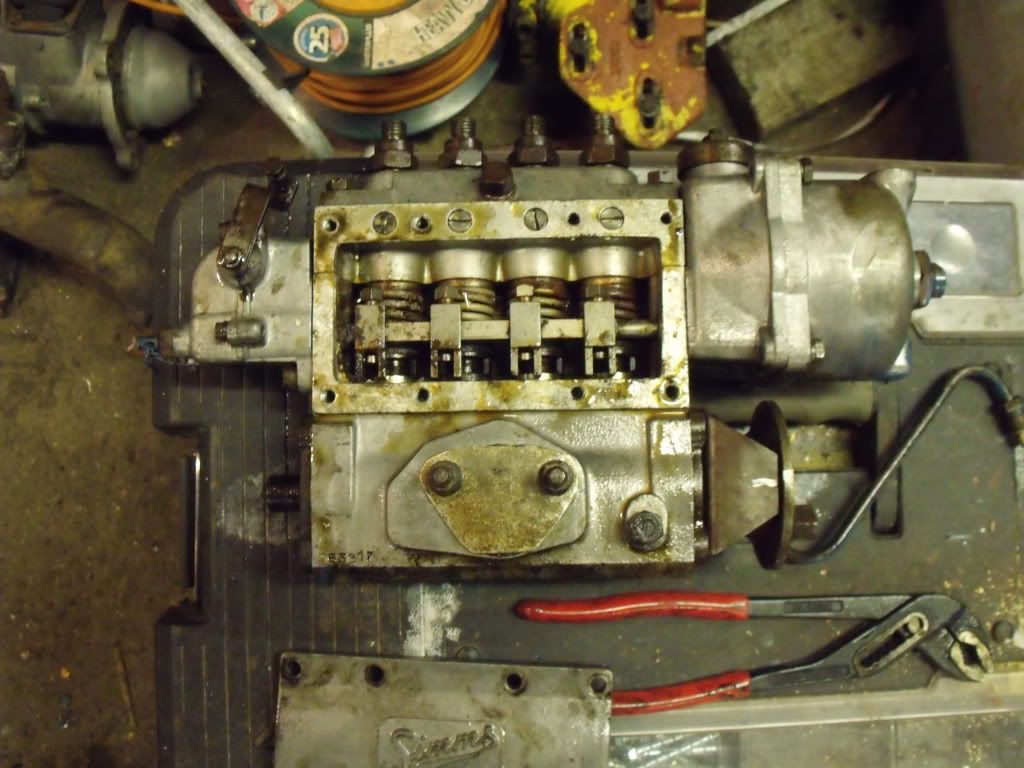
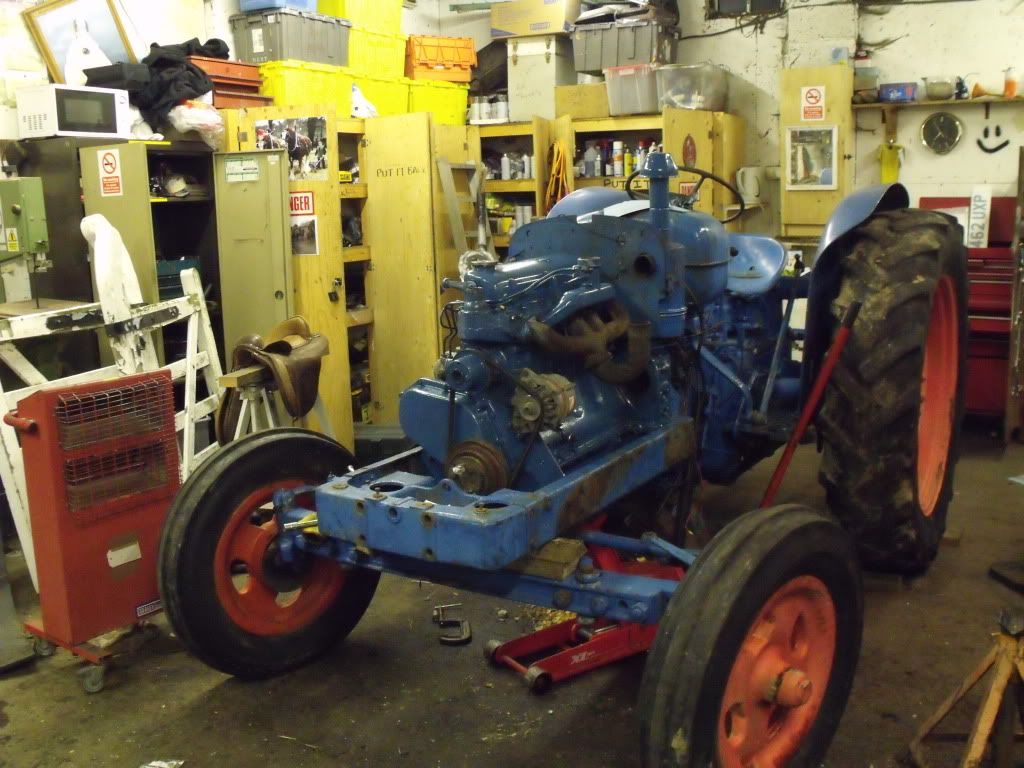
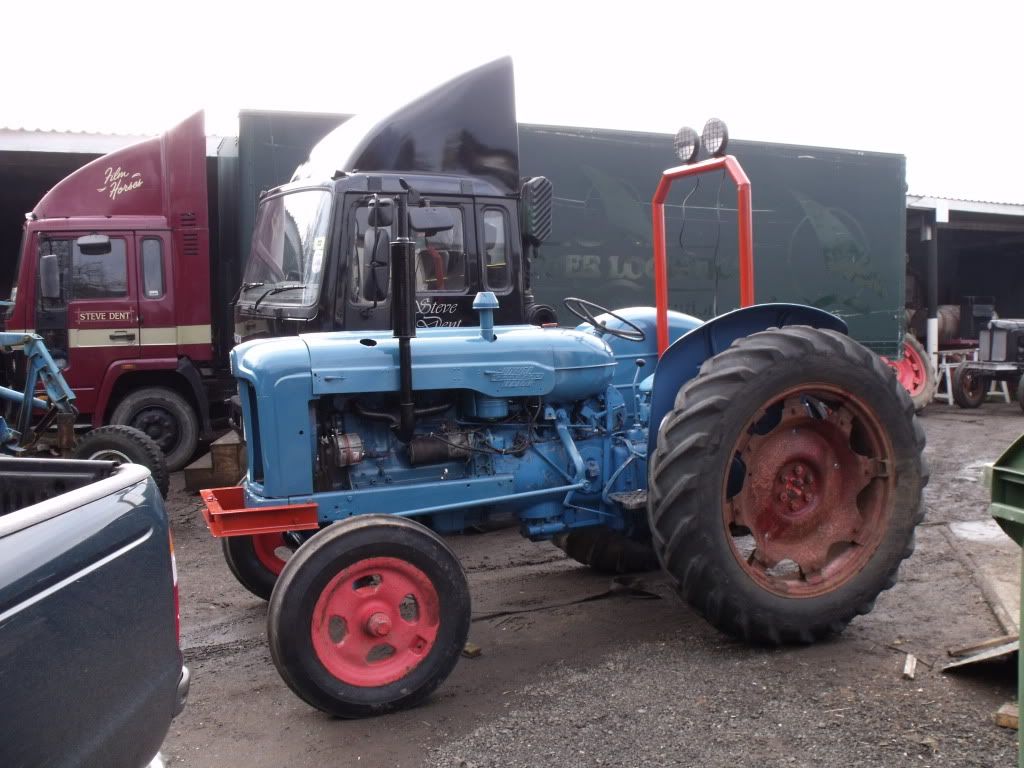
Tried bleeding her but the pumps seized and not getting diesel to the injectors so put the one of my old engine and she fired up on the third turn and purrs like a kitten. I'am over the moon
The 2 inch elbow coming out from behind the pump i put a hose on it and
used it as a breather instead of cutting into the rocker cover. It seems to work can anybody think of any probs
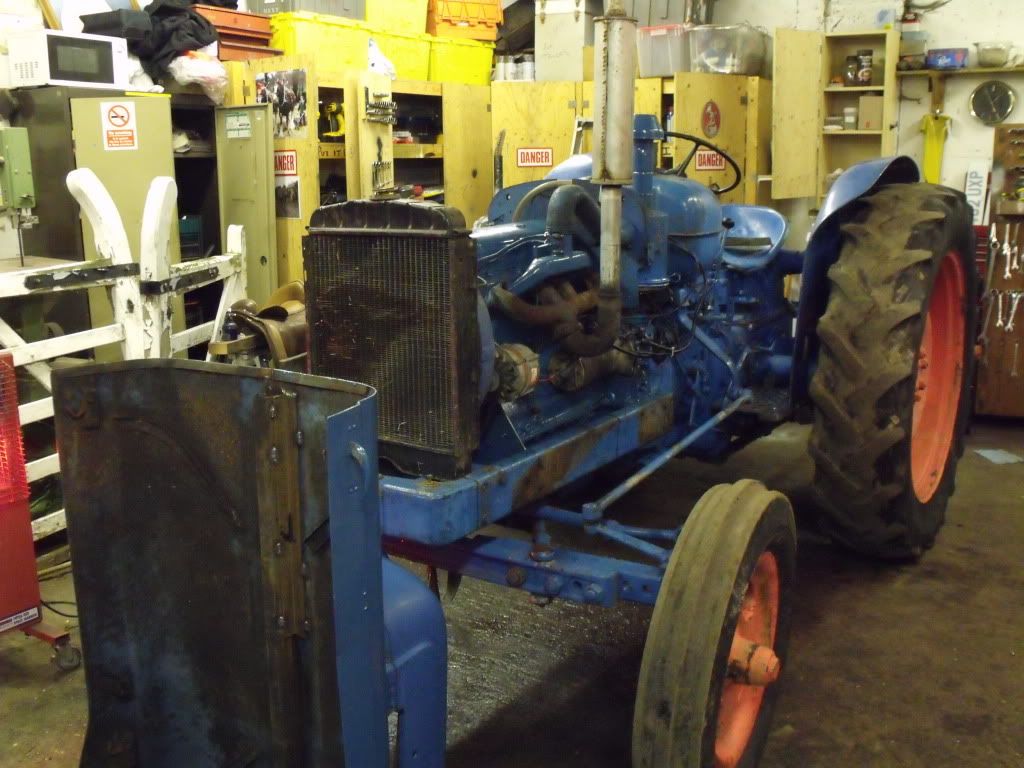
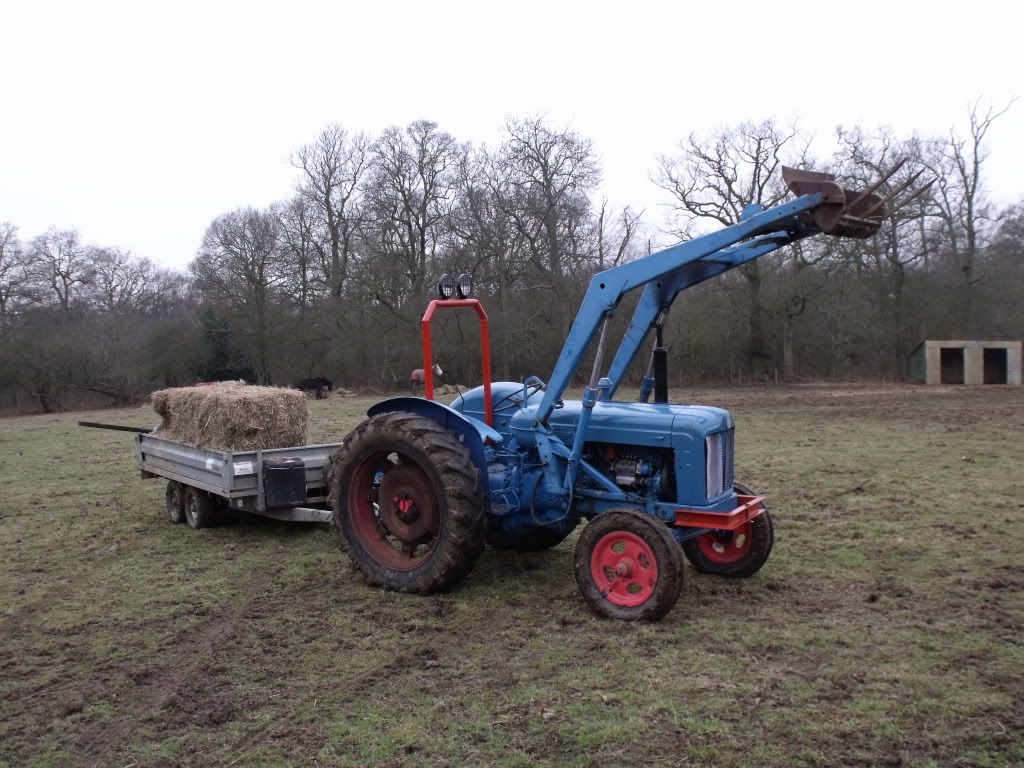
Just a few leaks to tend to thermostat, filters and maybe a bit more paint. I have really enjoyed doing this, it's great to work on something where you can see everything and actually get to it. Thanks guys for all your help couldn't of done it without you. Will post some more pics when she's all back together.
P.S Should the decompression lever be up or down, it does not seem to make any difference.
Cheers Chris
Another unfinished project
I did this job a while ago. Park it at a steep angle then you wont need to drain any fluid. Undo the 4 bolts. If you can't pull it out, give it a hit with a hammer on the top to twist it, then you can knock it out from the bottom. I used some wood so I wasn't beating the metal directly. Should come out easy then. Pull the entire shaft out.Tiger wrote:Hi I have noticed she is weeping a bit from the pto Shaft. Is this a big job . I have done a quick search on hear but not much luck. Thanks
I remember we gave the gear on the shaft a few knocks with a lump hammer to knock it back. It does move, just need to hit it hard. There there are 1 or 2 circlips. These are a bit a pain in the ass to get off. I think we used 2 screw drivers to drive them off, not ideal but worked fine. The seal itself was a c***t to get out. I think we mostly beat and assaulted it until it broke apart. Putting the new one in was easy, just knock it in. Then do the reverse to get it back together. Unless you have a special tool to get the circlips on and off, you should be able to manage it to with a few screw drivers with the help from a friend.
Then push the shaft back in the tractor. You'll find it'll hit something. You'll probably panic for a bit realising you can't get it back in. But what you want to do is put a bit of weight on the end of the PTO shaft to lift the other end up inside of the tractor. It'll slot in then. Bolts back together and ure done ;p
One last thing, there is supposed to be a gasket on the back, but on our tractor there was none. It didn't bother making one up because I didn't realise there was supposed to be one. But it doesn't leak anyway.
Thanks Guys
 Sounds like my kind of language My list of jobs is getting bigger
Ian wrote:I did this job a while ago. Park it at a steep angle then you wont need to drain any fluid. Undo the 4 bolts. If you can't pull it out, give it a hit with a hammer on the top to twist it, then you can knock it out from the bottom. I used some wood so I wasn't beating the metal directly. Should come out easy then. Pull the entire shaft out.Tiger wrote:Hi I have noticed she is weeping a bit from the pto Shaft. Is this a big job . I have done a quick search on hear but not much luck. Thanks
I remember we gave the gear on the shaft a few knocks with a lump hammer to knock it back. It does move, just need to hit it hard. There there are 1 or 2 circlips. These are a bit a pain in the ass to get off. I think we used 2 screw drivers to drive them off, not ideal but worked fine. The seal itself was a c***t to get out. I think we mostly beat and assaulted it until it broke apart. Putting the new one in was easy, just knock it in. Then do the reverse to get it back together. Unless you have a special tool to get the circlips on and off, you should be able to manage it to with a few screw drivers with the help from a friend.
Then push the shaft back in the tractor. You'll find it'll hit something. You'll probably panic for a bit realising you can't get it back in. But what you want to do is put a bit of weight on the end of the PTO shaft to lift the other end up inside of the tractor. It'll slot in then. Bolts back together and ure done ;p
One last thing, there is supposed to be a gasket on the back, but on our tractor there was none. It didn't bother making one up because I didn't realise there was supposed to be one. But it doesn't leak anyway.
Another unfinished project
Ian wrote:Looks like you've done a great job there. Nice tinwork on the tractor too. Ours really needs a new front, as the front mostly got destroyed when it hit a fence postalso having no brakes didn't help.
Another unfinished project
-
Dandy Dave
- True Blue
- Posts: 1859
- Joined: Thu Apr 02, 2009 2:49 am
- Location: Copake, NY