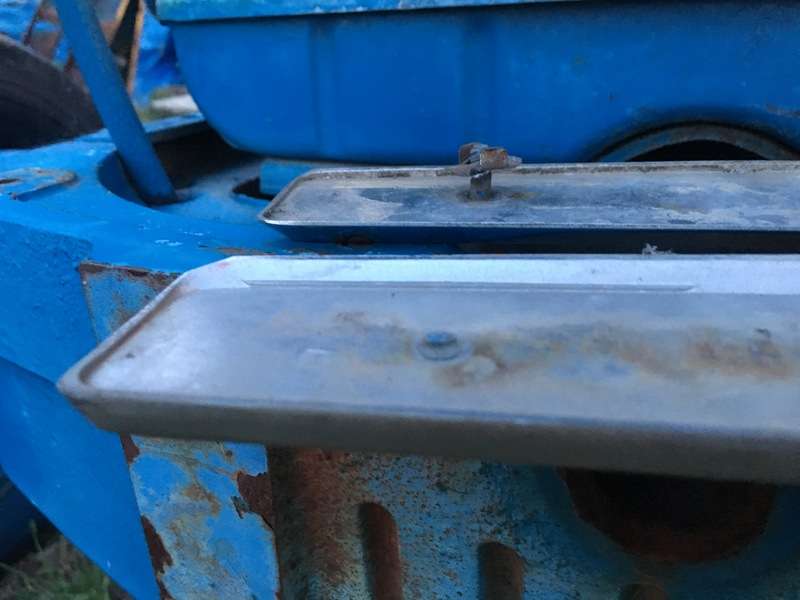
Two of the mounting studs on one of my Super Major hood badges are broken off. I've thought about drilling and tapping holes for small studs, but I don't think the metal is thick enough. I could epoxy some studs on if it was just a show tractor, but its going to have to do some work, so the epoxy would probably break off. Does anybody have any good ideas?
Here are a couple of pictures of the badges.
For stainless and mild steel I have used weld studs which have a flat head with a 'pip' to space them from the point of application, they are fitted by using a collet to hold them in contact and a pulse of power which discharges causing a big flash that melts stud and surface which then fuse together, I have seen them used for pulling dents out of car bodywork, unfortunately I have no idea if they work on diecast but maybe a bodyshop or fabricators near you might know - they don't loose their grip on steel.
This site indicates ali and zinc alloys (most likely the material in question) are OK
Otherwise a blind hole and one of the stronger Loctites like Retainer would give plenty of grip on the studs or a silicone mastic around the outside edge would give a vibration resistant mounting
Best regards
Rick - Bogside on Bure
1958 Diesel E1A Mk2 s/n 1470165 - still in working clothes
I have a similar problem with my Super Dexta front nose cone badge. The previous owner drilled through the badge and secured it using gutter bolts, in addition it is in two pieces broken in the middle . I was thinking of buying a replacement but am wary of the accuracy of the fit. Not sure if it has the tolerance to bend slightly
Mervyn
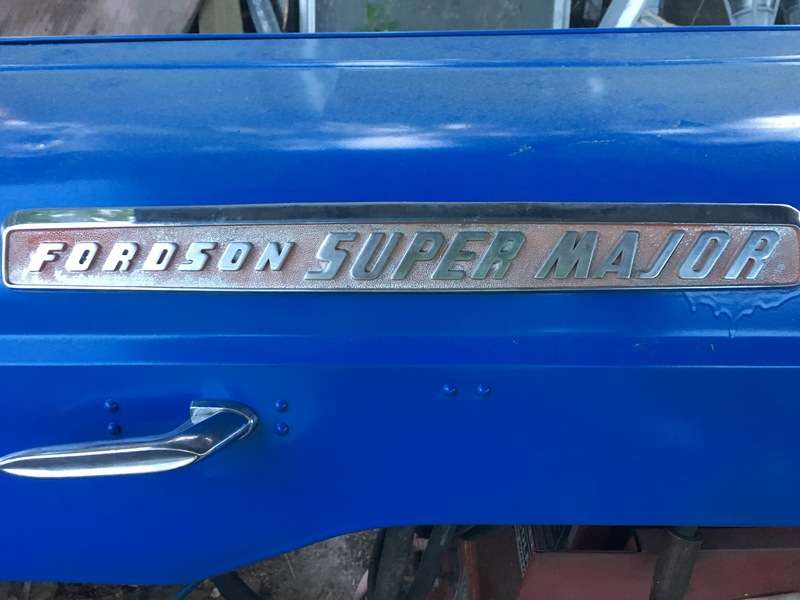
I had the same problem with my Super Major, the badge seems to be made of a mazak material and the steel studs don't like being joined to that material. From memory, one stud is behind the "o" of Fordson, the middle one is behind the gap between "u" and "p" of Super and the other is behind the "o" of Major. I found by carefully drilling down through the remains of the "stud" and the thicker material behind the two "o"s, I could then tap a thread into them. A first, or tapered tap will not get thread to the bottom of the hole, so use a bottom, or plug tap. Loctite in your threaded stud and don't tighten the nuts too hard.
The middle one (between "u" and "p") is a bit more trickier. I went too far with the drill and came out through the badge. I then tapped a thread in the hole, fitted the threaded stud and then painted over the end, so that it is well masked between the "U" and "p". I used a smear of filler to totally hide it from those who wish to get their noses about 1 inch from the badge to try and see the repair! The badges have been there for 3 years (330 engine hours run) so seems to have worked. Good luck.
Thanks for all of the ideas! I like the weld studs. I didn't think of that. A friend has a stud welder. I don't know if it would work on pot metal (die cast). You can't weld anything else to that stuff. I don't want to drill all the way through them and use bolts or pop rivets, even though that would be the easiest thing to do, because they are original, not reproductions, and they are in very good shape, except for the two broken studs. Henk has a good point, if I drill and tap holes for studs, the hole would be in the old stud, so there may be enough material there. I'll let you know what I decide to do.
Thanks for the info, Timee. I didn't see your post before I wrote mine. I think that I will try to drill and tap for studs. I thought that I would have to use a bottom tap and not a starter tap, now I know for sure.
You might want to find up a similar era diecast badge for a cheap car JC to experiment on with the stud welder, I think the speed the flash heat and cool cycle operates at there would be little time for an oxide layer to skin, the other thing I'd not thought of at the time is the low melting point alloy solder they advertise filling puncture holes in coke cans etc I've used it to repair porous patches in thin Ali castings and it is low temperature, a steel stud TIGed to a washer with a few holes in would give a very strong mechanical bond with a drop of solder overfloated - the only problem I had was finding a stainless wire brush to pre clean the area.
Best of luck whichever route you take
Best regards
Rick - Bogside on Bure
1958 Diesel E1A Mk2 s/n 1470165 - still in working clothes
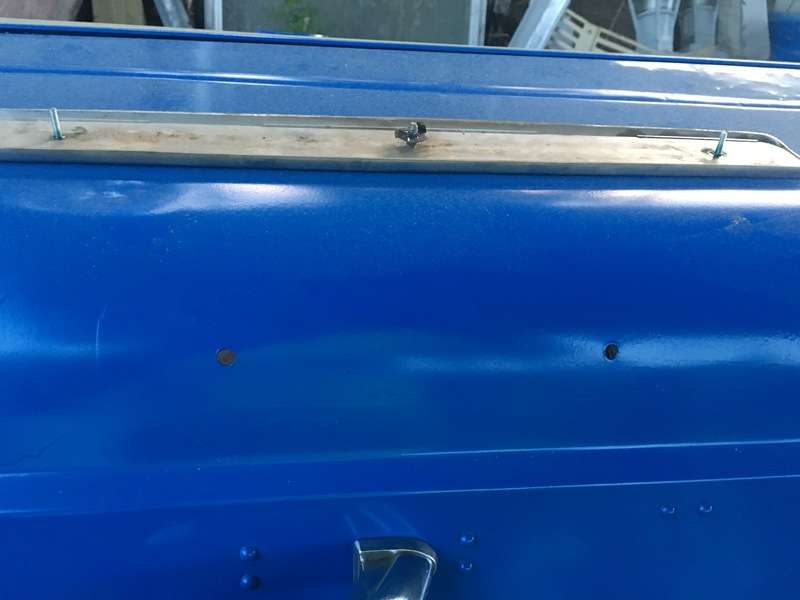
I decided to drill and tap them for 6-32 threads. I couldn't find the studs I needed, so I cut a couple of pieces off of a machine screw, then put Loctite on them. Here's how they turned out.
The studs look crooked in the picture but they aren't. I know that there is a big run in the paint, and it's the wrong color Someone else painted it that color before I got it. I put a different hood on it and I thought that I should paint it after I removed all of the rust. It shouldn't actually be blue at all. It's a Ford 5000 Super Major. I'm going to have a friend paint it the correct color later.
There's a local tractor group who promote road runs to raise money for breast cancer research, numerous lady drivers and numerous tractors entirely in pink, from girly through to dayglow, its surprising how close you have to look sometimes to identify common tractors out of their normal livery, particularly those of Dexta or LGM size.
Best regards
Rick - Bogside on Bure
1958 Diesel E1A Mk2 s/n 1470165 - still in working clothes