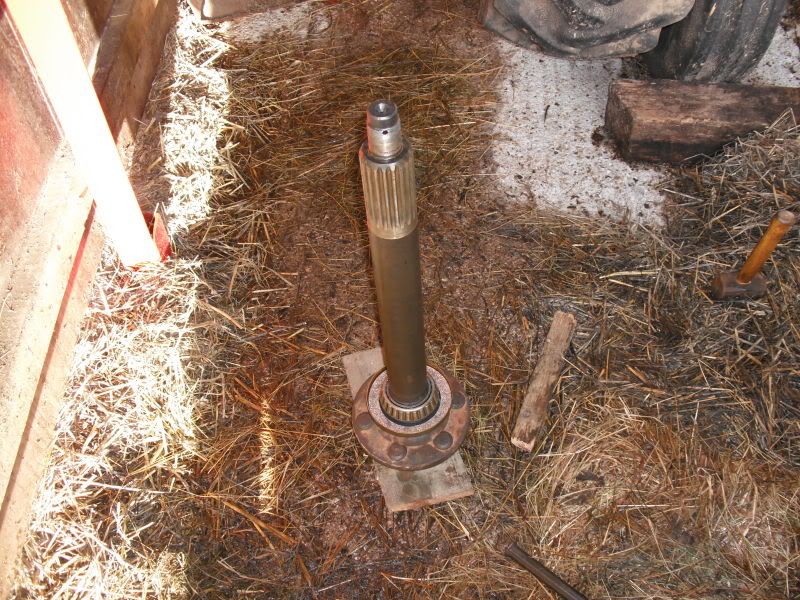
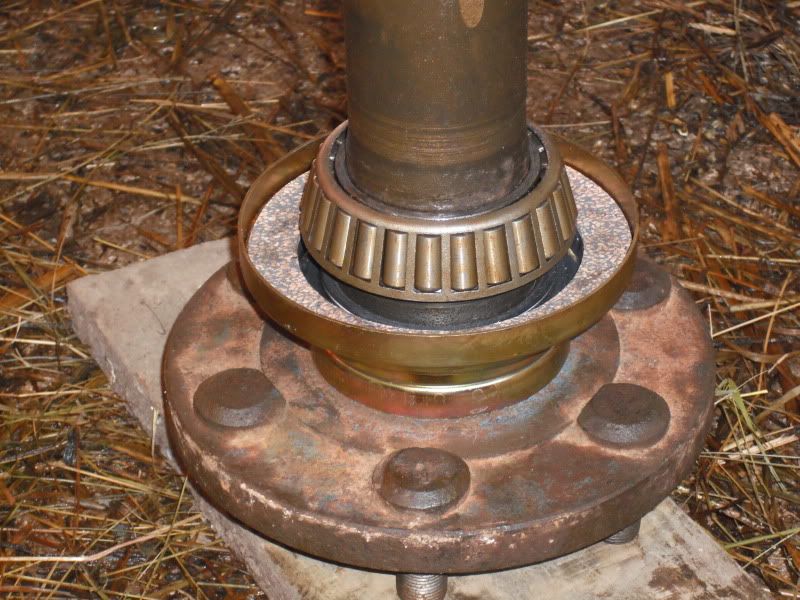
I got the remains of the inner bearing off the half shaft
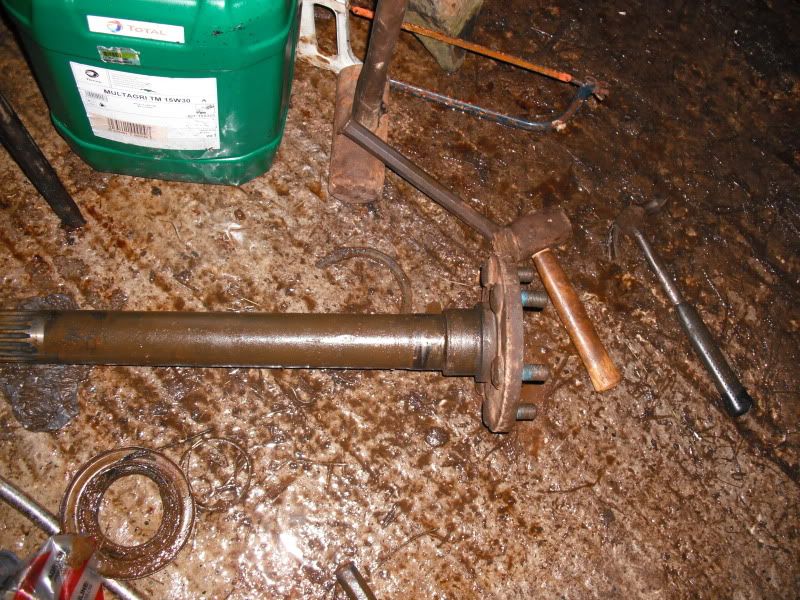
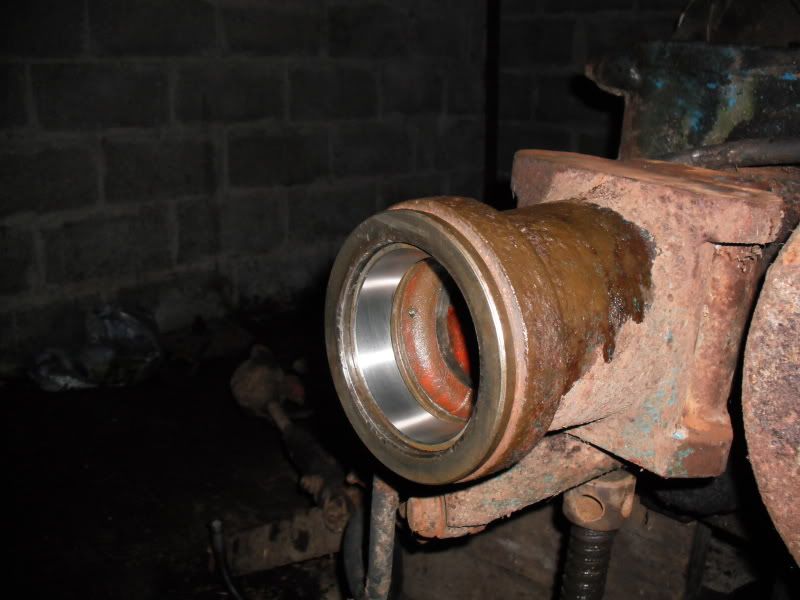
But I can't work out how to get the rest of the outer bearing from the axle housing. What voodoo magic can I use to persuade it to come out ?
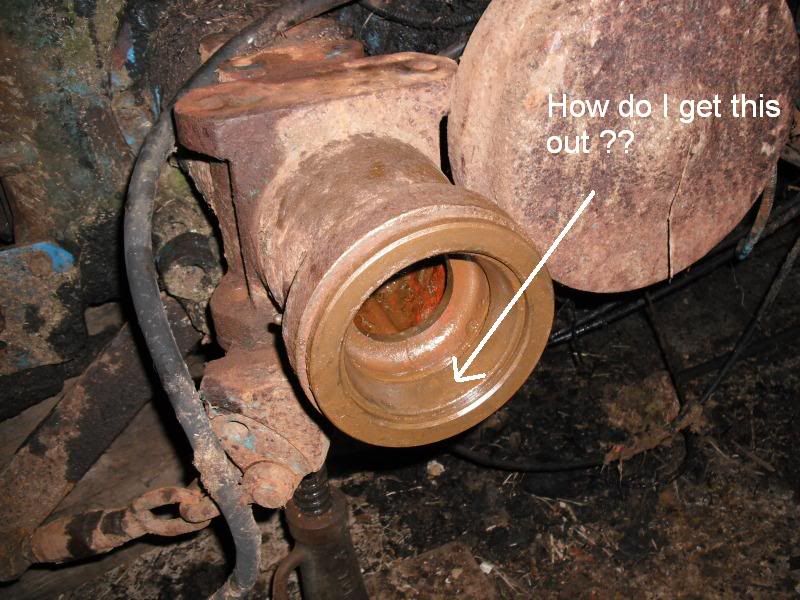
I have never tried it myself but supposedly if you weld a long seam along the inside surface of the old bearing, it would make the bearing shrink a little when it cools down, thus enabling the easy removal of the bearing. That trick can also be used with stuck sylinder liners but not if you're going to reuse themIan wrote:But I can't work out how to get the rest of the outer bearing from the axle housing. What voodoo magic can I use to persuade it to come out ?
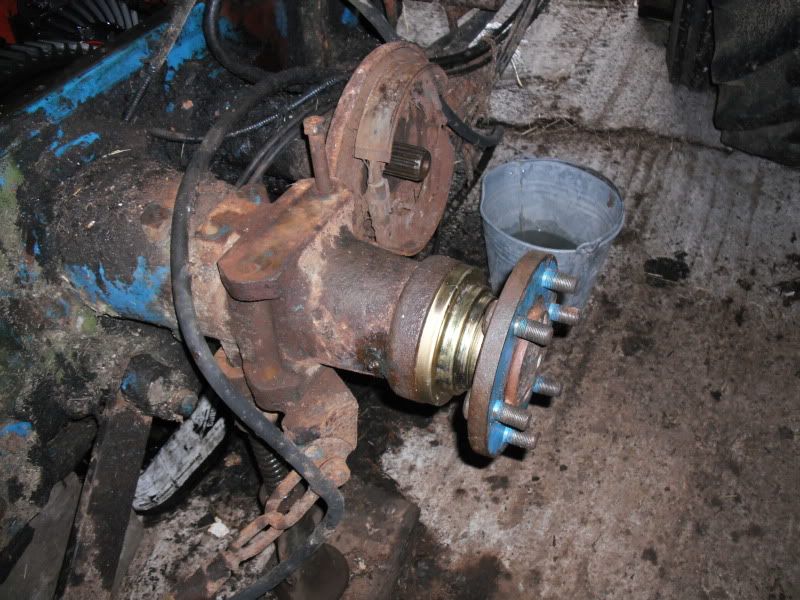
I just replaced the leaking oil seal and felt. The bearings didn't need replacing. I had to pull the inner parts out, though, to get to the oil seals but I just reused them. Time will tell if I saved on the wrong place...Ian wrote:When you replaced your bearings TOH, did you not replace the outer part ?


 [/img]