Page 2 of 4
Posted: Wed Mar 17, 2010 1:02 am
by Ian
wow, impressive project

Posted: Wed Mar 17, 2010 6:01 pm
by Pascal
Wow Arno! I am really impressed!!

I think your tractor will be `as new` when your finished it!

I am looking forward to your next pictures.
Good luck next saturday!
Posted: Thu Mar 18, 2010 1:23 pm
by Dandy Dave
Yes, very nice, and clean, work.

Posted: Thu Mar 18, 2010 8:48 pm
by henk
This is what I call an excellent restoration of a tractor. Make it in a tiptop technical condition.
Great job.
Posted: Thu Apr 15, 2010 11:46 am
by Gubbels
Thanks everybody for your comments.
The engine is already a few weeks in place, haven't got any pictures yet. The next thing to do is refit the rear axles, hydraulic oil pump, hydraulic lift and valves, gear shifters, steering box and several more stuff. Then I will refitt the front axle with new side-rails (frame). But I haven't got much time, lot's of time working late and in weekends.
Regards,
Arno
Posted: Sun May 16, 2010 2:02 pm
by Gubbels
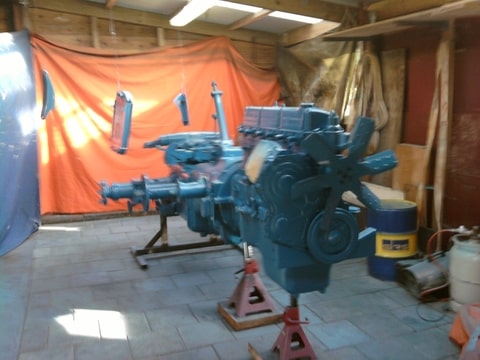
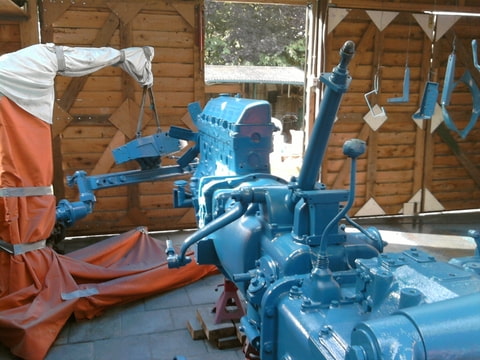
After a month a few updates:
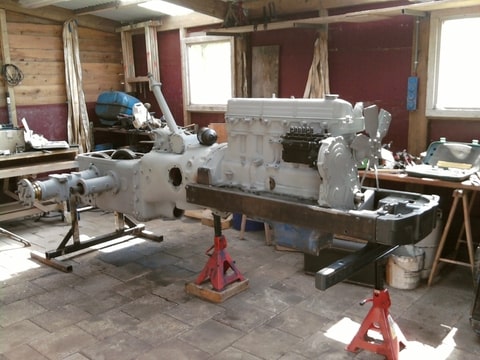
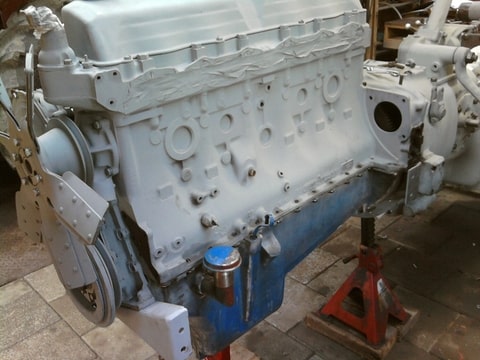
the engine was in place:
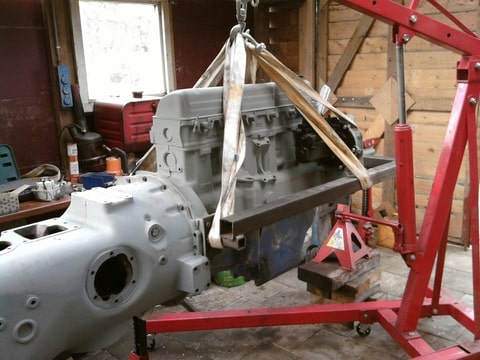
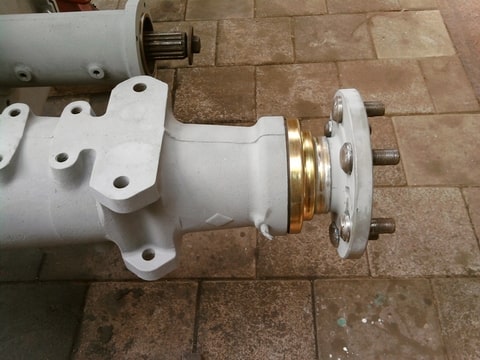
I machined the original flange of and there will come a new steel one which will be connected to the side rails, for some more strength. Hoppefully I can make the steel flange this week so I can mount it next saturday:
the rear axle seals were incorrect, but after some modification I had them mounted.
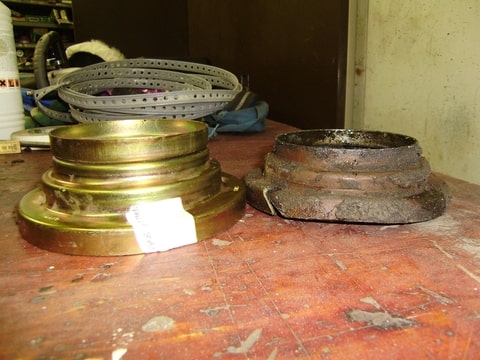
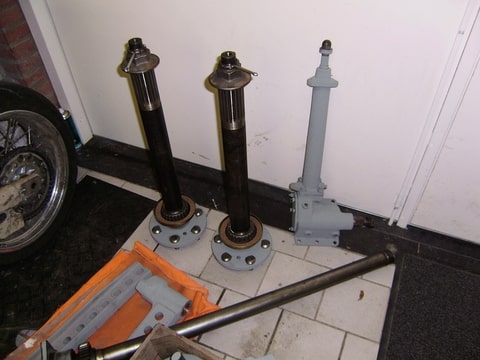
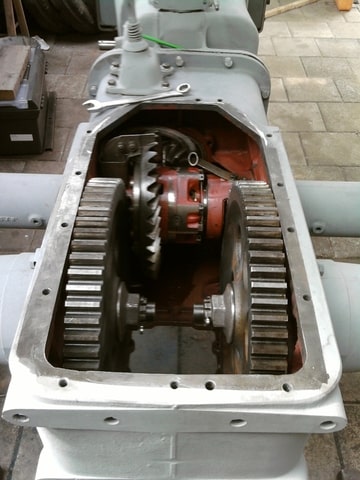
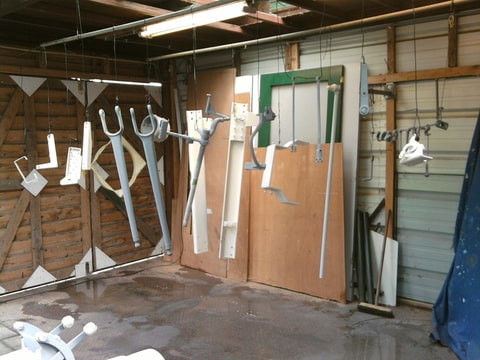
here some more parts which are cleaned and in ground coat
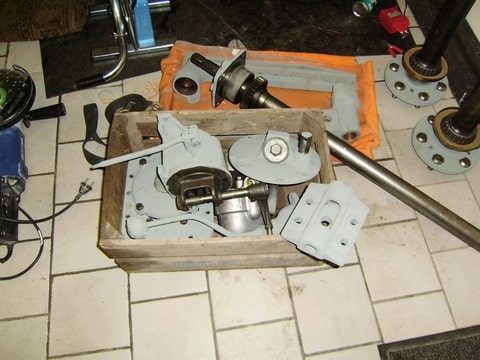
Whit a "new" valve
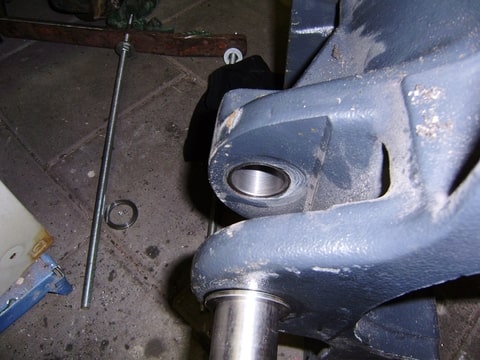
In the turning point of the front axle I place new steel and bronze bushes with a new pin:
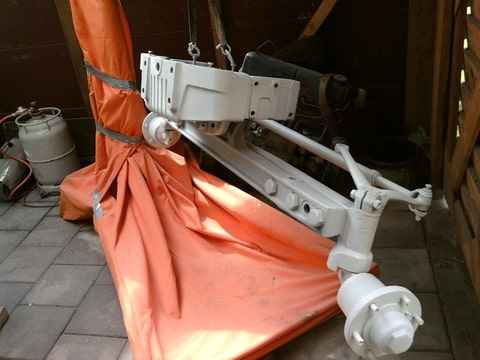
the last few days I placed several parts:

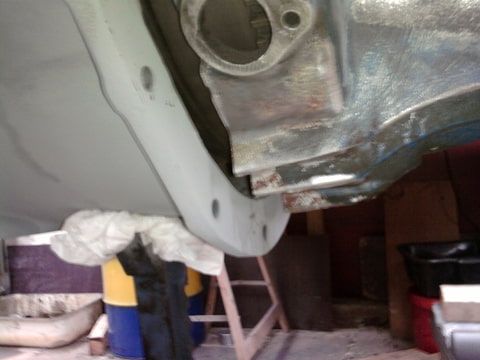
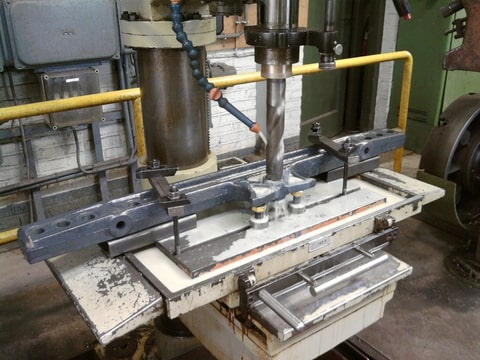
And last week I also made the new side-rails and engine mounting:
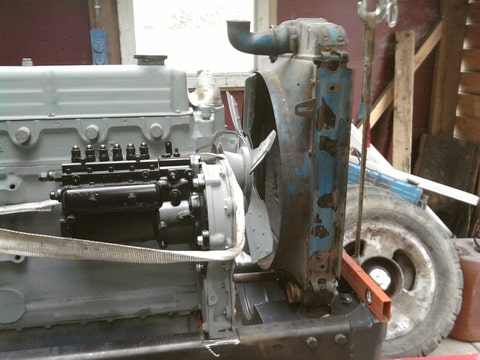
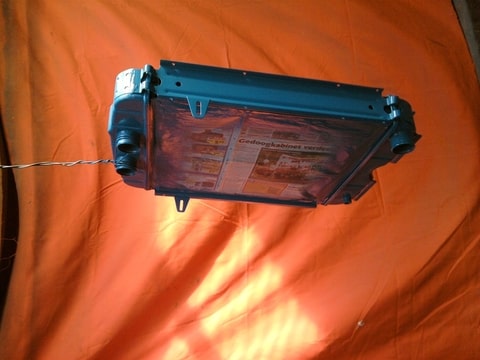
mounted the radiator so i could measure the distance between the fan and radiator
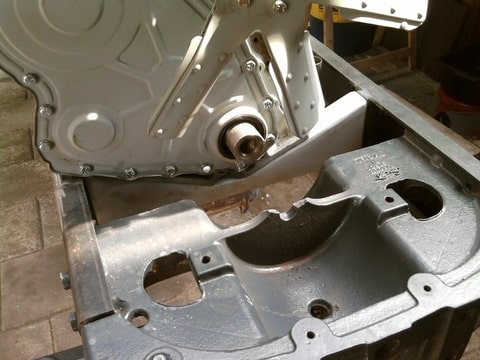
Made the engine mounting so there are no bolts on the outside of the rails
also made side plates which are bolted to the gearbox housing for strength
cutted out a circular shape for the oil filter, I have enough room to weld in a 6mm plate in the inside of the U-beam (side rail)
It's starting to look like a tractor again

Posted: Sun May 16, 2010 8:05 pm
by Pascal
Looks great, Arno!
You certainly have the right machines with you to machine the parts. Impressive!

Keep up the good work!
Posted: Mon May 17, 2010 12:28 am
by Mark
Young man you are only 22 years old and you've done a man size job!
Where did you learn how to work on machines, with experience in over hauling engines, hydraulics, transmissions, etc.
I'll bet your father is very proud of you.
Keep up the good work, your "New" old tractor will always shine from your accomplishments.
Once again well done!
Posted: Mon May 17, 2010 12:32 am
by fergusont20
Yes, very impressive job !!
I look forward to seeing finished pictures and a video of engine running. Kepp up the good work
Posted: Mon May 17, 2010 3:33 pm
by Gubbels
thanks for the comments.
I work at a machine shop as an ingeneer, I make a drawing of the most parts I need and someone in the shop machines them for me. The next time I need some parts I am going to make myself, haven't got much experience with a lathe and a mill, but I am going to give it a try. I have no experience with rebuilding engines, gearboxes and the rest, I take it apart slowly and ask older co-workers were I need to be carefull with and what to measure for faults.
Not everything was right the first time I assembled it, but i am learning a lot from it.
At home we have more old tractors: 1 Kramer pionier S, which was rebuild more than 10 years ago. a Unimog 411 convertible which need a engine rebuild, this will be the next thing for me to do. these two are both from my father. My brother has an mc cormick D430, which used to be from my grandfather.
The fordson has a lot of work ahead, but slowly were making progress.
Posted: Mon Jul 12, 2010 8:27 pm
by Gubbels
Hi everybody,
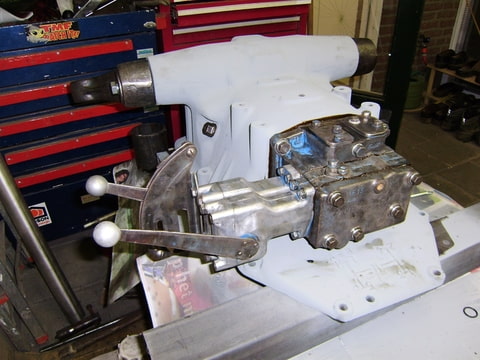
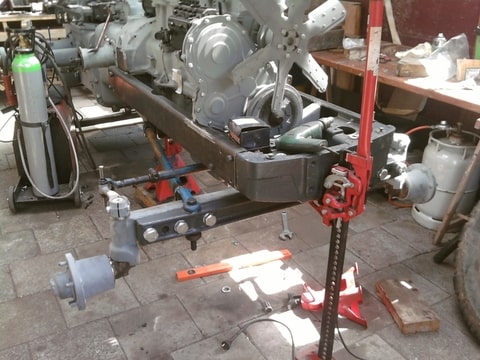
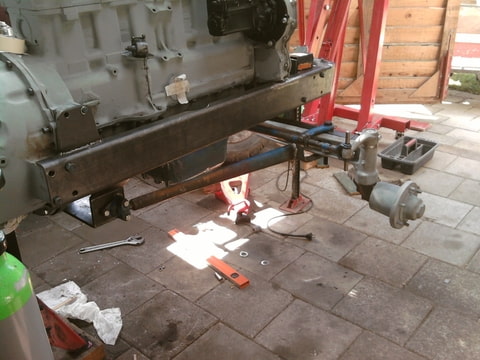
I have some small updates, the rear lift, hydraulic pump, belt pully and some more small stuff installed.
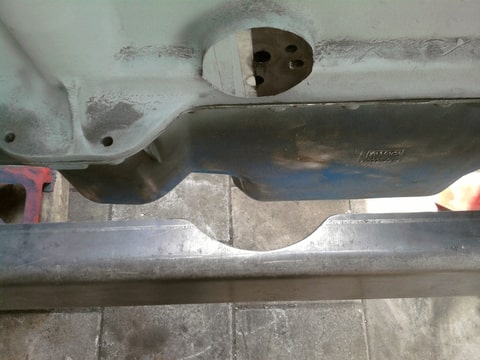
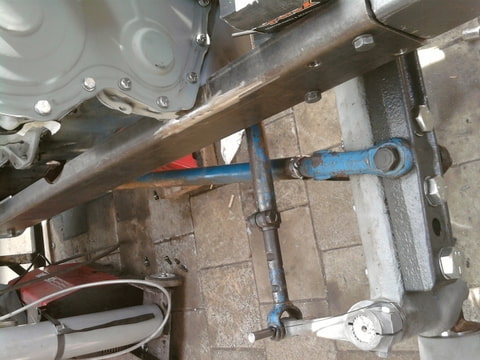
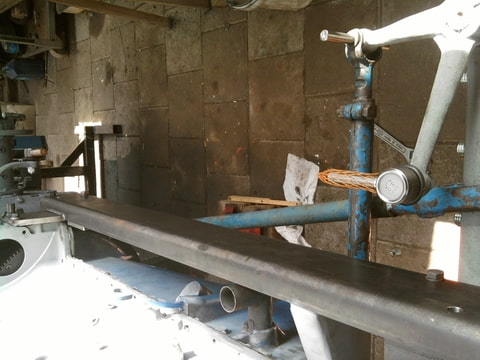
now I have a litlle problem, tonight I made the pivot turning point with dexta pivot arms (like mark, fergusont20) did. But I can't get It turned properly, see the next pictures:
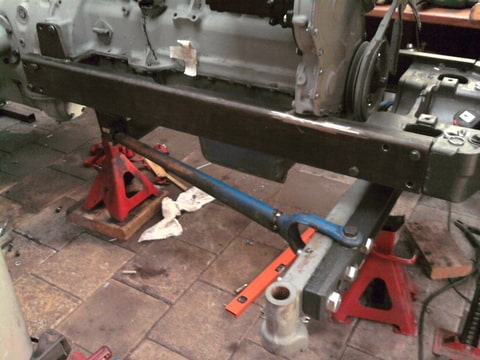
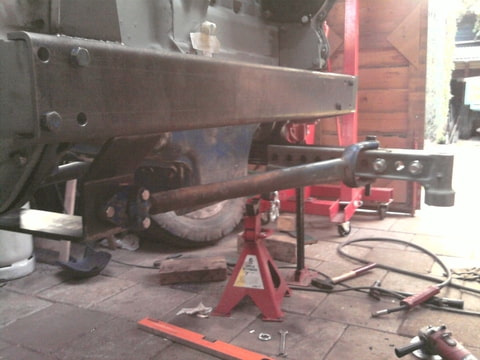
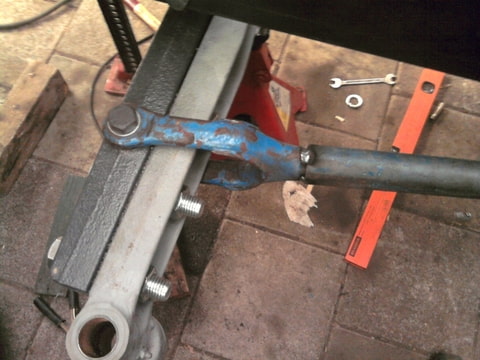
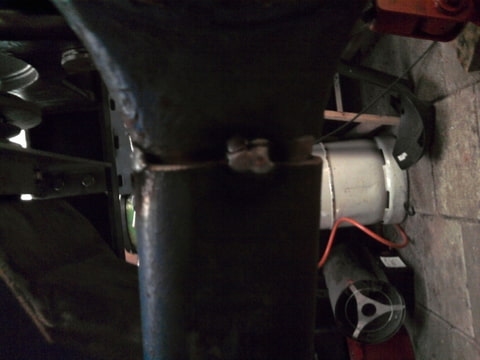
as you can see in this picture the litlle weld is broken, I need quite a bit of force to get the front axle complete to its end points when turning it. Do I need more play in the front axle bolts which hold the dexta's arms in place??
Thanks for the help.
Posted: Tue Jul 13, 2010 9:43 pm
by john.n
can the axle slide on the centre pin frowards and backwards? at full "twist" wont the axle move backwards? on my dexta the bolts at the end of the radius arms are quite loose, mainly due to wear.
hope this helps
Posted: Wed Jul 14, 2010 6:15 pm
by Pascal
Looks great, Arno!
I hope you will find a solution for your problem.
I use the Dexta pivot arms too, but I will be making a solution
like the one on the standard Major, only stretched towards the clutch.
Posted: Wed Jul 14, 2010 8:28 pm
by fergusont20
I see you have only tacked together the 'U' pieces and the dexta arms, i would weld them togther fully,all the way around instead of just tacked, and then try again. The axle is very heavy, i suspect that is why you tacked weld has broke.
I ran my dexta arms parallel with the new extended side rails, i see you have taken yours in slightly at the rear, i would need to see the tractor for myself, but are they taken in too much?? is this stopping them moving freely??
You need the bolts holding the 'u' piece through the axle to be a tight fit, you dont need any play there, or you will be defeating the point. The only point which should be moving is the ball on the dexta piece inside the socket off the old footpeg.
If you remove the dexta arms, does the axle pivot easily on the large trunion pin through the casting?? it should do, if the axle doesnt pivot easily on its own it will need correcting
Let us all know how you get on.
Mark
Posted: Thu Jul 15, 2010 5:44 am
by Gubbels
Thanks everybody for the comments.
The axle can slide back and forward as John.N says. The axle pivot realy easy ont the axle trunnion pins through the casting, this is all brand new machined. The bolts in The 'U'pice through the axle almost doesn't have any play.
I have the idea if I made the dexta arms parallel with the side rails the problem only gets bigger. If I take the dexta arms out of the dexta footpegs I see that when I want to pivot the axle, the dexta arms also want to go up and down at the ball joint. If I connect them to the footpegs I am bending the dexta arms when I pivot the axle.
I am giving it a look tonight again. If I have this problem sorted, I can re-assemble the front of the tractor to sandblast and have the parts in a 2-component ground coat. I hope to paint the tractor in my summer vacation. Hopefully I can start the engine too if everything is assembled and painted.
Posted: Fri Jul 16, 2010 8:31 am
by fergusont20
I have been thinking more about your pivoting problem,and will try further to help you
you say that the axle on its own pivots fine, and connected to the dexta arms it still pivots fine, but when everything is connected to the old foot pegs, the dexta arms try to bend and it will not pivot nicely. This must mean that your footpegs are taken in too much and it is too great an angle for it to pivot as intended
please excuse my crudely and quickly drawn picture

I mounted my old footpegs directly underneath the side rails, so they are in the same line as the siderails, you have put yours inside more and made the angle greater, this is the only difference between ours,
unless,
have you made sure that when on the flat that your dexta side arms are holding your axle level and it is not trying to twist forwards or backwards??? if the axle is trying to twist, this will stop your dexta sidearms from pivoting with the axle.
if your measurements were not quite right and you have mounted your footpegs too far back or too far forward,then connected to the dexta arms that may be trying to twist front axle and stopping pivoting
Also, remember when these sidearms are used as intended on a mf 35 or a dexta, they are mounted at a lot more shallow angle that we are trying to use them on a major
Hope this helps, and of course let us know your findings
Keep up the good work
Mark
Posted: Fri Jul 16, 2010 9:10 am
by fergusont20
I have always thought about a tractor trip the length of the uk, now i am thinking about a trip into europe on my major on the ferry to see all these 6 cylinder majors once they are made.
I think we should all organise a get together.
Would be interesting
?????????????????????????????????????
Posted: Fri Jul 16, 2010 9:32 am
by Bensdexta
I think some folk mount the footpeg ball joints onto a cross beam that pivots underneath the engine. That way they can move up and down slightly.
Posted: Fri Jul 16, 2010 11:00 am
by Kiwi Kev
Guys
I've been watching this thread about the radius bars.
From an engineering point of view, I would make the following comments.
The Dexta footpeg brackets need to be on the same horizontal axis as the axle pivot.
Gubbels pictures seem to confirm this.
I would remove the vertical bolts that go through the radius bars at the axle. With the axle in a horizontal plane, those holes should be lined up. Now tilt the axle to one side and see how the hole looks now. Make a mental note how freely the axle moves AND the position of the holes.(i.e. axle moved towards the front of holes.) Now move the axle back to the horizontal, and tilt axle to the other side, and check.
My opinion would tell me that when the radius bars go through their arc (axle tilting either way) that the axle needs to be able to move back (broken tack weld in picture) and when tilting back to the horizontal position, axle will move forward.
Most of these tractors have also had their tombstone and axle pivot bearings replaced. Good idea, but Do the axles still have backwards and forwards movement. The axle pivot bearing is to take the weight of the tractor front, and the radius bars are to take the lateral and twisting stresses of the axle.
I hope this helps and look forward to your comments
Kiwi Kev
Posted: Sun Jul 18, 2010 11:39 am
by Gubbels
Thanks everybody for their comments.
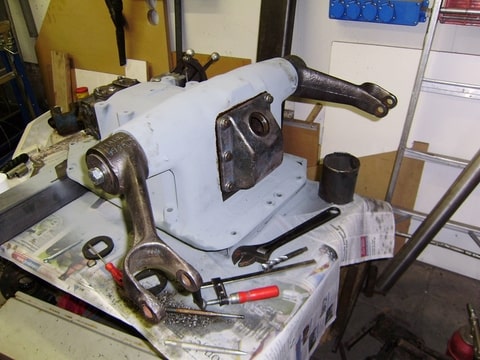
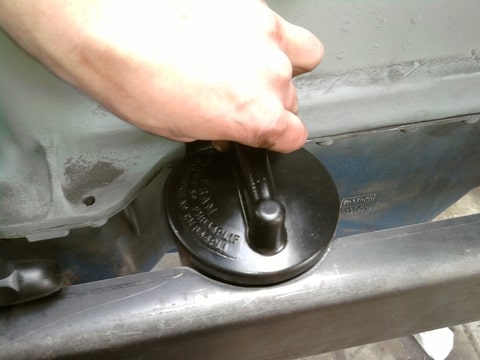
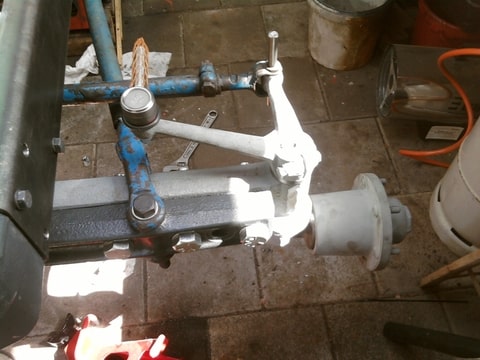
Friday I had a day off from work, so in the afternoon I mounted the front spindles, hubs and steering rods. Then I looked at the Pivot system again. With the steering rod attached I notice when it pivots till its end points (without dexta bars) the steering rod touches the Side-beams. I checked everything, and its all fitted properly. Now I remade the endpoint so the steering rod doesn't touches the side beams. When this was made and the dexta bar where attached It all pivots nicely without using force.
pictures:
The next things to do are:
- re-assmble the front for sandblasting and ground coat
- sandblasting all small parts (pedals, brake drums covers, hitch components etc.)
- steering rod on the left
- steering rod pins with lubricate stubs
- a lot of small stuff
I hope to paint the tractor in my summer vacantion over 2 weeks.
Again thanks everybody for their comments on the pivot system.
Posted: Sun Jul 18, 2010 6:35 pm
by fergusont20
Hi Arno
Great work and pictures, i am glad you have solved your pivoting problem, although i am struggling to understand what you have done differently to correct it.
What uses are you planning for the tractor when complete? and are you planning to use it first before painting, to see of any parts need altering and any problems arise??
Do you know the history of your engine? have you ran it after rebuilding it??
Keep up the good work, its really good to see these old tractors being restored, and adapted to suit the individual needs.
Long live the Fordson Major
Posted: Mon Aug 09, 2010 8:27 pm
by Gubbels
Hello everybody,
after a long time I have some new updates, some good, some bad.
@ mark, I can't really explain it in english what I have done to correct the pivot problem. I haven't started the engine yet. I know that the engine stood in a shed for about 20 years, the man who owned it took the valve cover off every year to oil everything up.
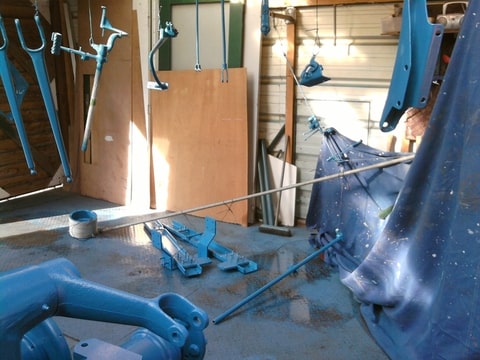
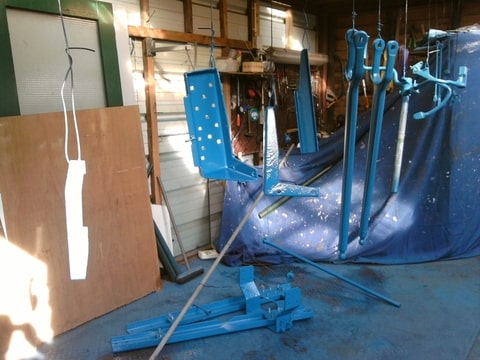
After a long time of preparing the tractor for paint, today I set the tractor in primer and a litlle bit later in the famous Empire bleu. I used car paint which I hat mixed in a auto repair shop. here are the pictures:
all the parts ready for paint:
In primer:
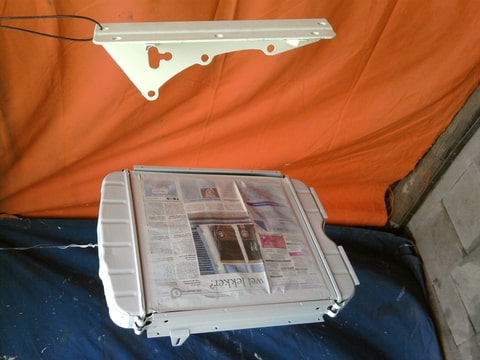

In colour:
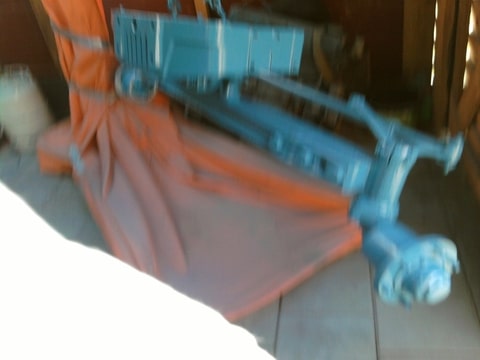
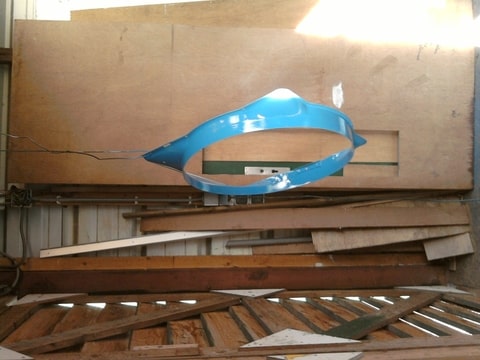
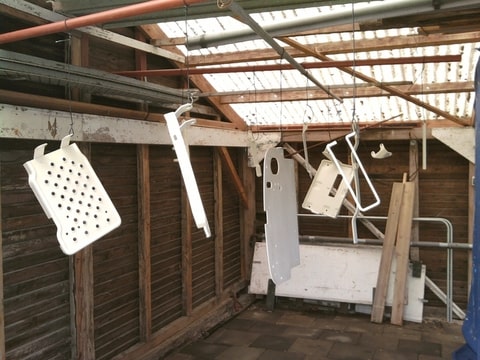
And while I was busy with my last coat of colour on the tractor a steel wire broke and some finished part fell on the ground

. So tomorrow or the day after I have some new sanding to do
. See the next pictures:
some times shit happens.
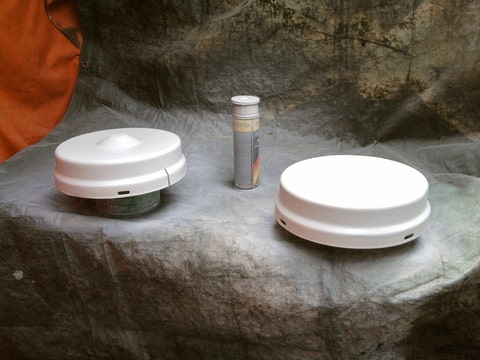
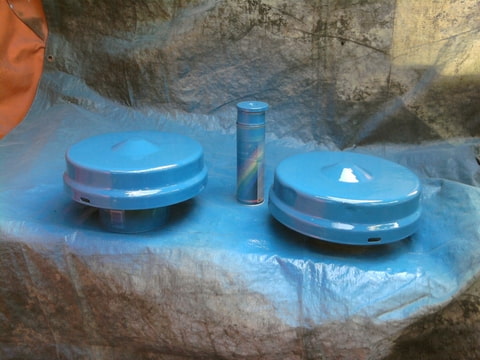
Tomorrow I will start to get the rims ready for painting, and I need to find a oil bath air cleaner.
Kind regards,
Posted: Tue Aug 10, 2010 2:39 pm
by stark1
Fantastic job you are doing!
Posted: Thu Aug 12, 2010 6:52 am
by Pascal
You're doing great, Arno!
Now the fun stuff starts: building the tractor!
For the air filter: check the 590e-forum. The are sold new at the NH-dealer. Frans has bought one.
Posted: Tue Aug 17, 2010 4:56 pm
by Gubbels
Hi pascal,
do you now if this particular air filter fits underneath the bonnet, as i have read frans fitted it next to the bonnet.
Yesterday I started with rebuilding the tractor, the rims are also ready for the orange coat. I will post some pictures one of these days.
Arno