Page 3 of 4
Posted: Tue Aug 17, 2010 8:34 pm
by Pascal
Hi Arno,
I´m pretty sure it will fit under the bonnet, as long as you smaller the battery box.
I have a 35 cm 100 Ah battery, which doesn´t leave enough space for my airfilter. So I mounted the airfilter next to the bonnet.
Looking forward to your pictures!
Posted: Tue Aug 24, 2010 11:46 am
by Gubbels
New updates:
Rims are ready and in colour, no pictures yet. The old tires will be mounted in 2 weeks, I would like new tires but that will have to wait a year, it's all expensive enough.
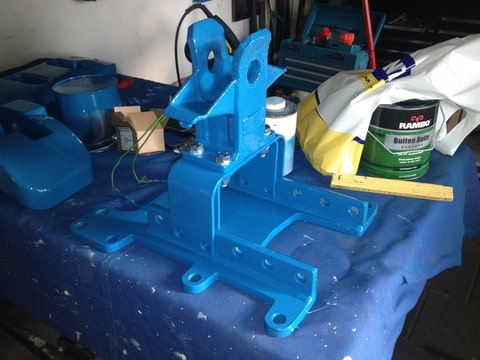
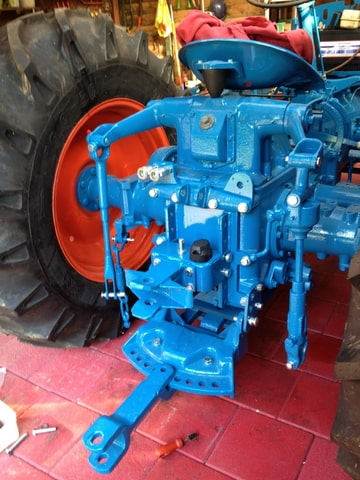
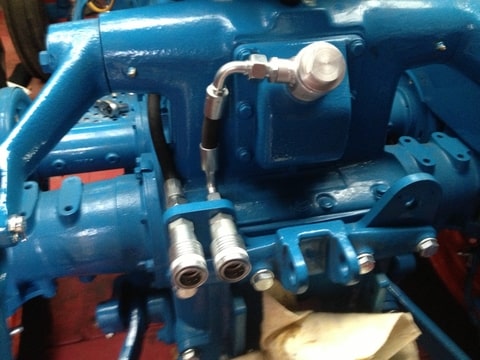
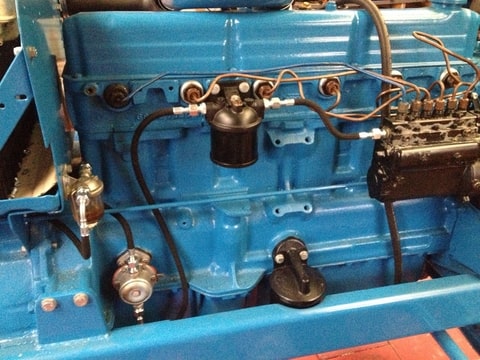
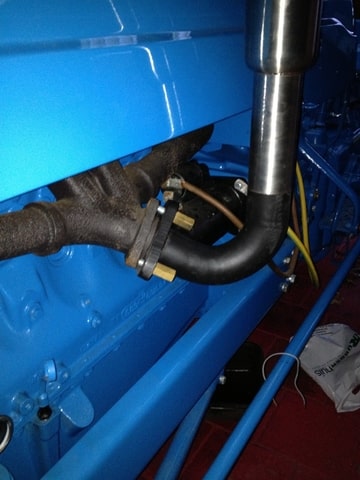
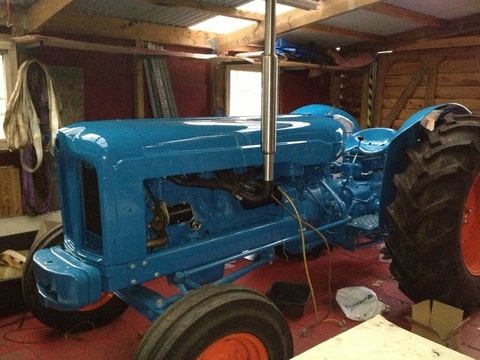
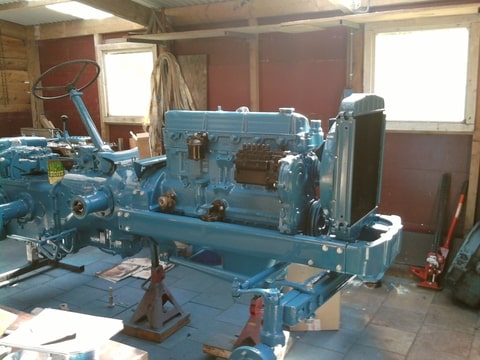
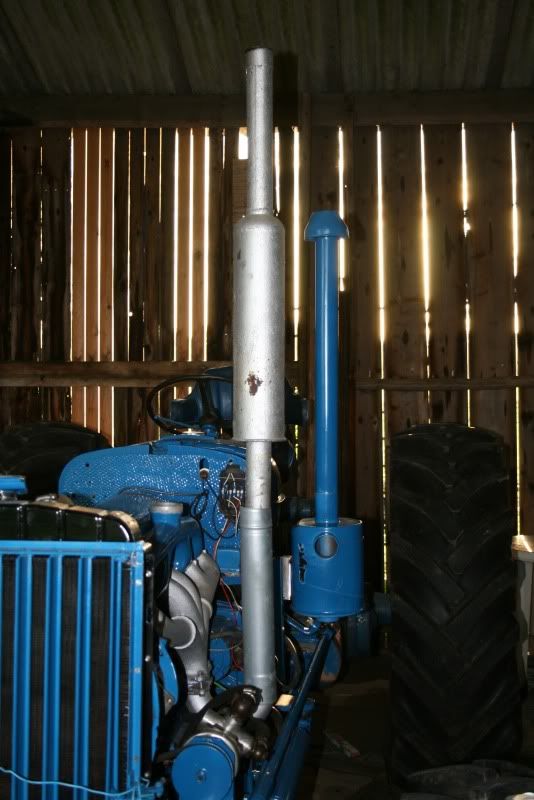
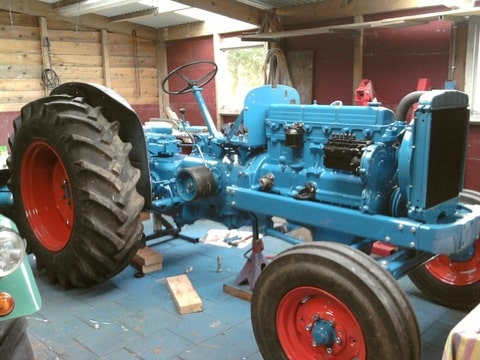
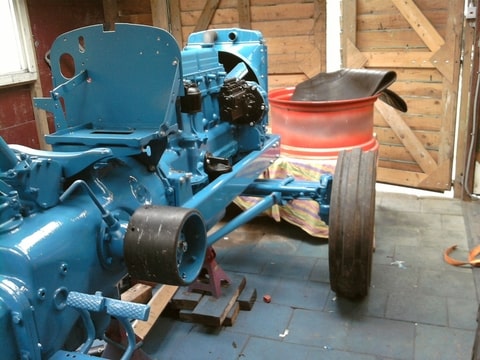
I started assembling the tractor, here some pics:

What is the most important factor when I want to buy a battery, the capacity or the cold start amperes. I have seen small optima red top batteries which have a capacity of only 50Ah but 815A cold start Amperes. Some big batteries have 100Ah capacity but about 700A cold start amperes.
@pascal: Do you have the diameter and height of your airfilter, so I can see were I can mount it.
Regards,
Arno
Posted: Tue Aug 24, 2010 8:26 pm
by Frans
Arno,
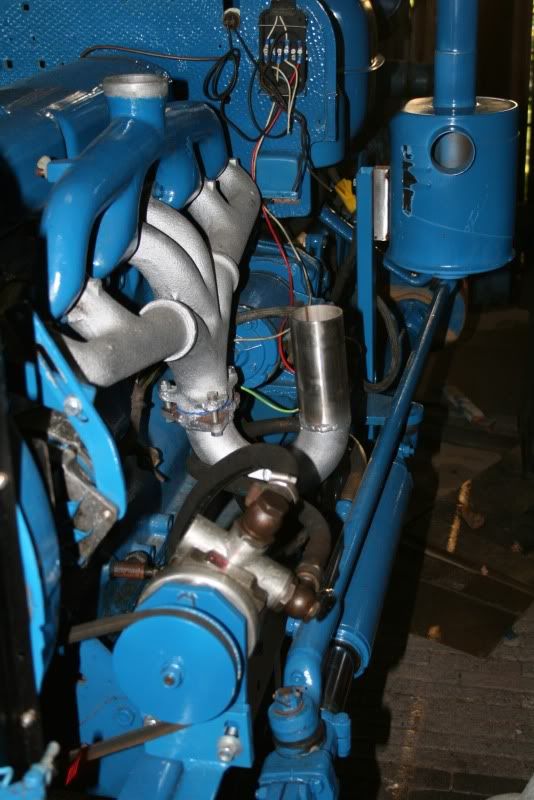
Its a pre aircleaner from a 6 cyl ford like a 7810 but it doesnt fit under the bonnet, I made today a construction to fit it on the major, I will take some pics from it (just a few days and I have my PC back).
Posted: Sat Aug 28, 2010 8:18 pm
by Pascal
Hi Arno,
Great pictures! Keep up the good work.

I have had an Optima, but now I have a 100Ah. With a Dorset starter it works great.
Posted: Wed Sep 01, 2010 8:02 pm
by Frans
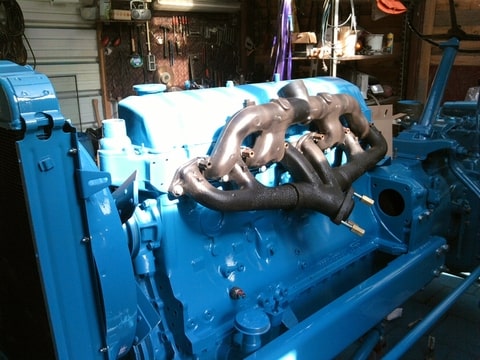
Here some pic of my new pre air cleaner with modifications
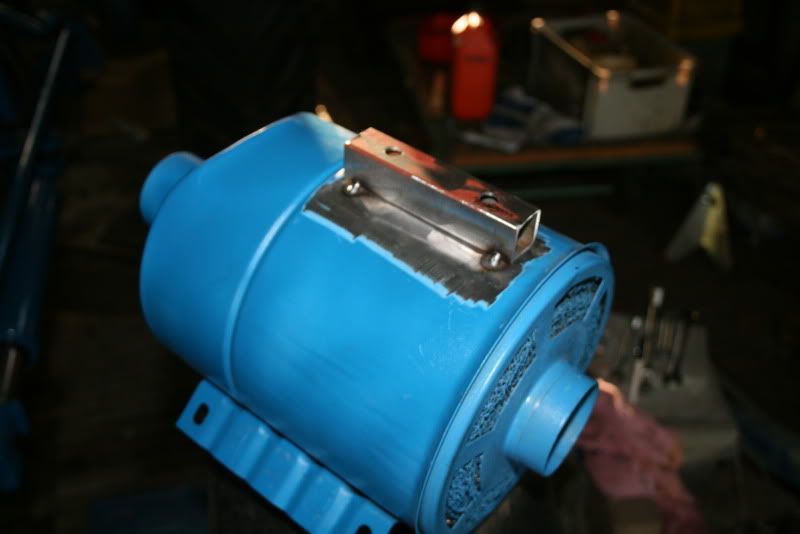
aircleaner

Bracket
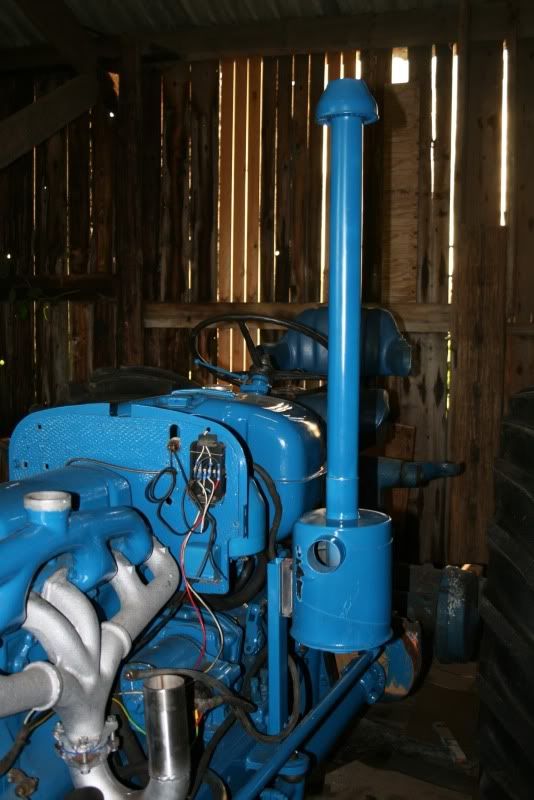
Yesterday I bought a new used nose cone so I can fix it all together by now and iff the weather stays good make some roadtrips
Posted: Thu Sep 02, 2010 9:40 am
by Pascal
Looks great, Frans!
Posted: Mon Sep 06, 2010 11:57 am
by Gubbels
Looks good Frans, looking forward to your finished pictures.
I would like to find an air cleaner wich will fit under the bonnet, we will see if I can find one.
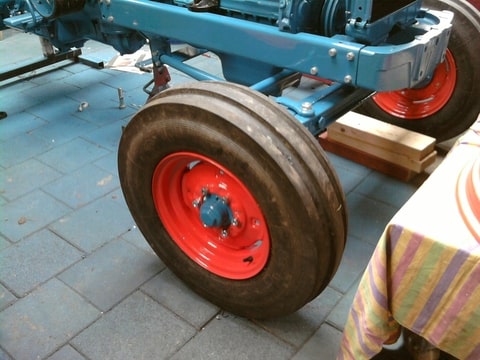
Last week I assembled the brakes and mounted the pedals and some more small stuff. The tires were mounted on the rims last saturday, unfortunaly the tyre centre told me the rear tyres were too bad to drive with. 1 tyre was already mounted. so I tried to see how they fit.
the size is 16.9x30, now I need to order new tyres. But I don't know if I should order 16.9x30 or 18.4x30, what would you do?
here some pics:
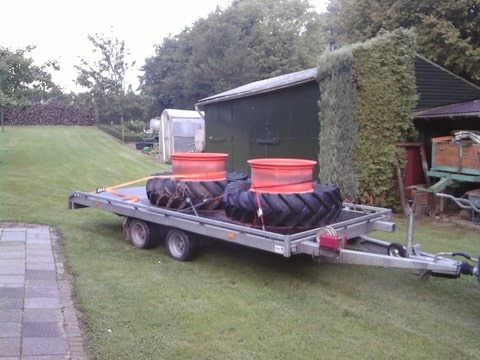
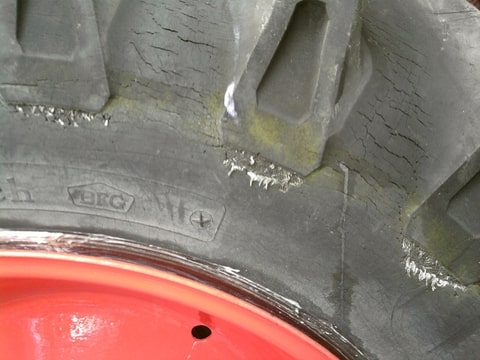
the bad rear tyres
regards,
Posted: Mon Sep 06, 2010 1:04 pm
by Kiwi Kev
Gubbels
Looking good.
The tyres loaded on the trailer look narrower than what is mounted on the tractor. It maybe because they aren't inflated.
I like the "grunty look" on tractors.
Your front tyres are grunty looking, so I would go with what is shown mounted on the tractor.
When I priced up 18.4x28 and 16.9x28 for my tractor, the 18.4 were about 30% dearer. I went with the 16.9.
You should also consider mudguard clearance, weight when changing wheels on the tractor, weight when changing tyres on and off the rims, and should you be ploughing whether the tyre will fit in the trench. (trench is not the right word, I don't plough, but you know what I mean)
I agree with the tyre place about not using those tyres.
Keep those pictures coming.
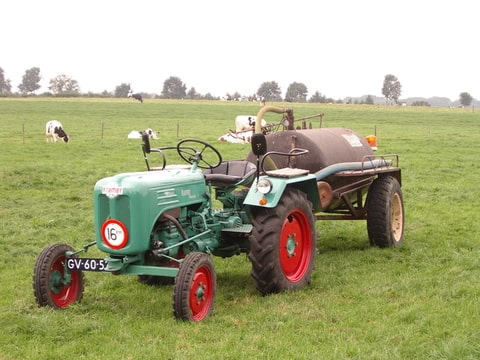
Whats the green mudguard with what looks like a tractor tyre on it?
Kiwi Kev
Re: Clutch assembly
Posted: Sat Jan 01, 2011 7:50 pm
by Gubbels
Hello everybody,
First I would like to wish everybody a happy new year and the best wishes for 2011.
It's bin a while ago since I have updated this thread, there are a few new updates. I bought new tyres, I went with the 16.9x30 rear tyres, pics will come soon.
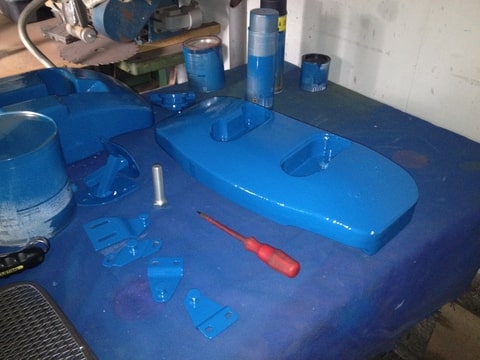
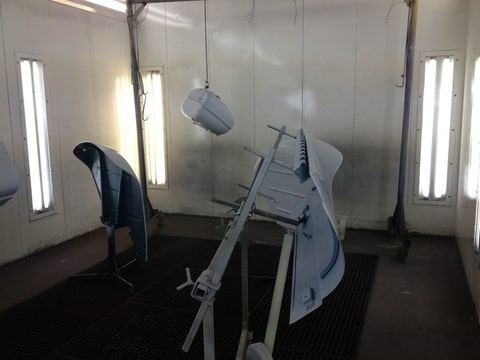
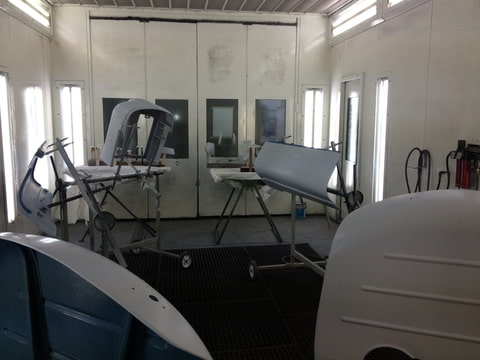
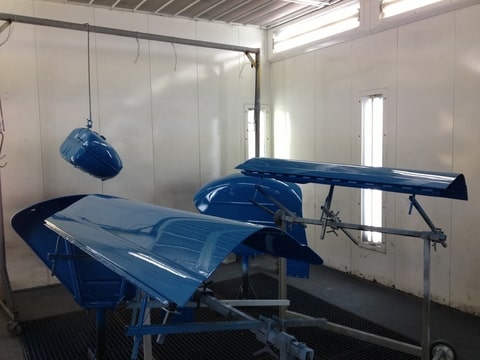
I have also painted the lift parts, lower hitch, seat and some more litle parts. I haven't took any pics yet.
But I have one Big update, the engine runs

, see the following video's:
http://www.youtube.com/watch?v=MVCo-BJvUls
http://www.youtube.com/watch?v=CGdAg2y8pPA
Now I have to grease all parts and then I can take it for a testdrive.
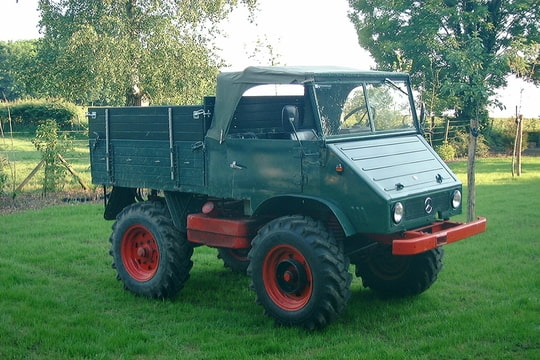
@Kiwi Kev: The green mudgaurds are form an Kramer Pionier S, it's from my father and is restored in 1993.
He also has an Unimog 411:
My brother is now restoring an Mc Cormick D430, this was our grandfathers tractor, haven't found any pics yet.
Re: Clutch assembly
Posted: Sat Jan 01, 2011 8:41 pm
by super6954
Hi
Thats a real sharp looking tractor and she sounds fantastic too

. Thanks for the update, And I look forward to seeing it finished soon

.
Regards Robert
Re: Clutch assembly
Posted: Sun Jan 02, 2011 10:13 am
by JC
It sounds good and looks good, Arno. Keep us updated.
Re: Clutch assembly
Posted: Fri Jan 07, 2011 6:43 pm
by Pascal
Hi Arno,
Congratulations! You have done a great job already!

Is the oil pressure measured in psi? Seems rather low to me? The oil pressure of my 590e is about
37 psi.
Looking forward to a flick with your engine at full throttle!

Re: Clutch assembly
Posted: Sat Jan 08, 2011 12:28 pm
by Gubbels
Thanks for the nice comments everybody.
The oil pressure is indeed measured in PSI. When I first started the engine it was about 50PSI, it then dropped to 35PSI with a litlle bit of throttle. When the engine is running at stationary it is about 15PSI, is this too low?
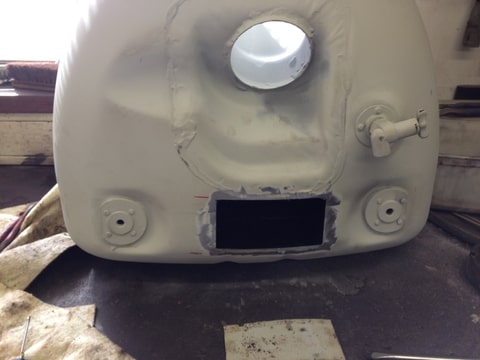
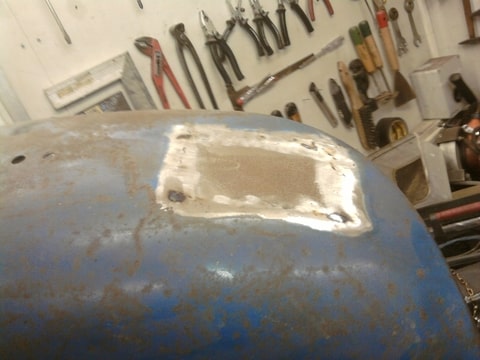
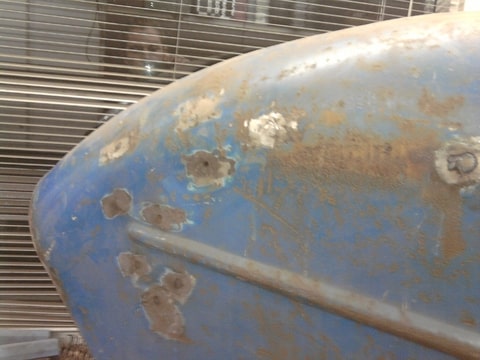
I have ordered a new nose cone and I am welding all the holes in the fenders. If the nose cone is delivered I can start lenghtening the hood.
I hope too have the tractor finished before june this year.
Re: Clutch assembly
Posted: Sat Jan 08, 2011 3:05 pm
by super6
i have the same engine as yours and my oil pressure is 25 when cold and down too 10psi when hot, i think mine is too low but i have worked it hard for 2 years like this and engine is still running perfect.
i may drop sump and change oil pump but not sure how easy a job that would be.
great looking tractor looking forward to seeing it in action soon

Re: Clutch assembly
Posted: Sat Aug 27, 2011 4:00 pm
by Gubbels
Hi everybody,
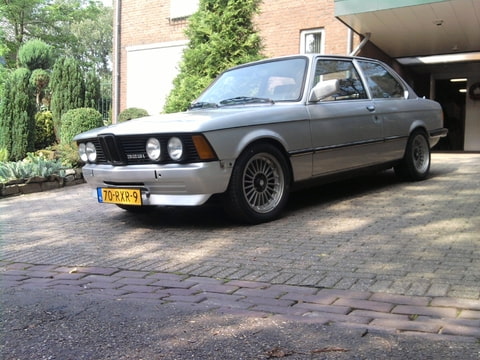
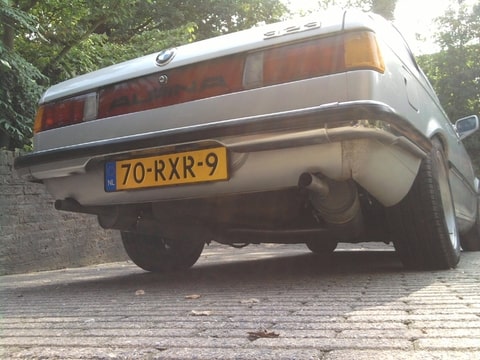
Not really an update, I bought myself an bmw e21 323i from 1981 which I have worked on the last 2 months. Hopefully I can do the sheetmetal work next month and hopefully finish the tractor before the end of this year.
A week ago some guy called me if I was interested in his Fordson County. It was in pieces but I am going to look one of these days in what state it is. Hopefully it is all complete and hopefully it is not too expensive.
I will show you guys some pics if I have taken a look.
Re: Clutch assembly
Posted: Sat Aug 27, 2011 8:03 pm
by Pascal
Hi Arno,
That BMW is a great machine too!
Would be great iof you could finish your tractor before the end of this year.
I am looking forward to the pictures of the County!

Re: Clutch assembly
Posted: Thu Nov 03, 2011 10:02 pm
by woodcutter
I have a 6 cylinder major with dual clutch no problems yet, I bought it as an unfinished project it's sort of finished but it's not quite the quality as yours
Re: Clutch assembly
Posted: Tue Jan 17, 2012 1:15 pm
by Gubbels
Hello everybody,
It's been a time ago when i have had an update again. But the work on the bmw 323i was more time consuming than i had in mind at first. But the car is finally finished and I have mad a litle progress on the major.
first a pic of the BMW:
Now the updates on the major:
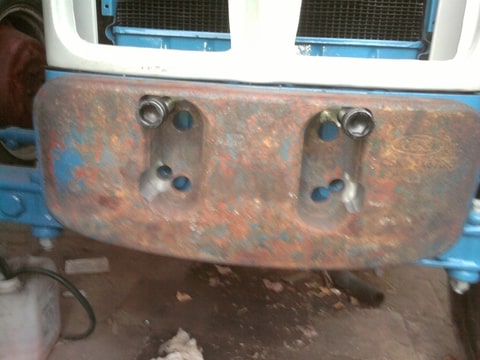
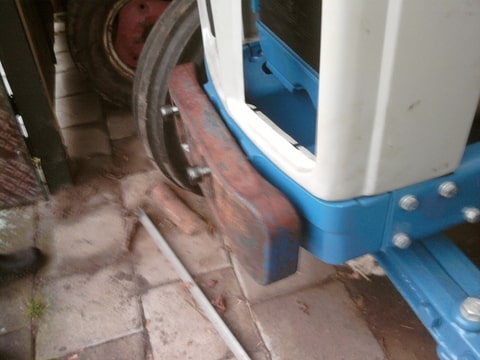
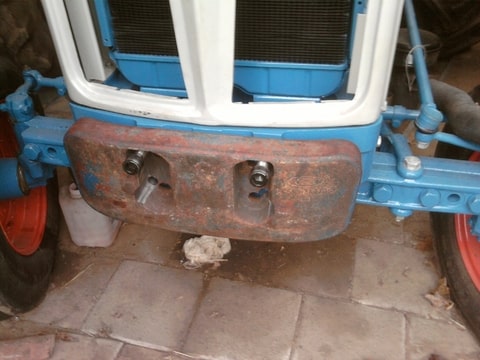
I have bought some 1000 series front weights. The first one I have machined so it fit's like an "double plate" I will bolt this one to the tractor and i am going to machine costum nuts wich will fit in the back of this first weight. The next couple of weights I can bolt on the first "double plate" weight.
pics:
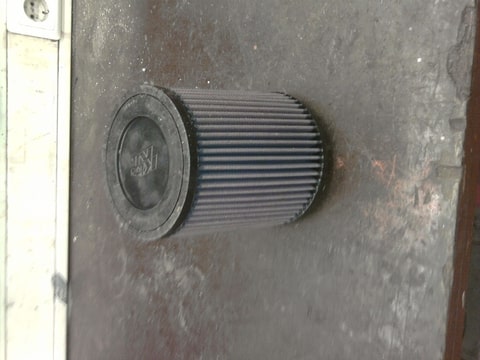
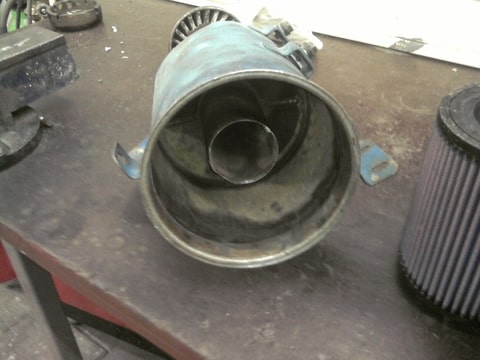
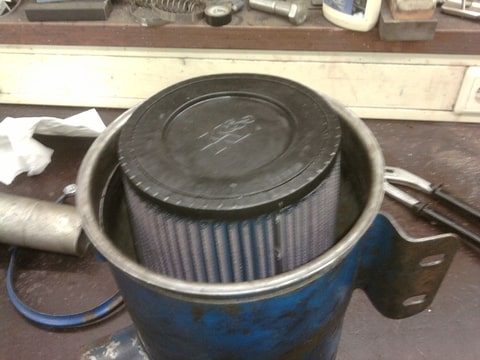
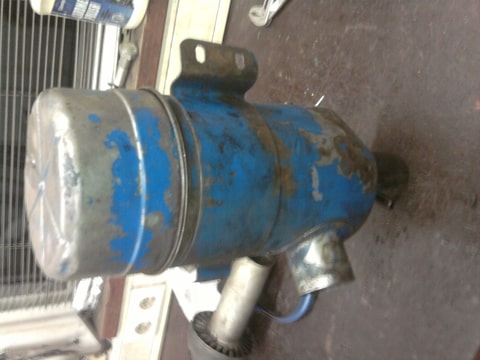
The next small thing I changed is the air filter. First I had an home made box which housed an big K&N air filter, on top of this i had place a glaze cycloon pre cleaner. But i was not happy with it. Needed to modify too much on the battery tray and hood. Now I have bought a little smaller (still big) K&N air filter and mounted this one in to the original oil air cleaner (removed the whole inside of the air cleaner). This is a nice and perfect fit, which will provide (in my opinion) enough air for the engine for my use of it.
pics:
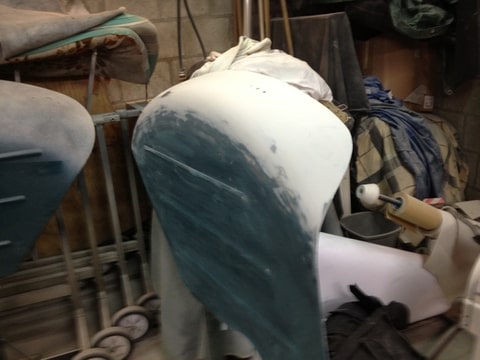
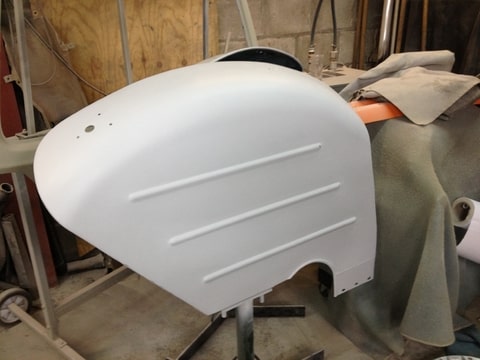
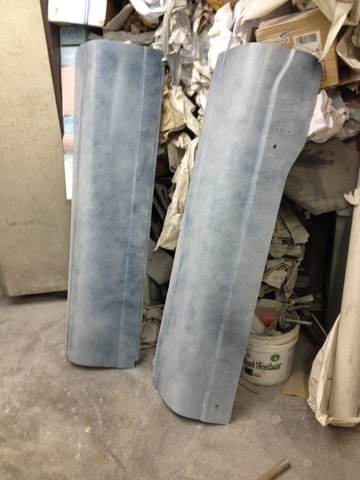
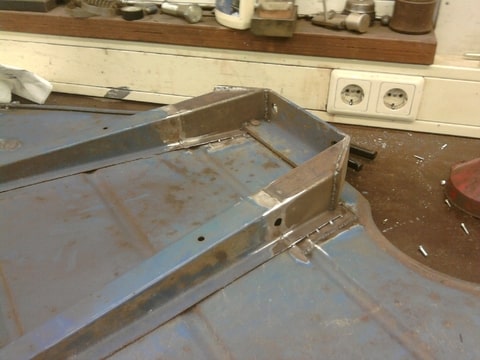
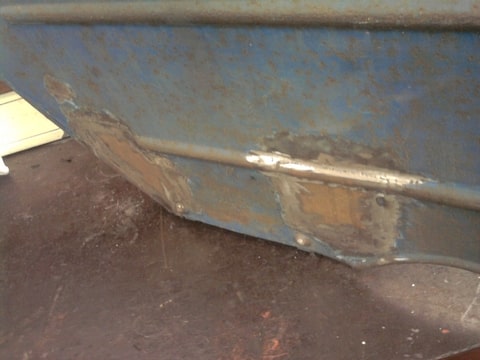
I also did some sheetmetal work, but I am thinking to order a new 6 cylinder hood which is the proper length for my conversion.
some pics of the sheetmetal work:
And last but not least I want to wish everybody a happy new year.
Re: Clutch assembly
Posted: Sat Jan 21, 2012 11:02 am
by Pascal
Hi Arno,
Your BMW looks great!
It's a 6 cylinder, I guess?
How many HP does she have?
Great idea for the airfilter.
I once saw someone who had cutoff the upper part of the airfilter (including the "mushroom") and welded it on the hood.
Under the hood the placed a K&N filter just like yours, laying next to the battery.
Since he uses the tractor for road runs only, he isn't expecting to get much dust or dirt in his filter.
Re: Clutch assembly
Posted: Mon Jan 23, 2012 12:35 pm
by Gubbels
Hi Pascal,
It is indeed a 2.3ltr 6 cylinder, she has 143HP original. It is fun to drive.
Today I ordered some bits and pieces for the major, including the 6 cilinder hood. But it was not in stock, approx delivery about 3 to 4 weeks. In this time I can get everything else ready for paint.
How is your 6 cilinder doing? I have read you had some problems with the gearbox, is everything OK now?
Re: Power major 6 cylinder conversion
Posted: Mon Dec 24, 2012 5:42 pm
by Gubbels
Re: Power major 6 cylinder conversion
Posted: Tue Jan 01, 2013 7:50 pm
by Pascal
Hi Arno,
Wow! Your tractor looks really great! Almost better than it was new back in the days.
Please keep us updated.
Re: Power major 6 cylinder conversion
Posted: Tue Jan 22, 2013 8:45 am
by Broadspeed
Impressive project!

Re: Power major 6 cylinder conversion
Posted: Tue Sep 03, 2013 7:30 pm
by dexta64
very good.
Re: Power major 6 cylinder conversion
Posted: Sun Oct 27, 2013 4:08 pm
by 1962 model
Hello Arno,
can you please tell me how you overcame the excess endfloat in the clutch shafts as mine needs to be reduced due to the common thrust face wear they suffer?
Mike