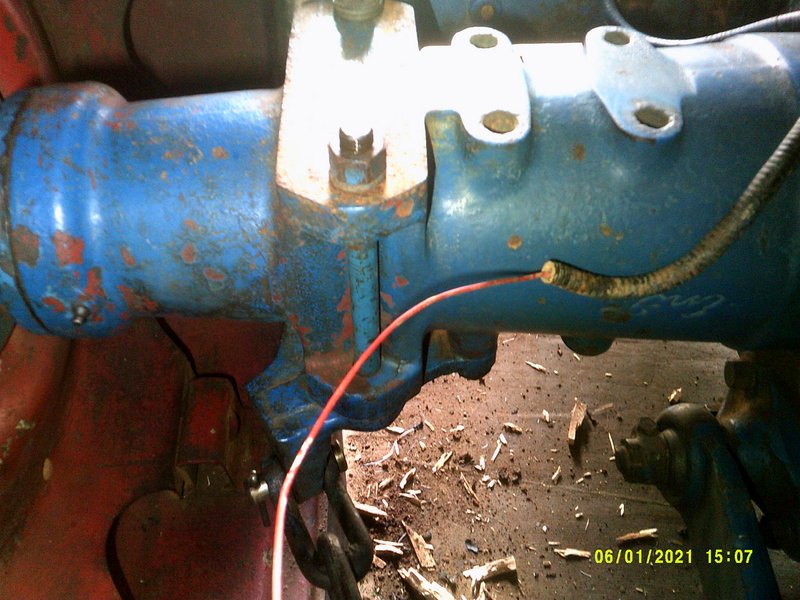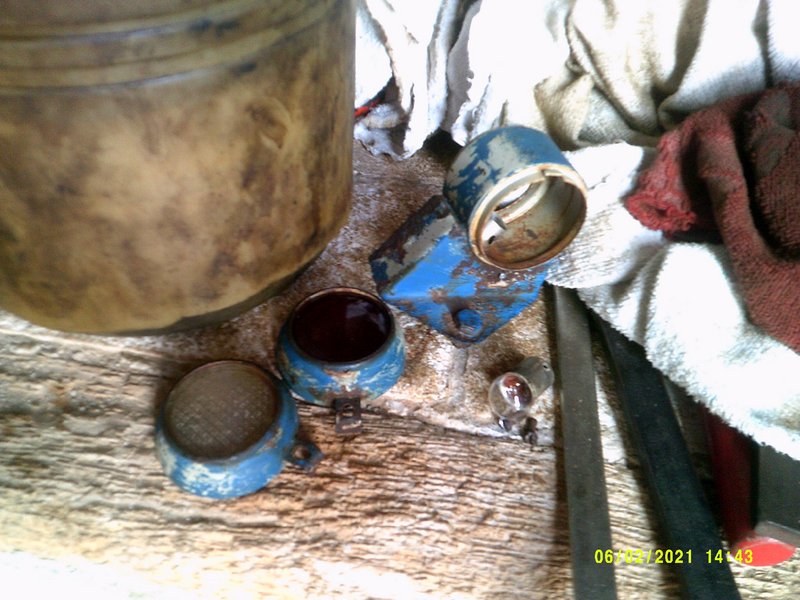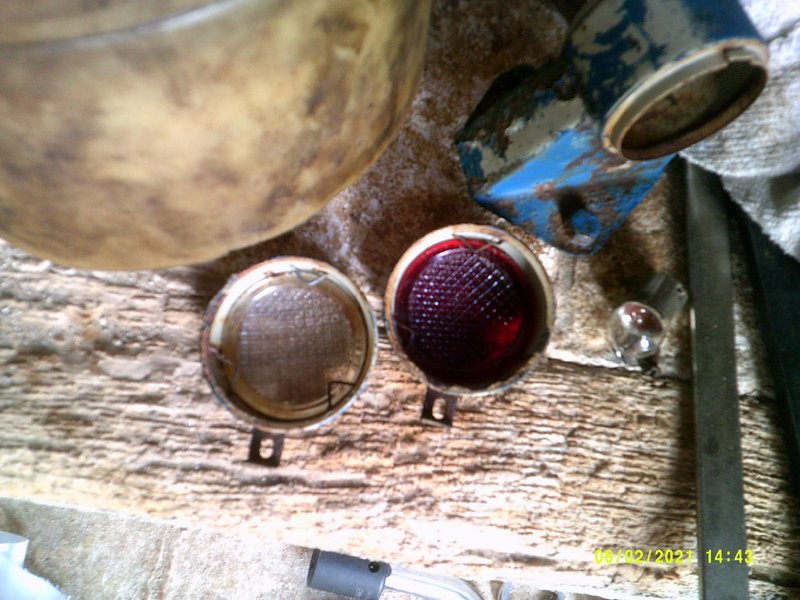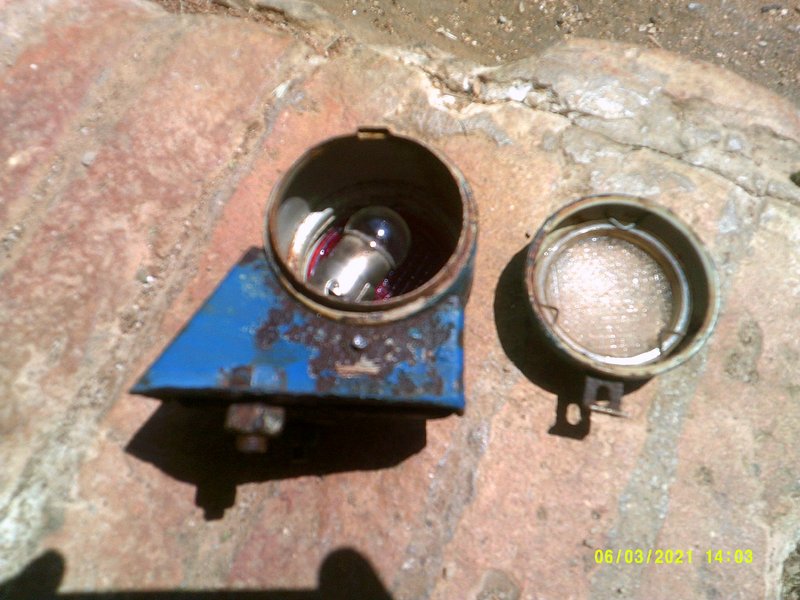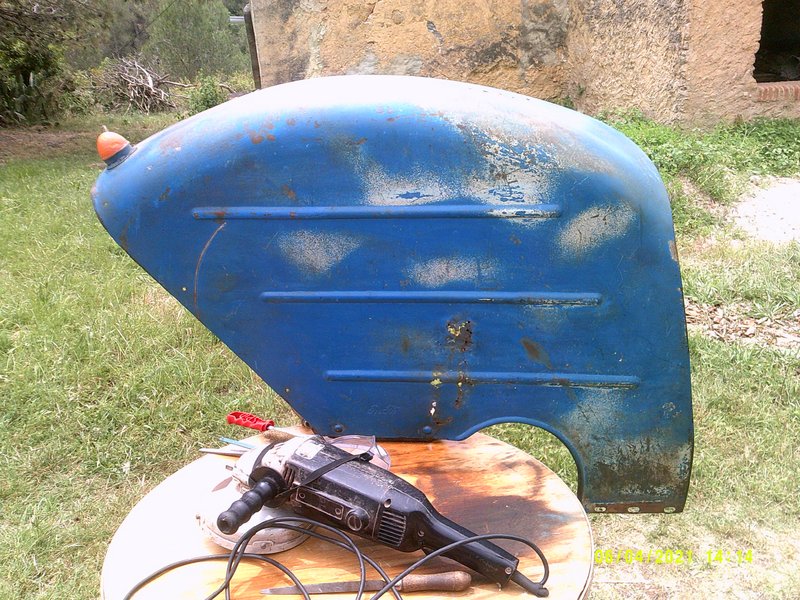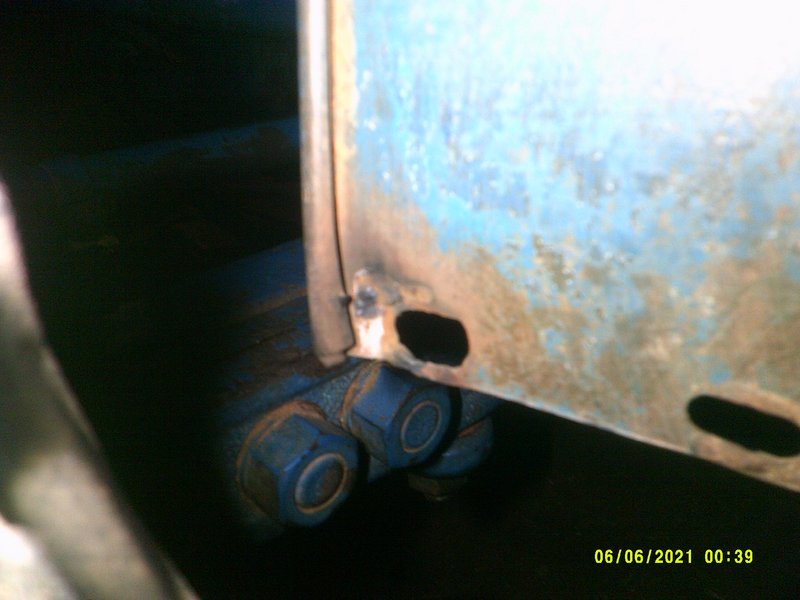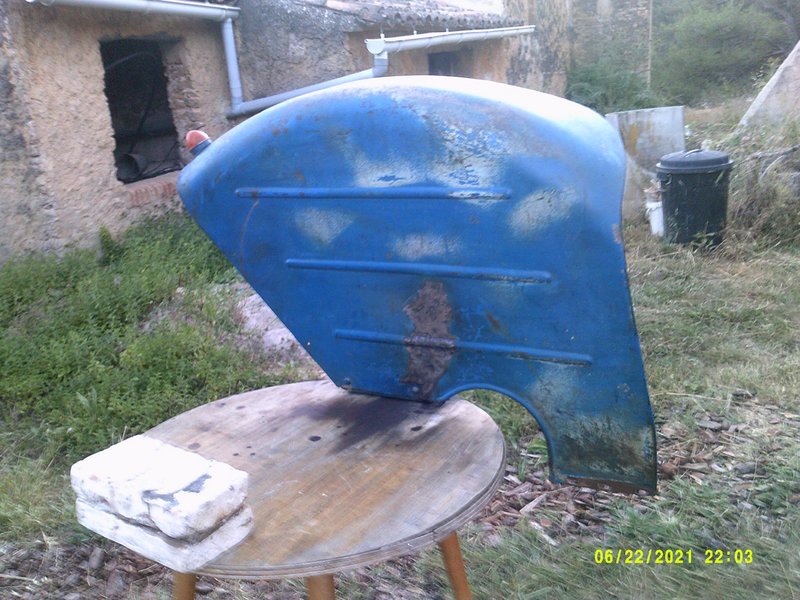

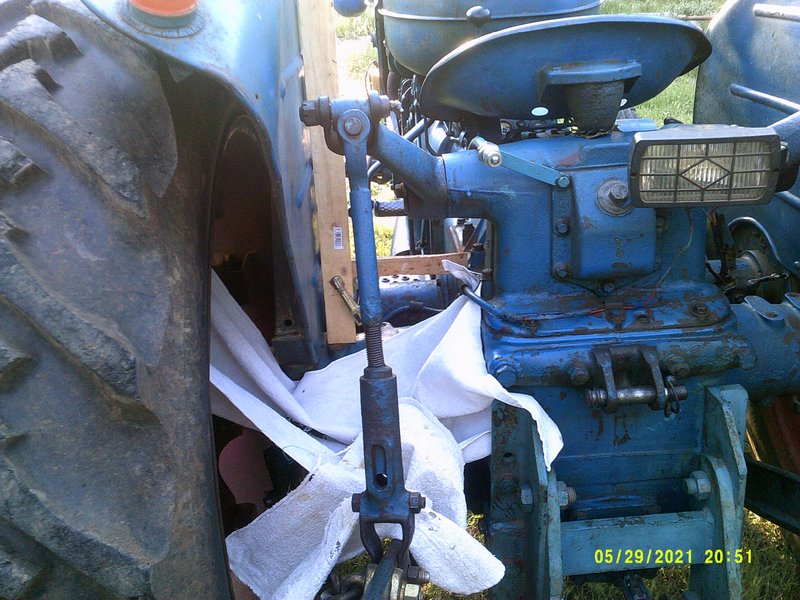
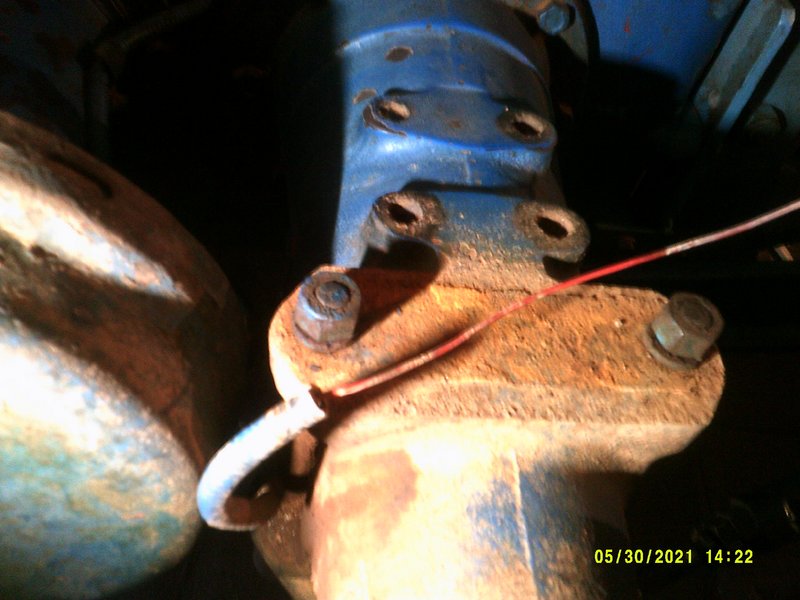
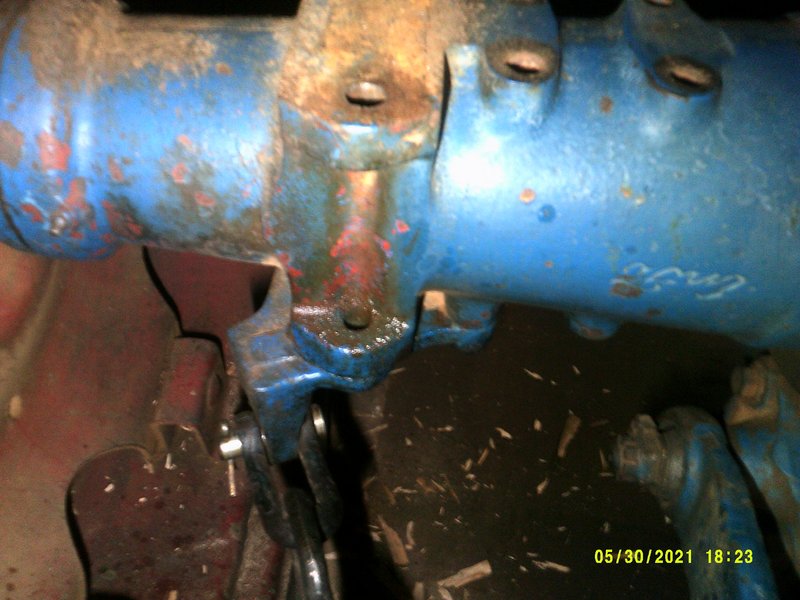
Once that was done the mudguard needed to come off. The wee bolts came off easily enough, but the main bolts were pretty stiff (it took about three hours to loosen the nuts and another two to get them out altogether). The side light wire was burried in hardened dust, which needed to be ploughed out of the way in order to get it out. The connector screw came out very easily surprisingly.

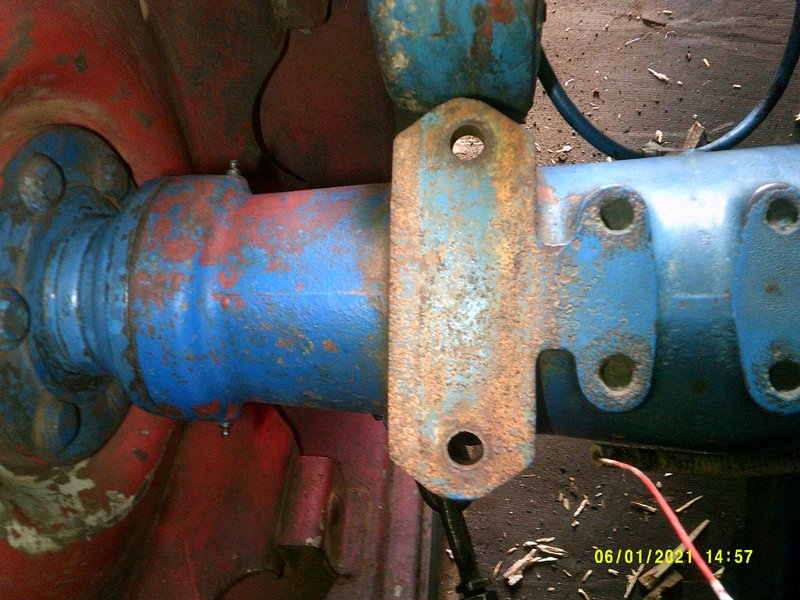
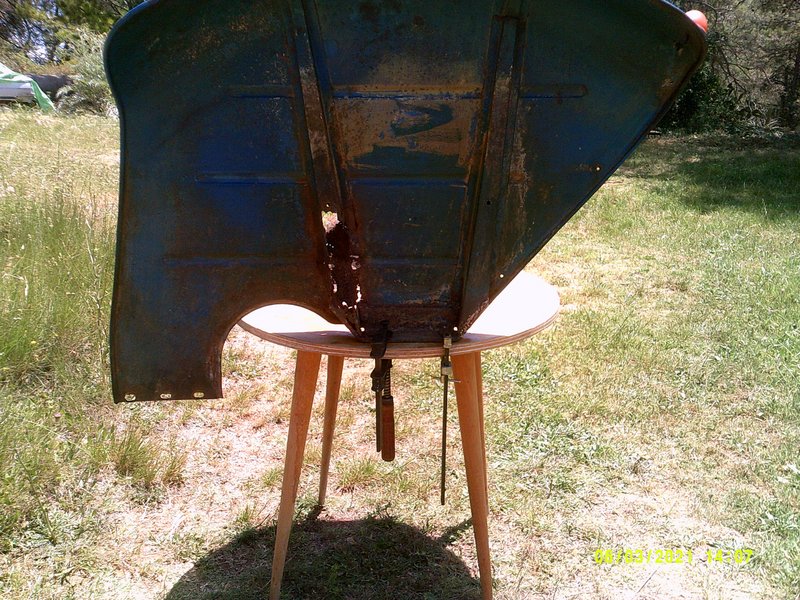
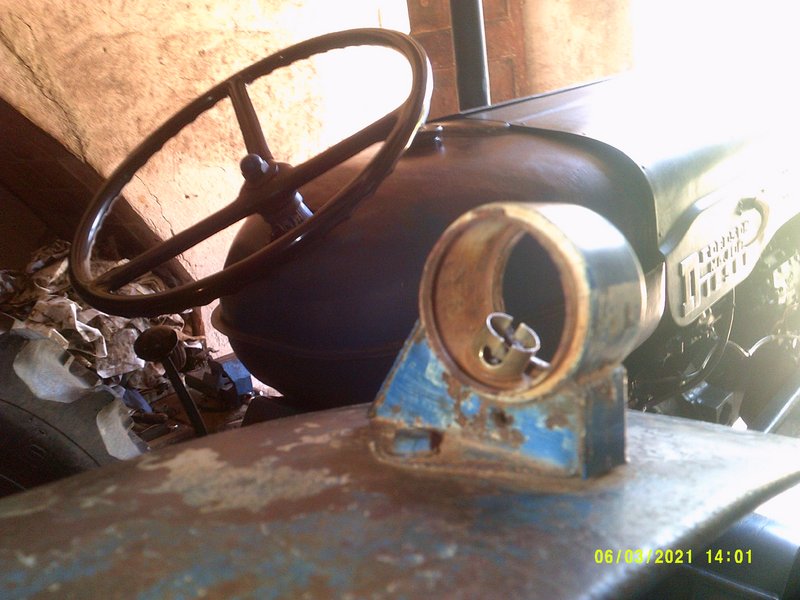
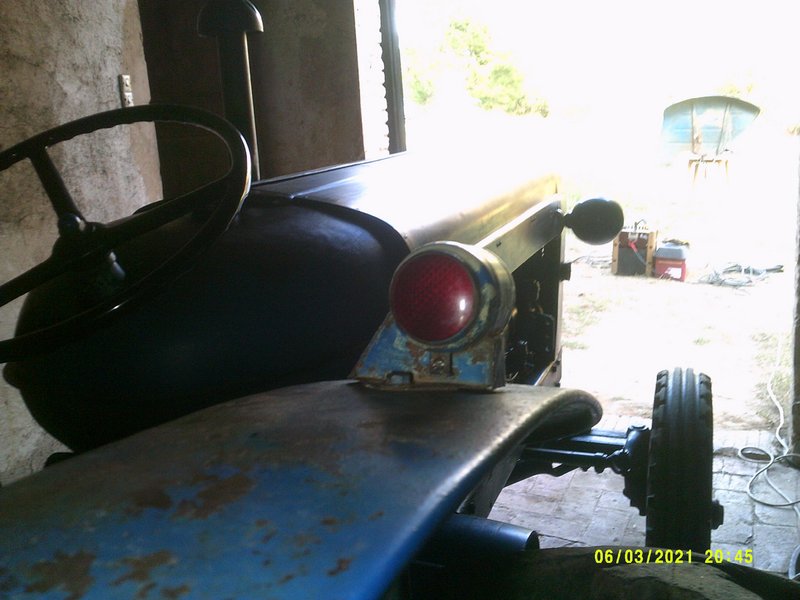
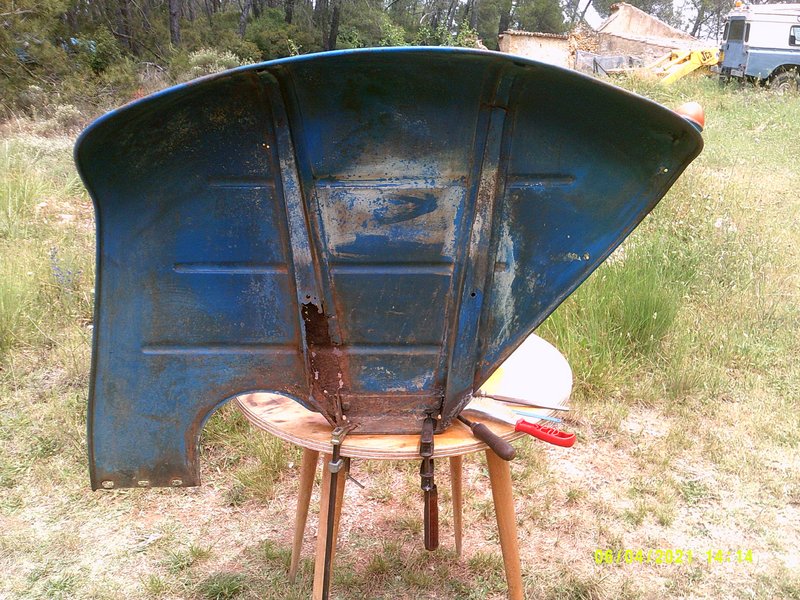
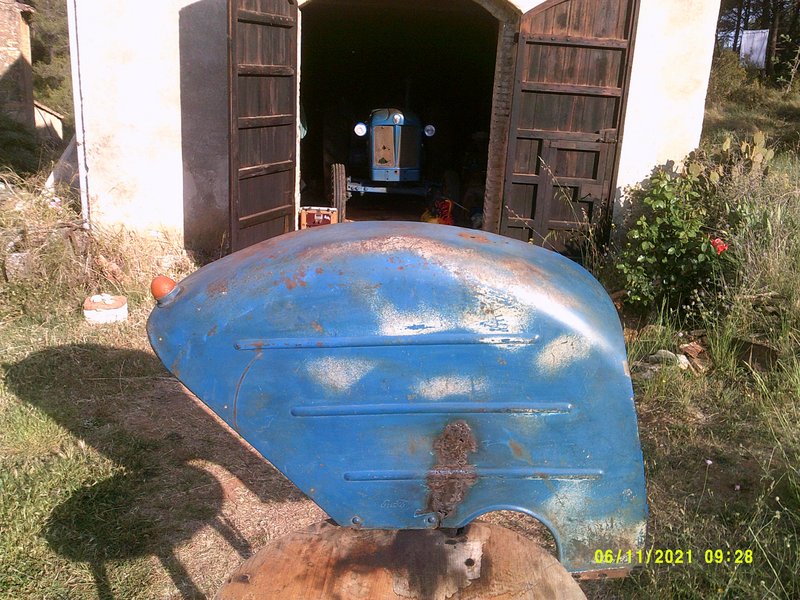
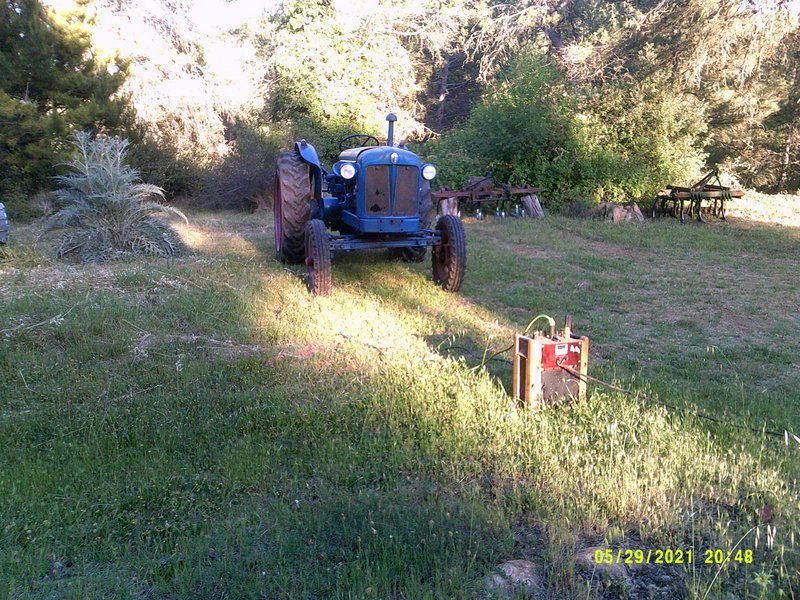
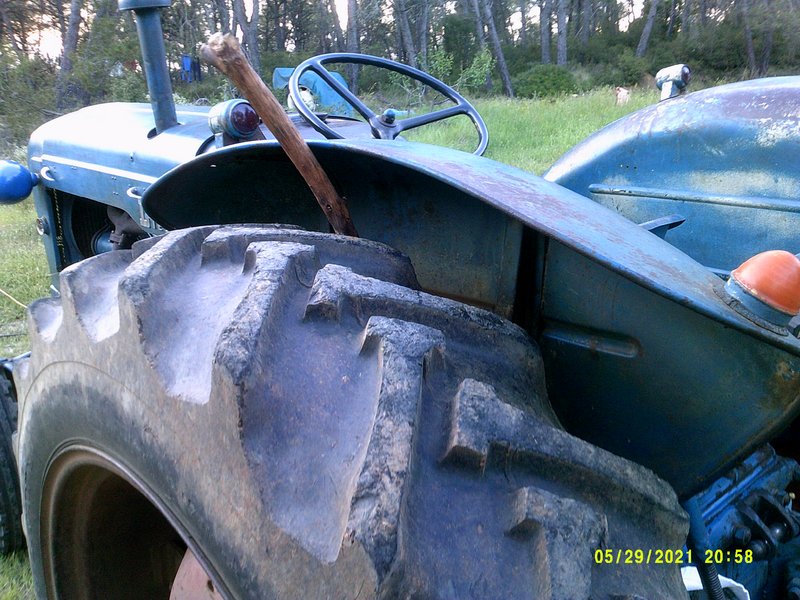
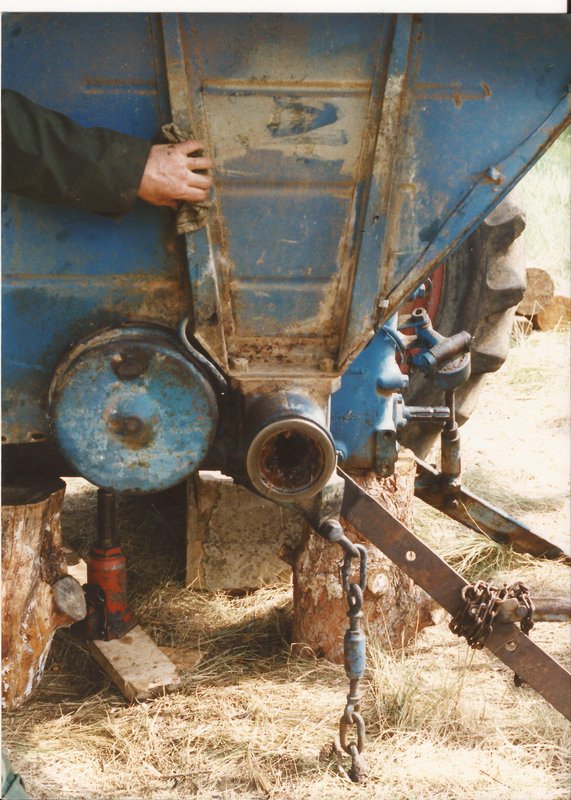
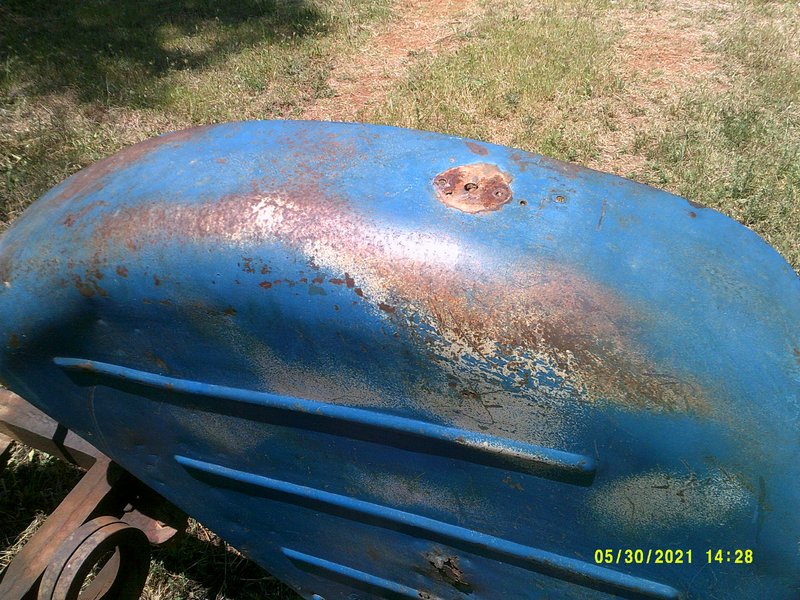
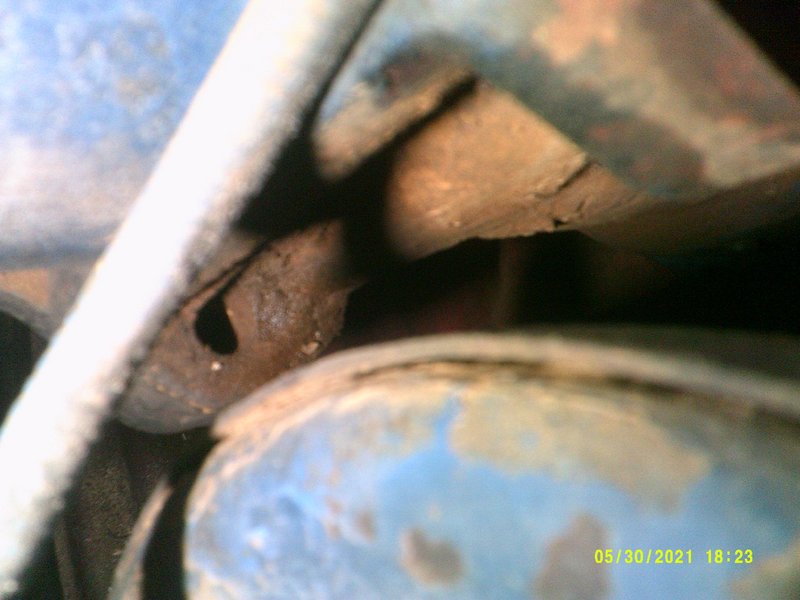
Here's a shot from 1998, to show that it was already needing attention, but it still felt solid then (and partly supported the axle casting when it was removed in the rear end overhaul then)
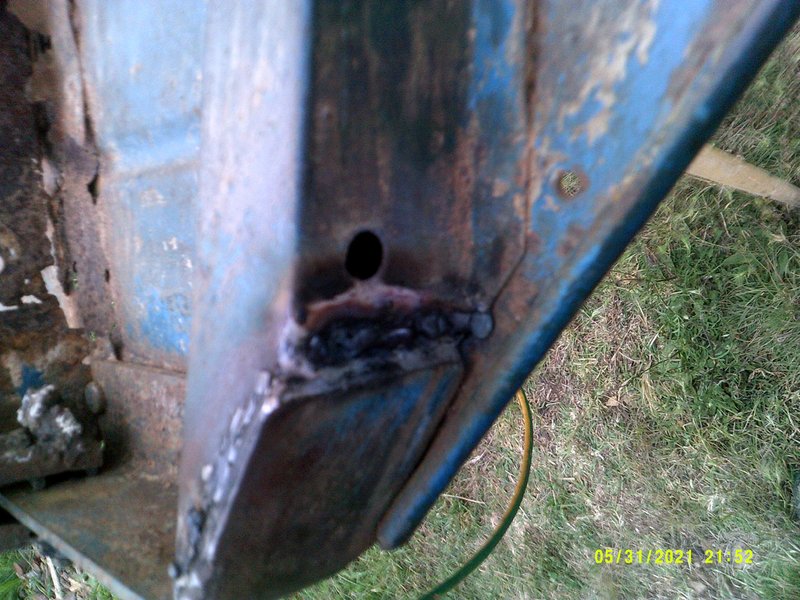
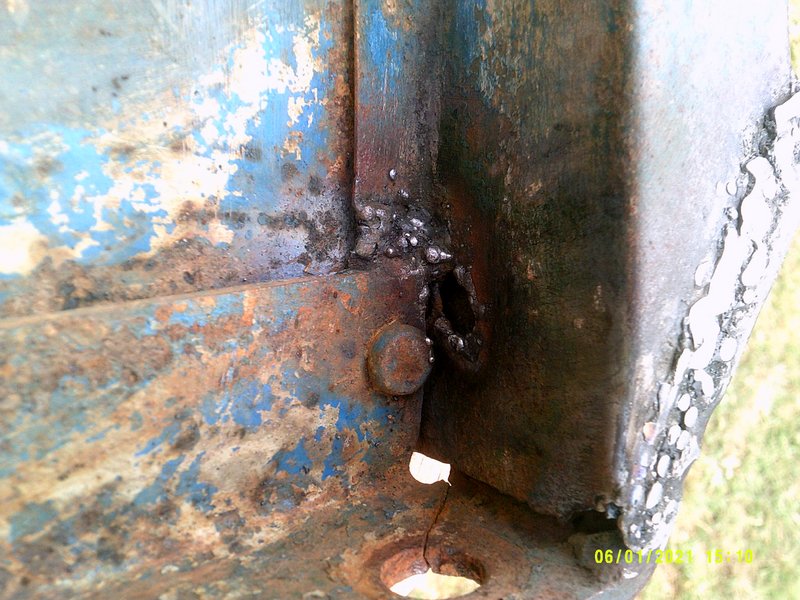
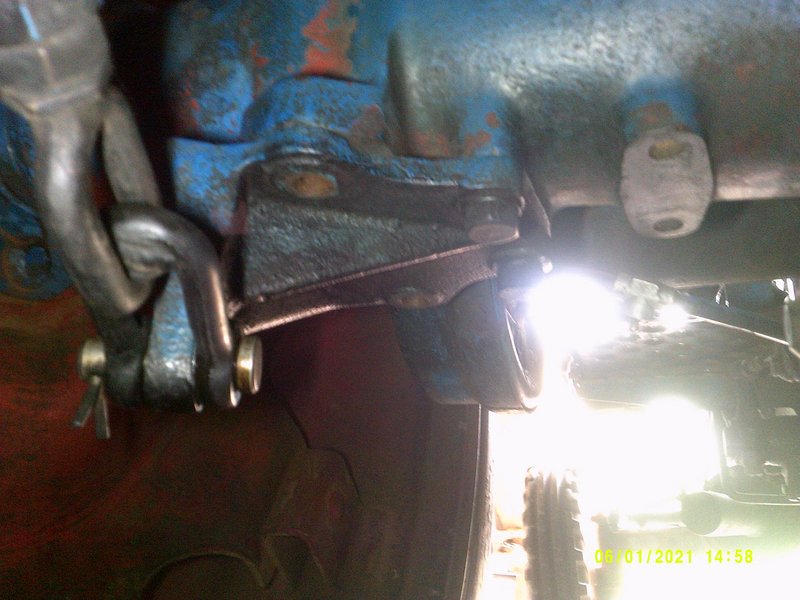
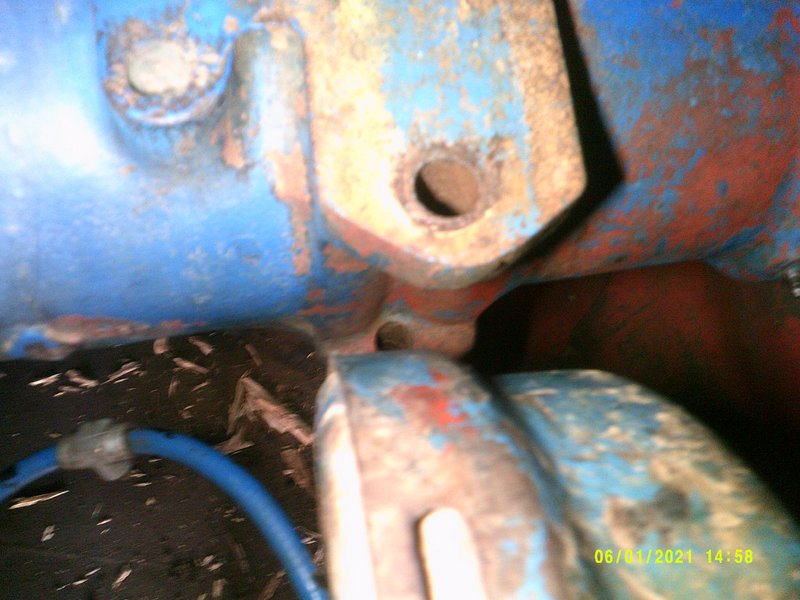
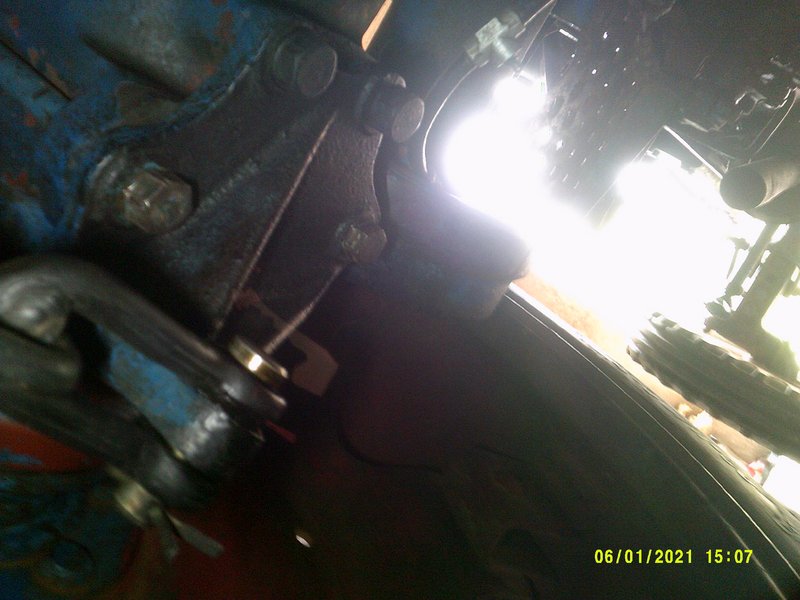
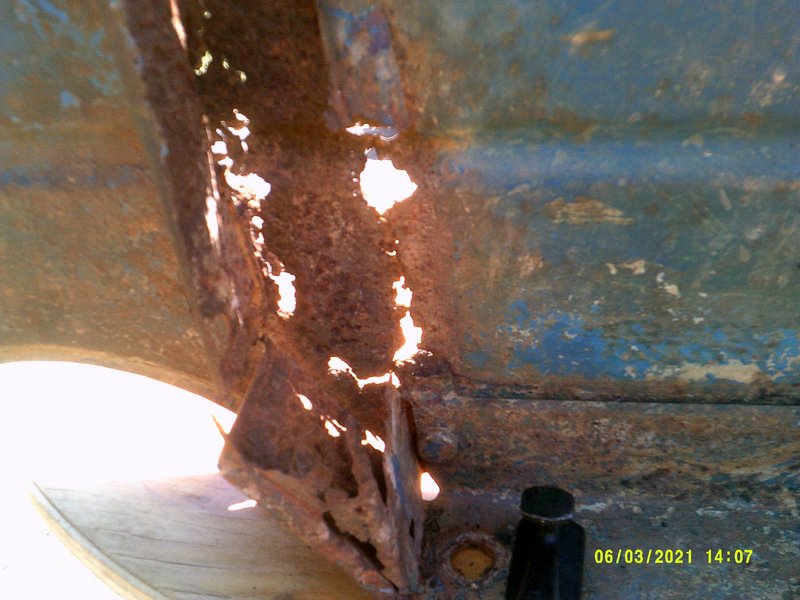
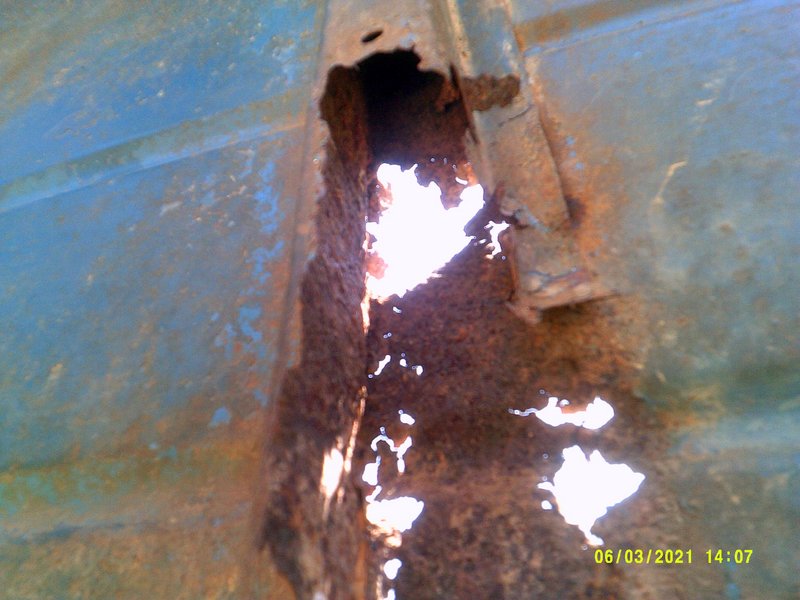
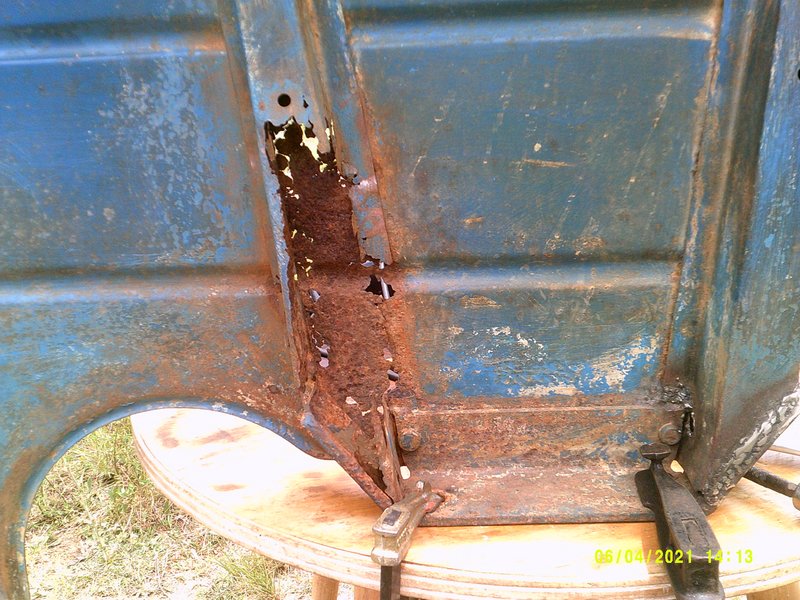
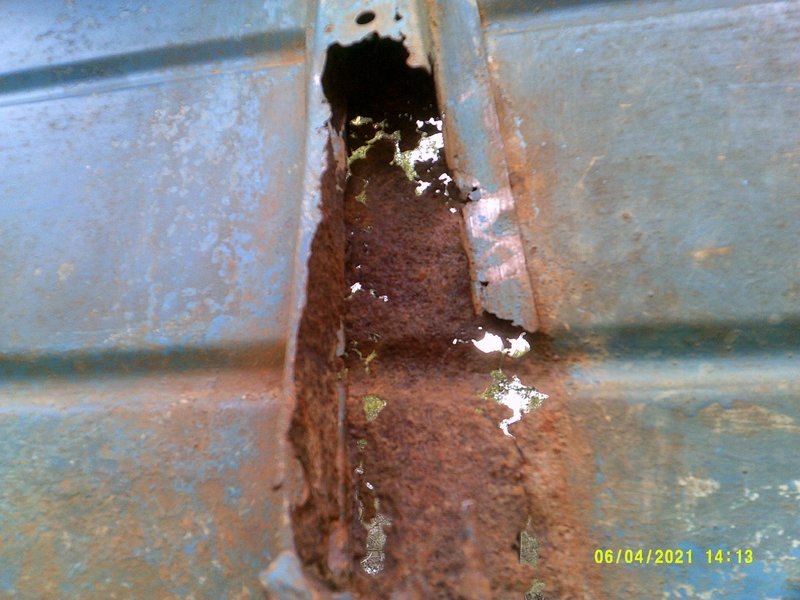
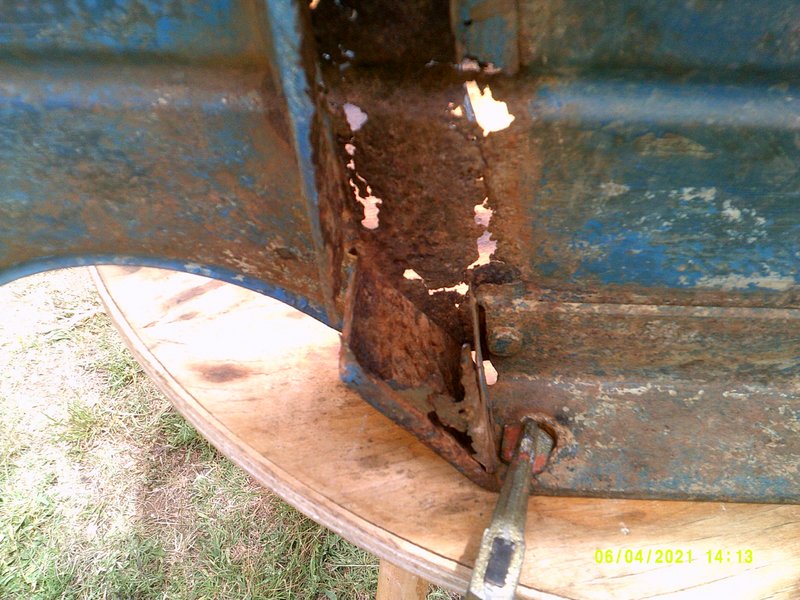
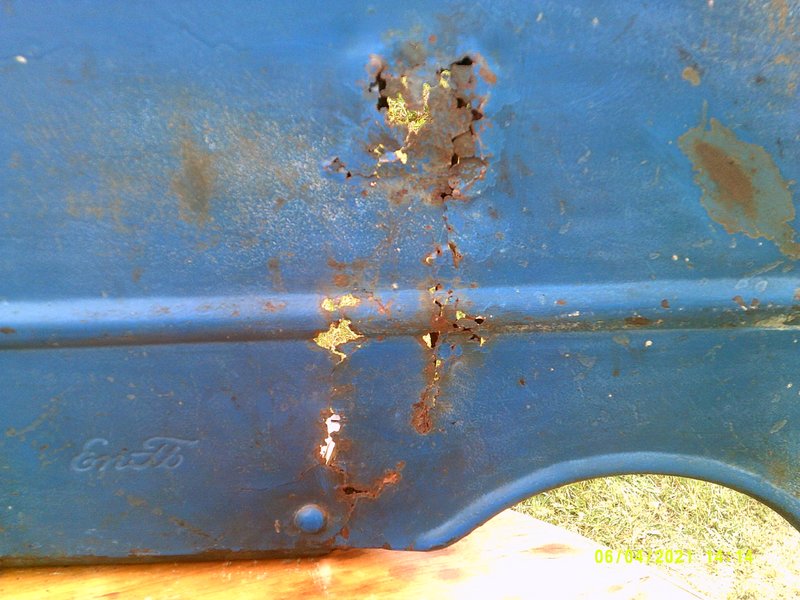
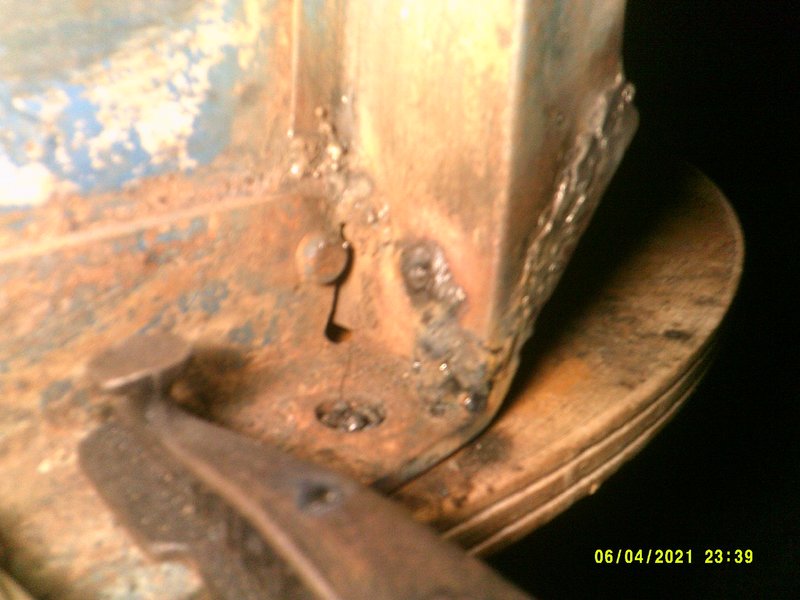
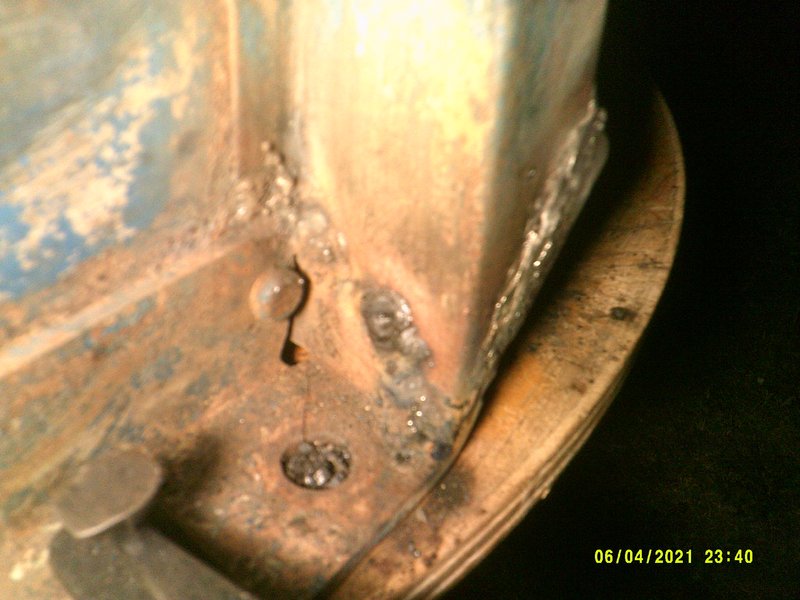
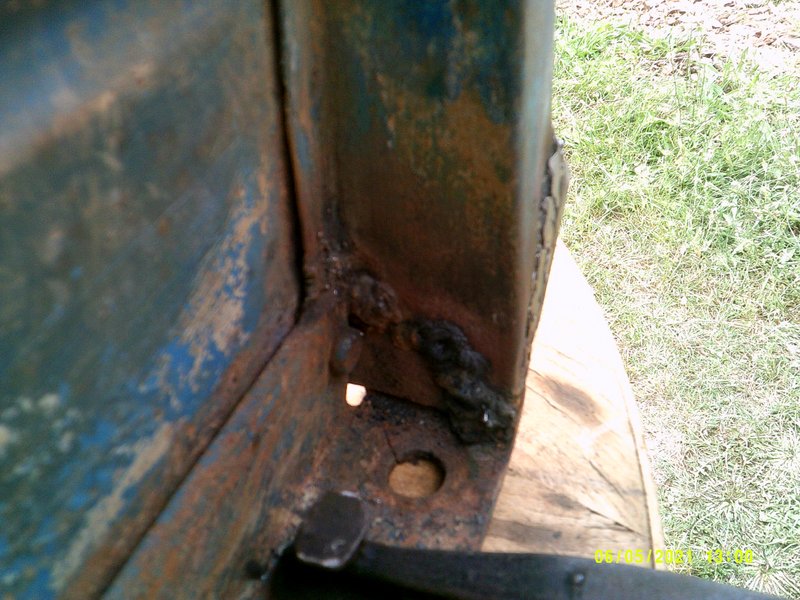
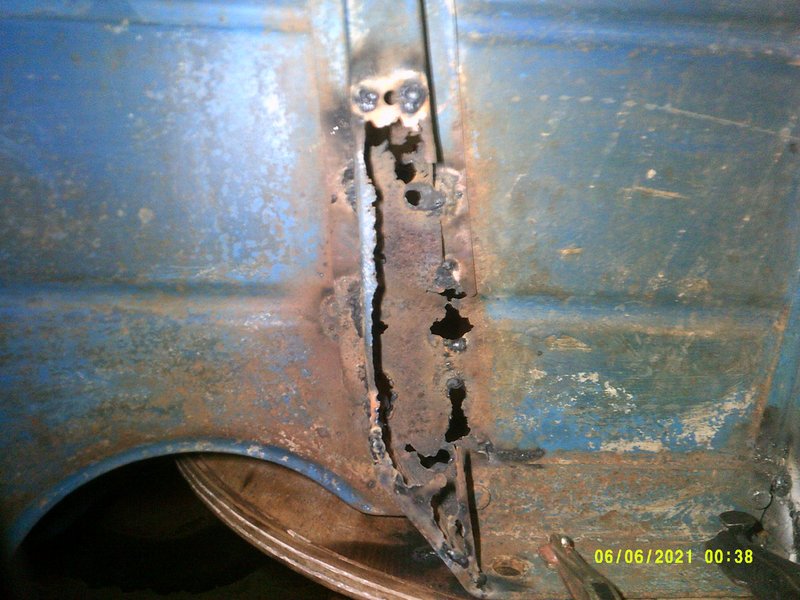
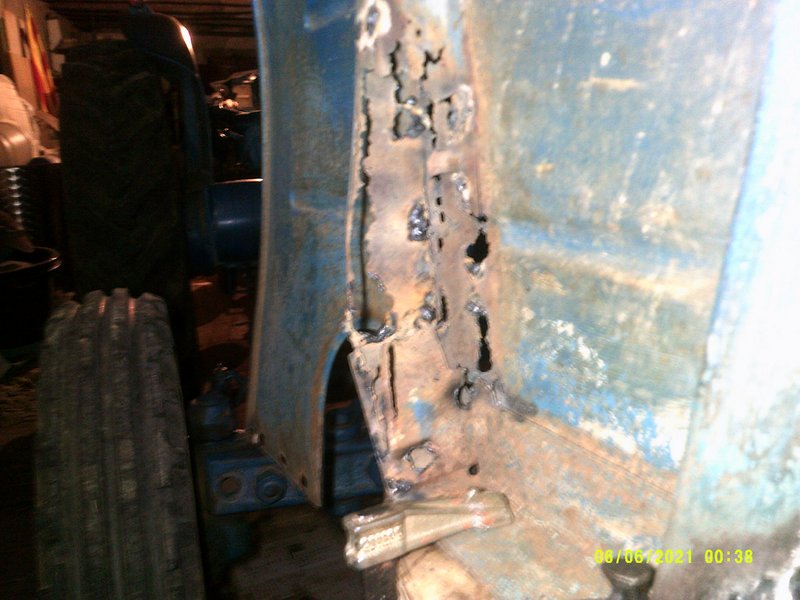
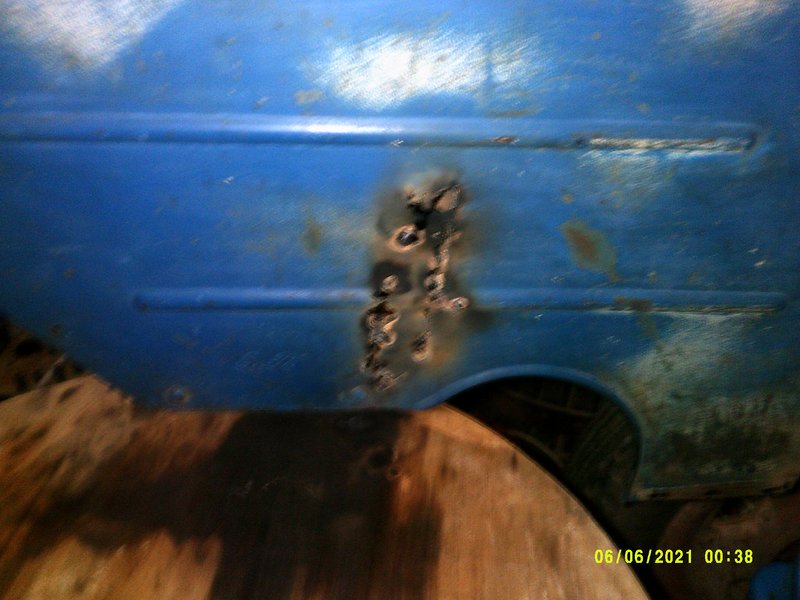
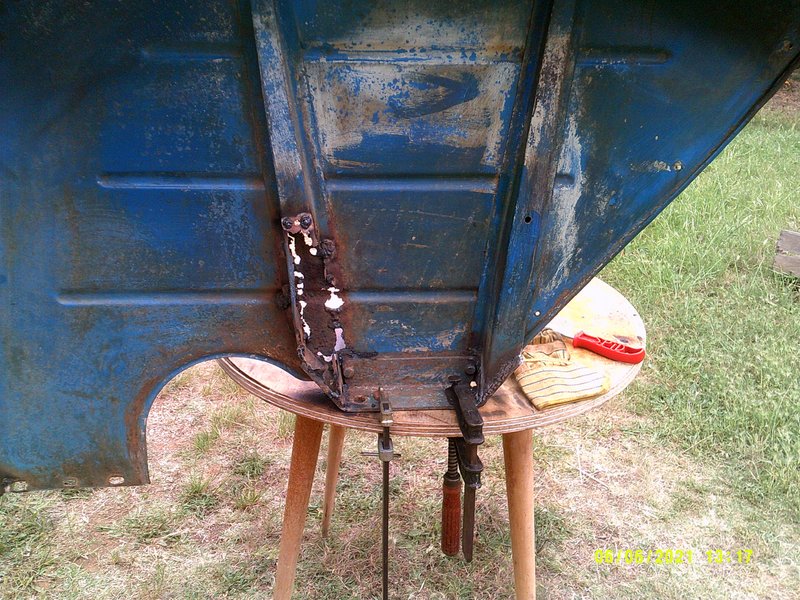
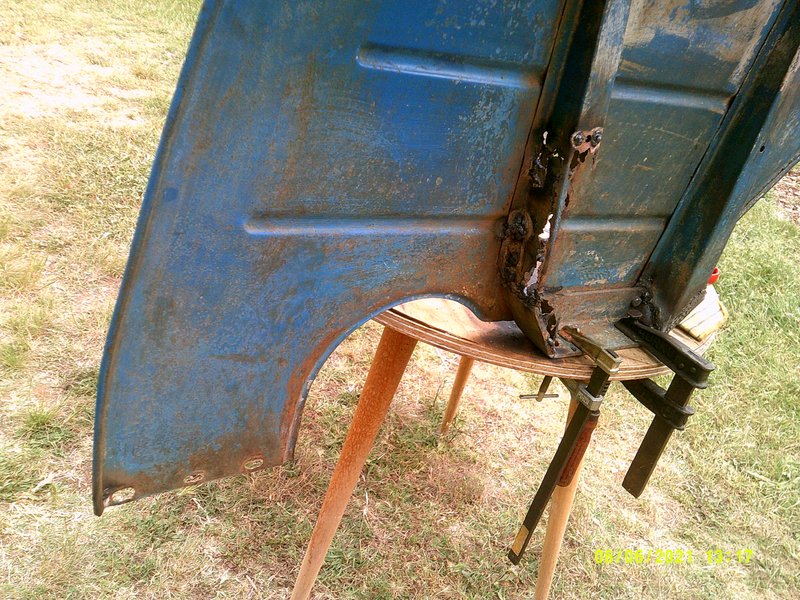
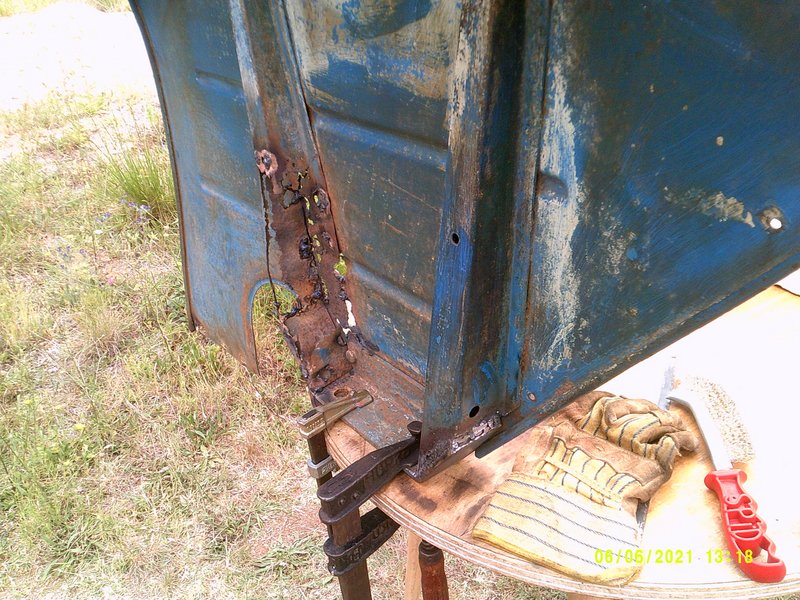
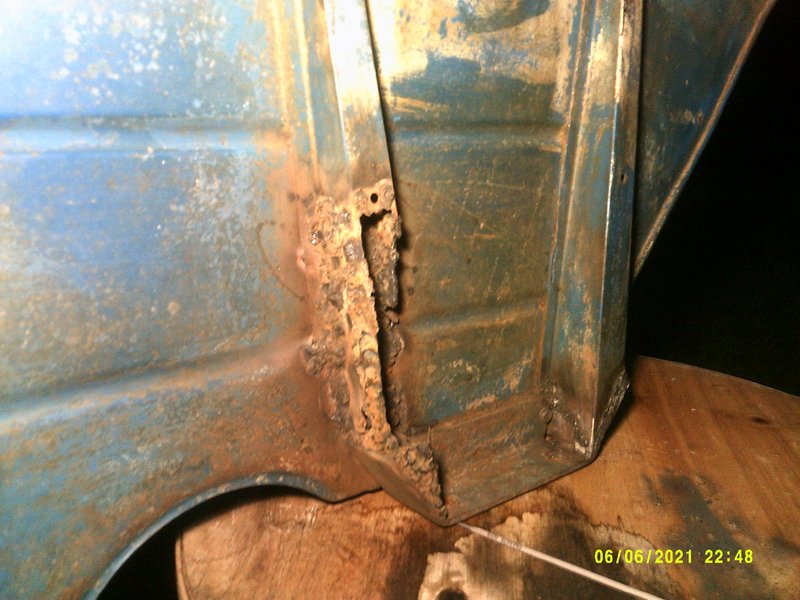
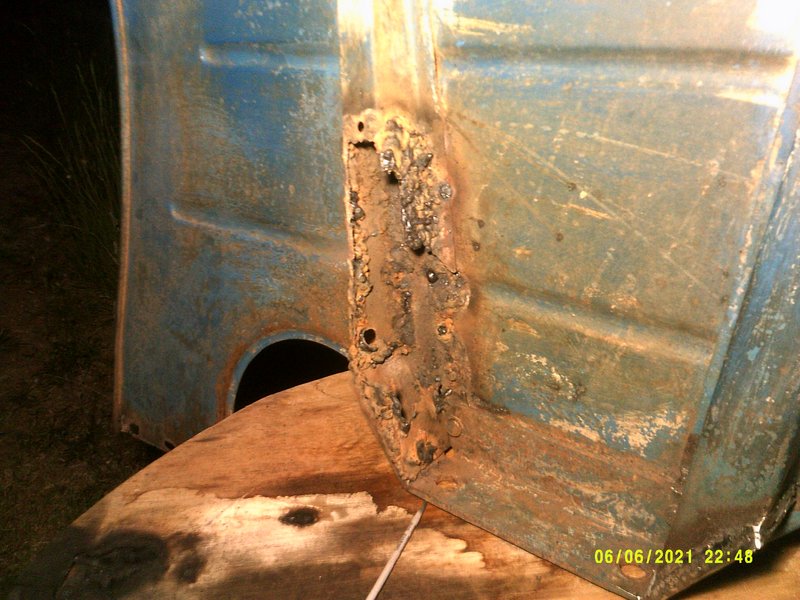
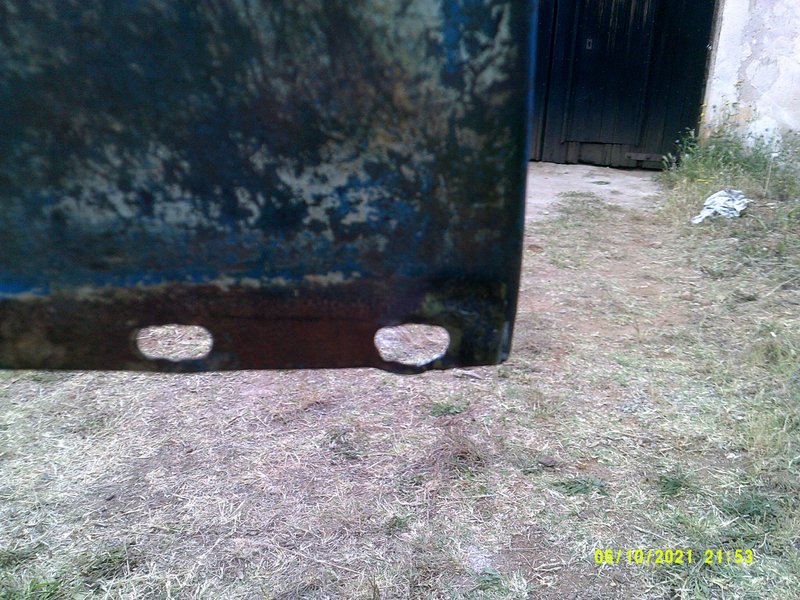
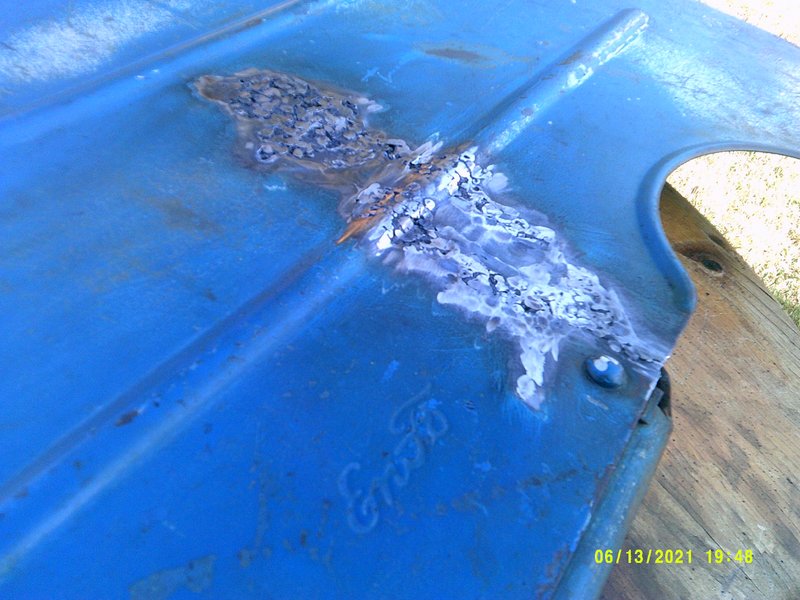
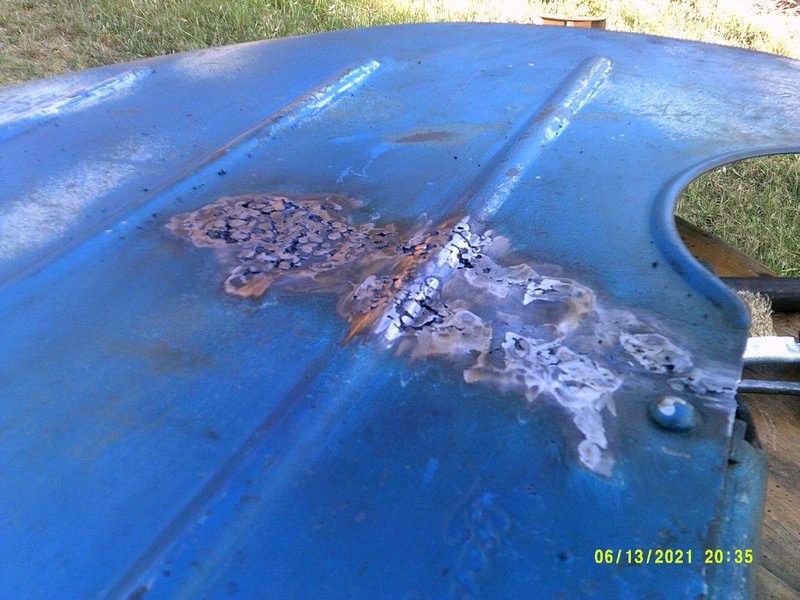
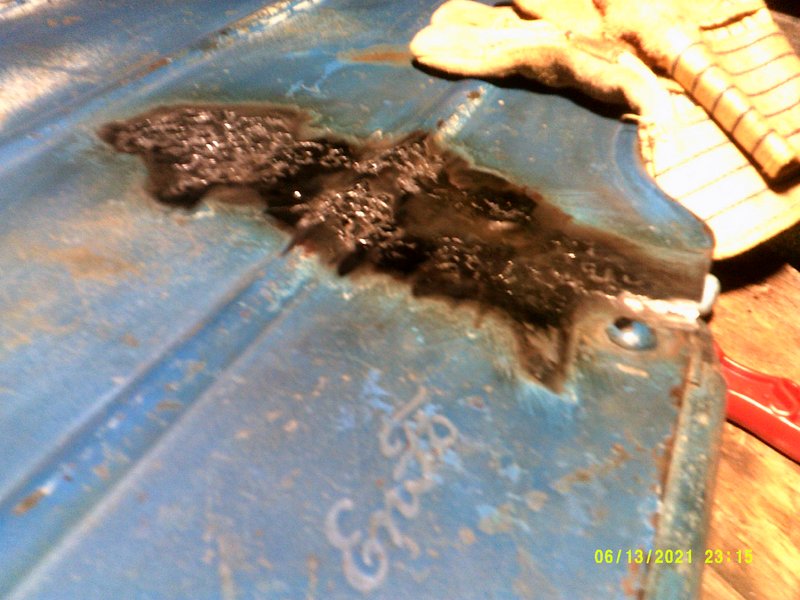
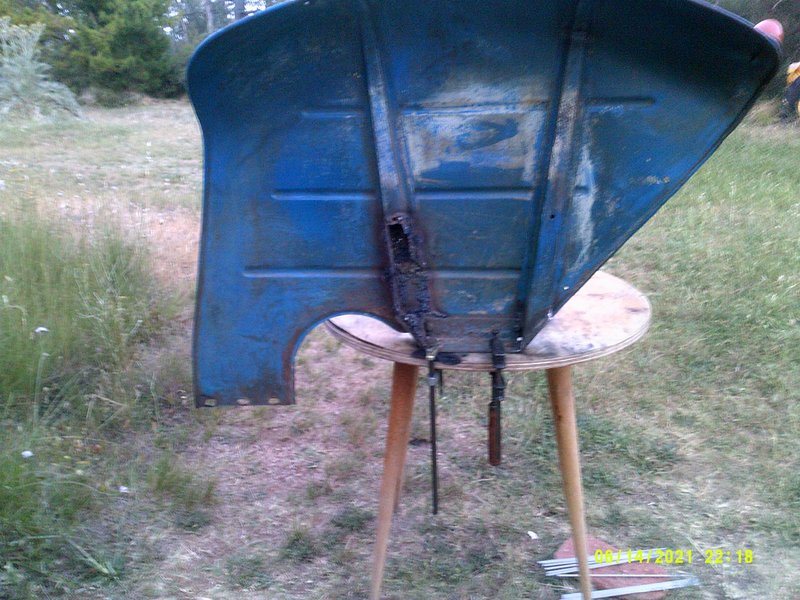
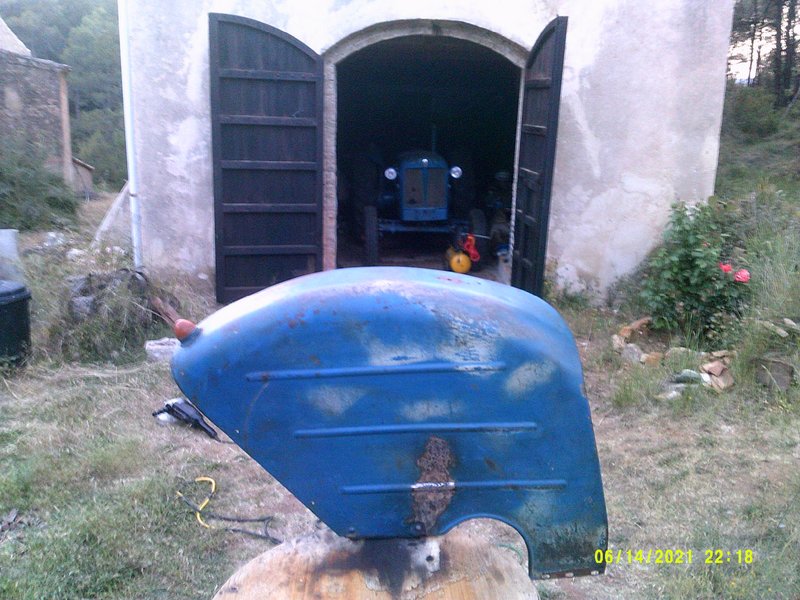
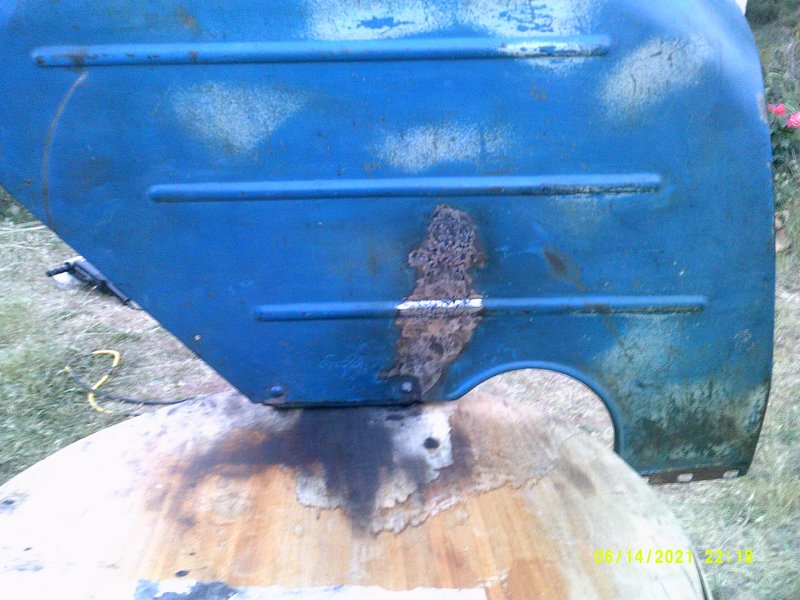
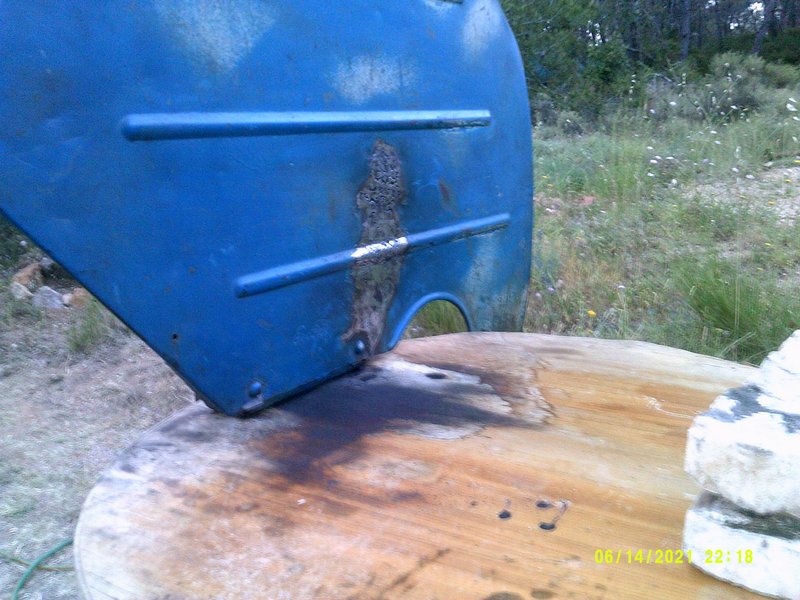
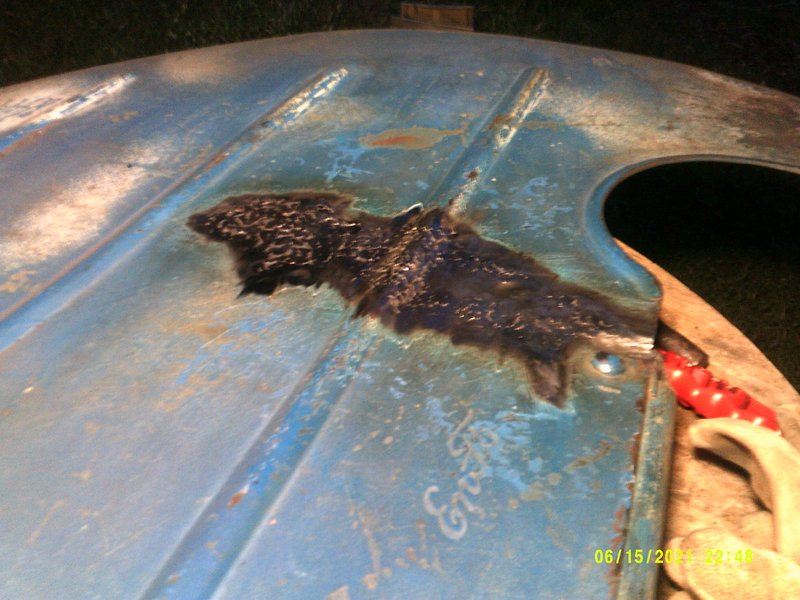
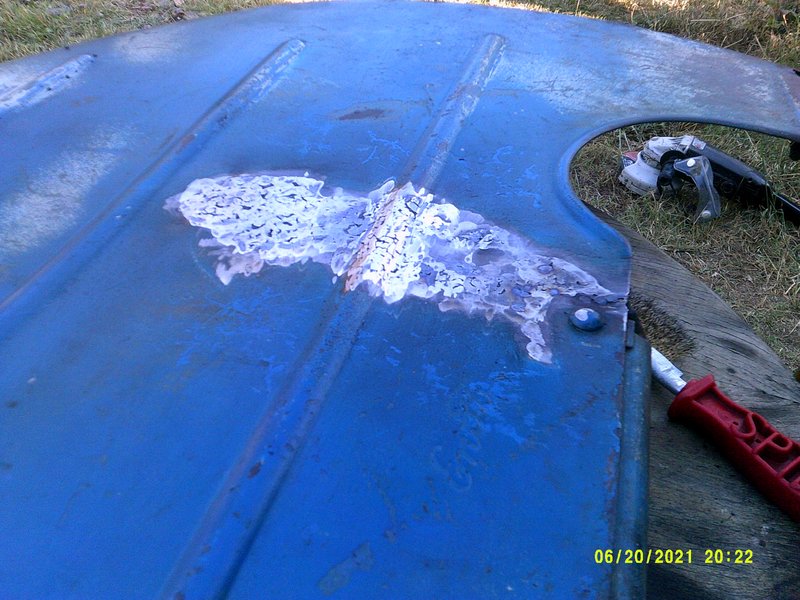
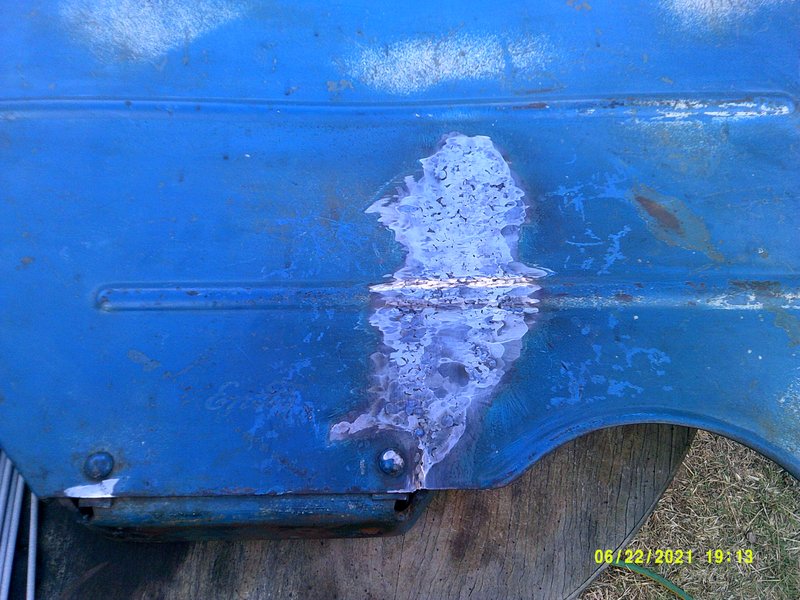
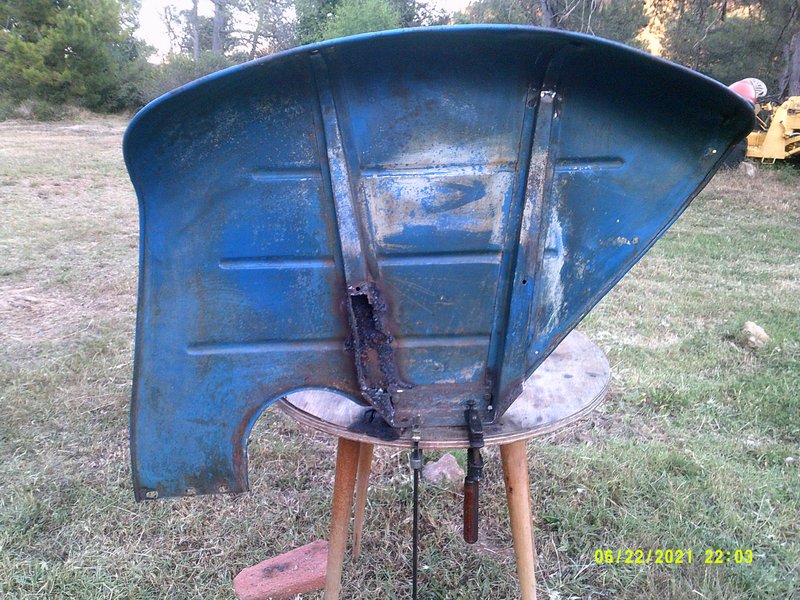
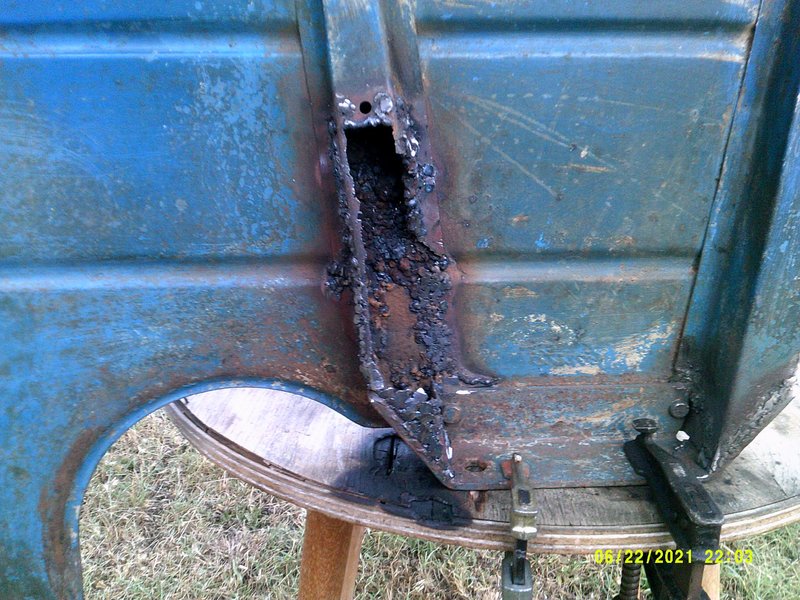
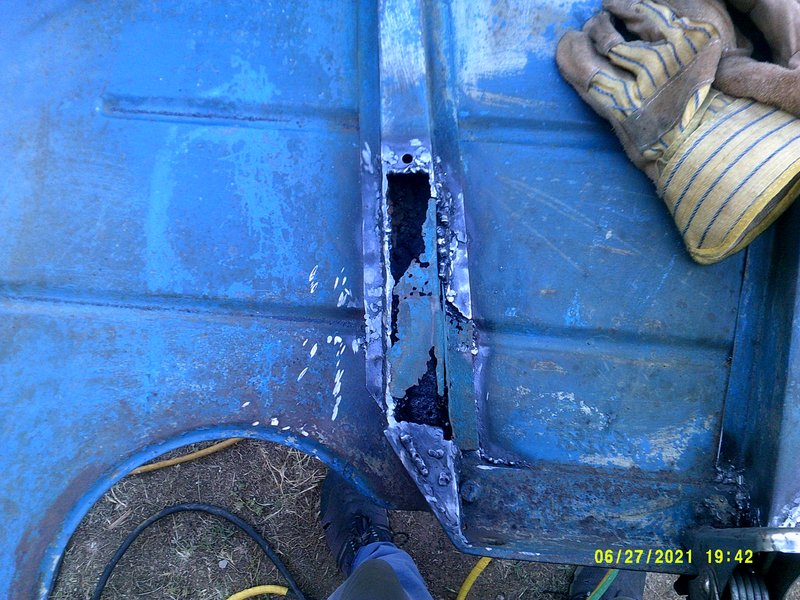
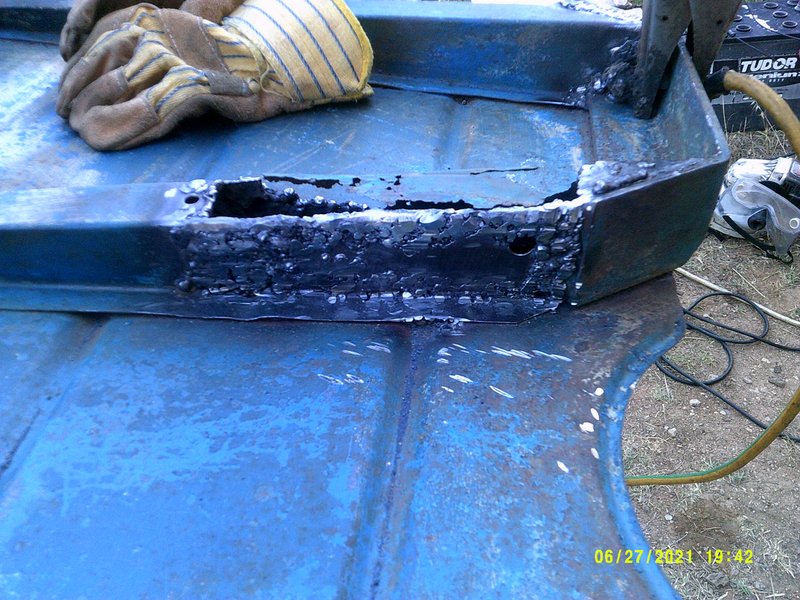
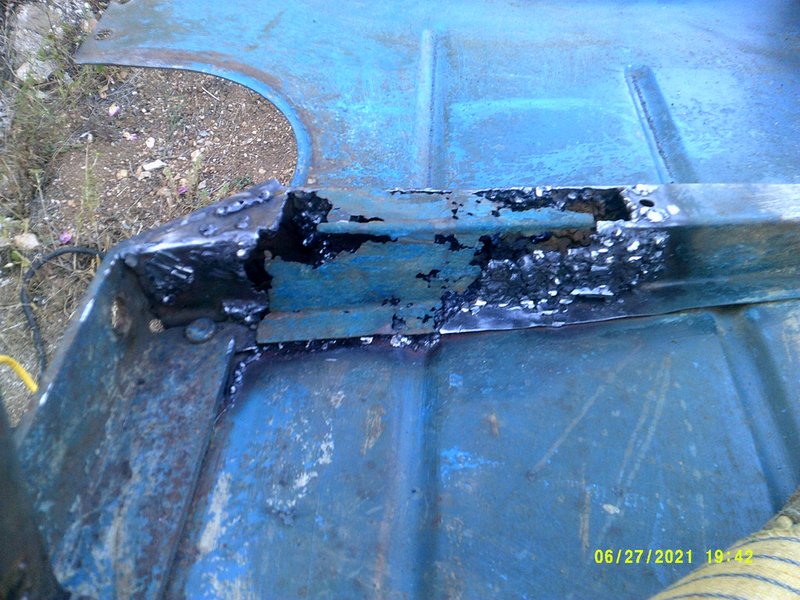
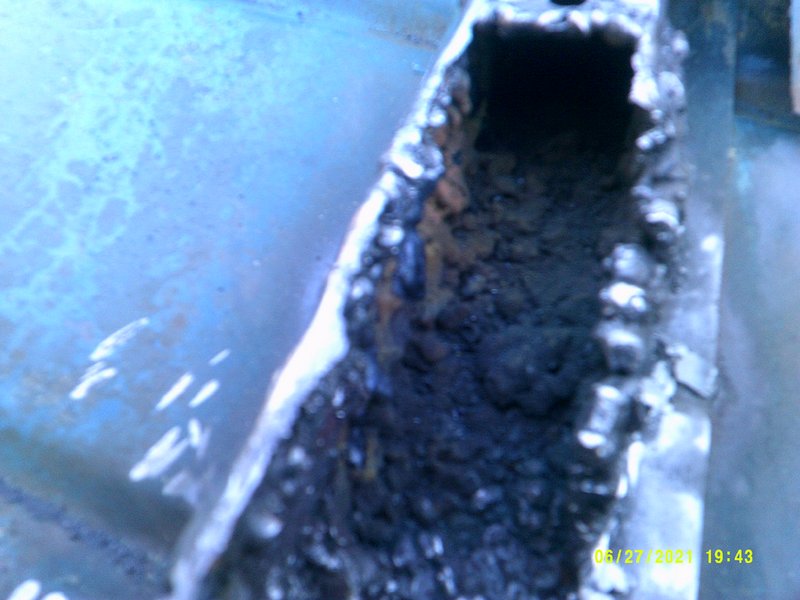
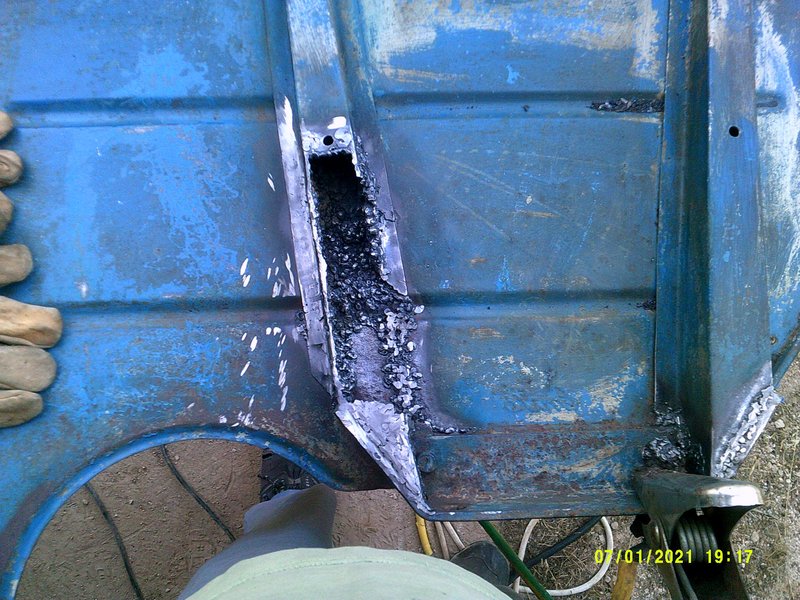
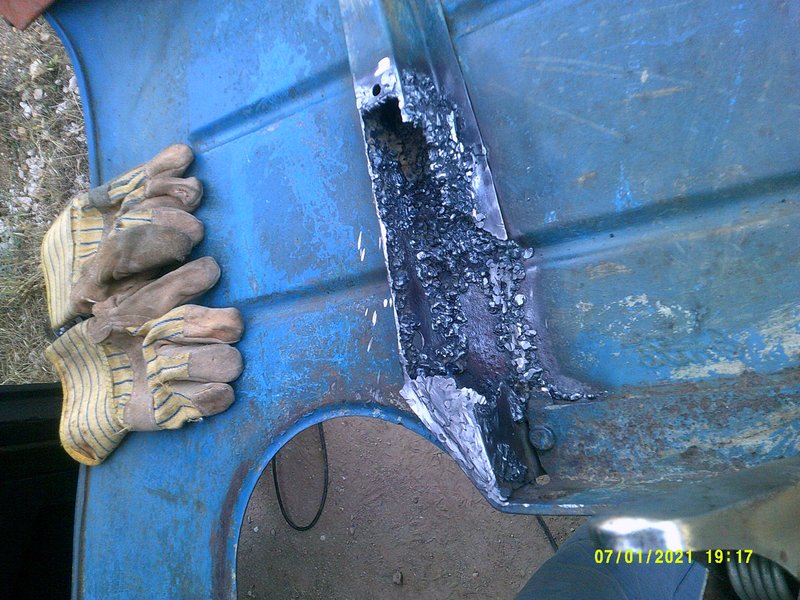
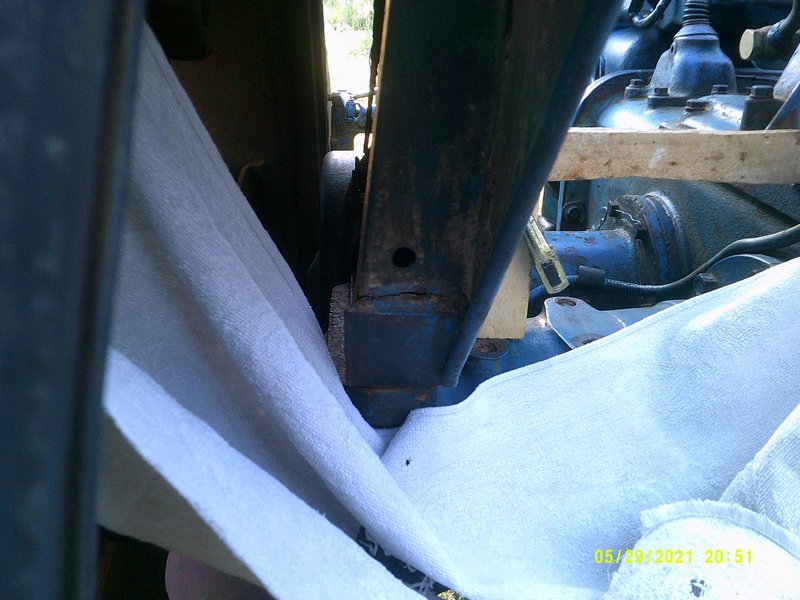
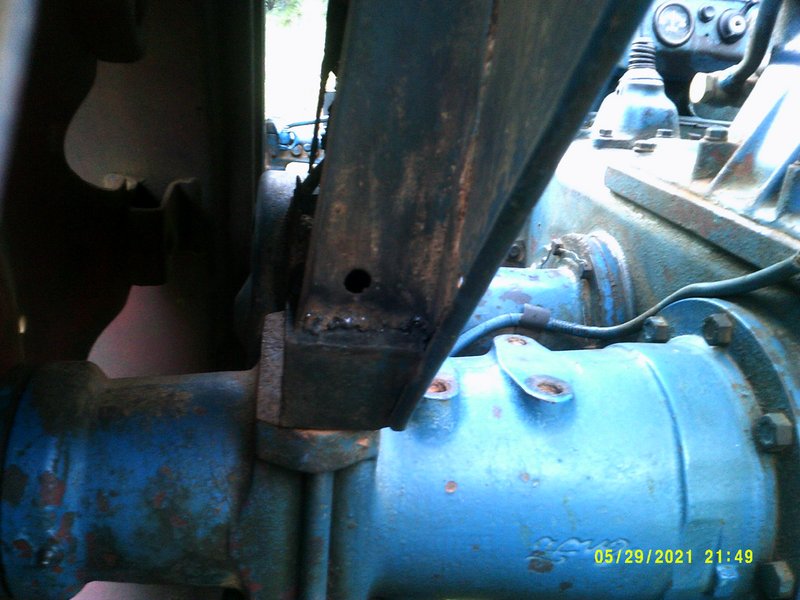
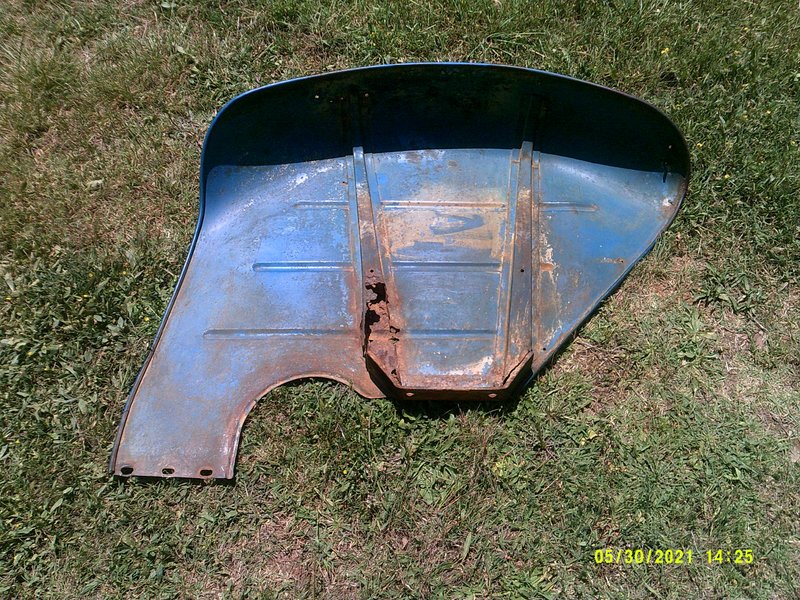
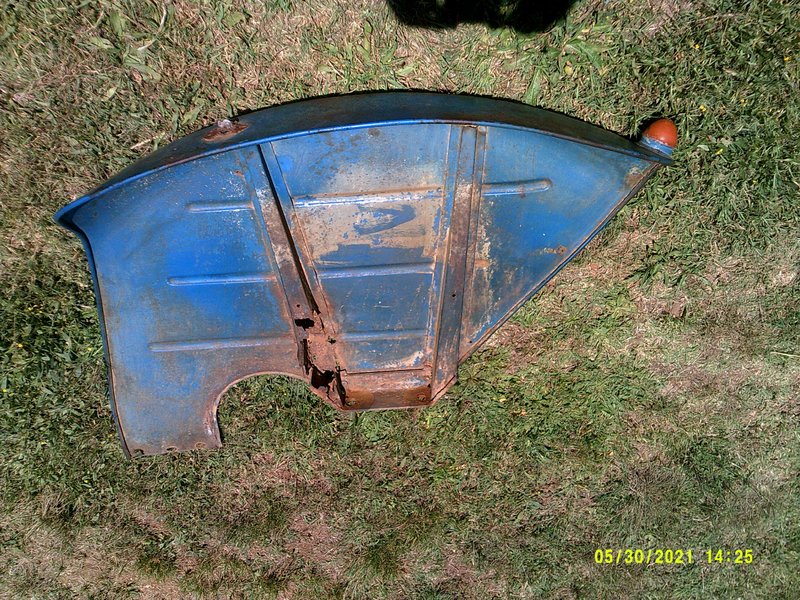
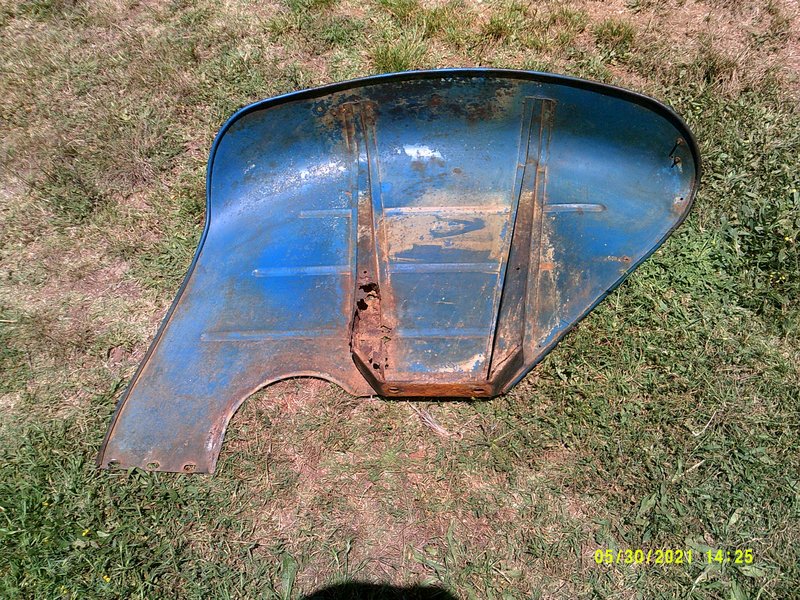
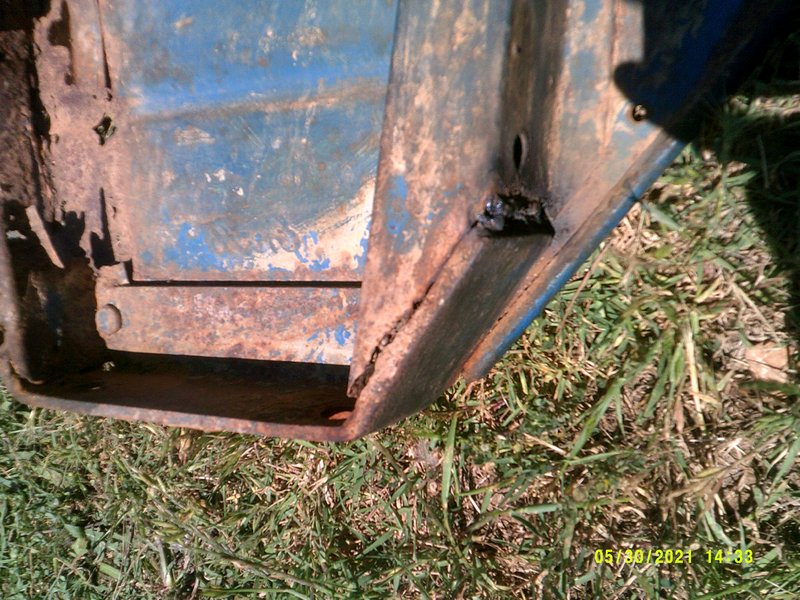
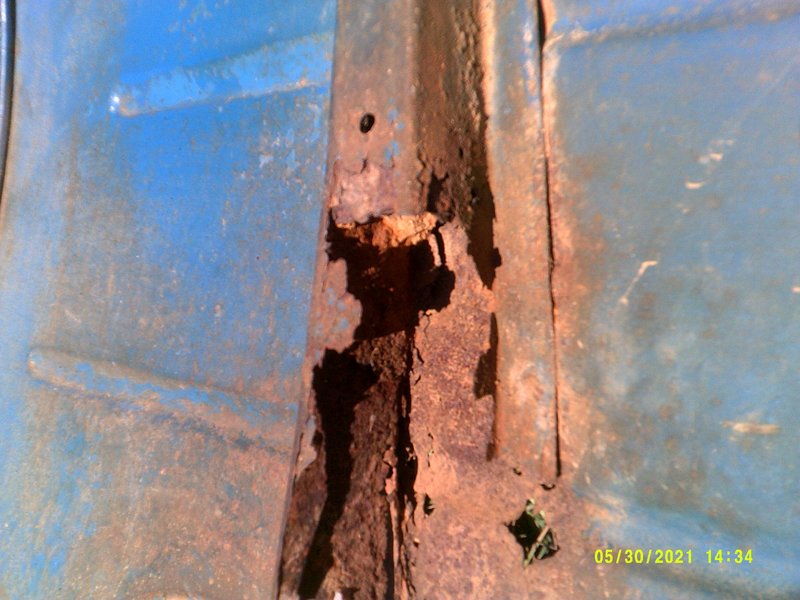
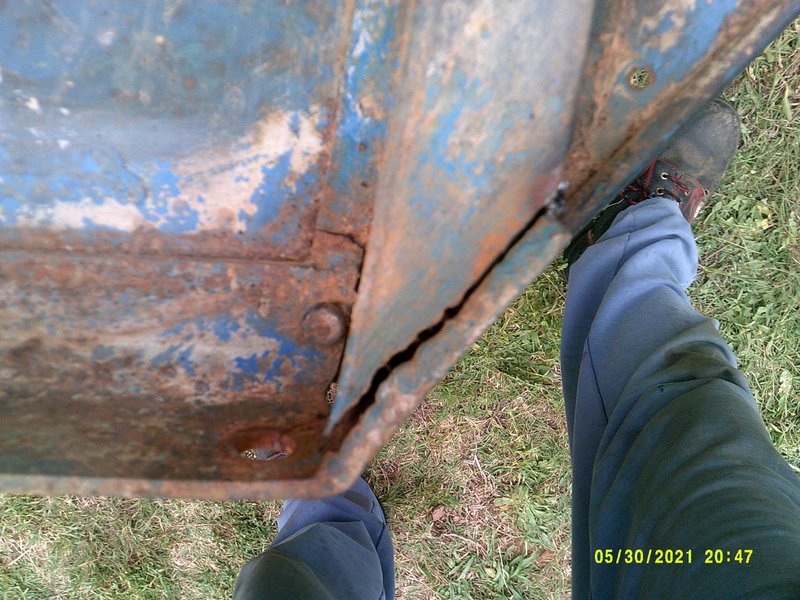
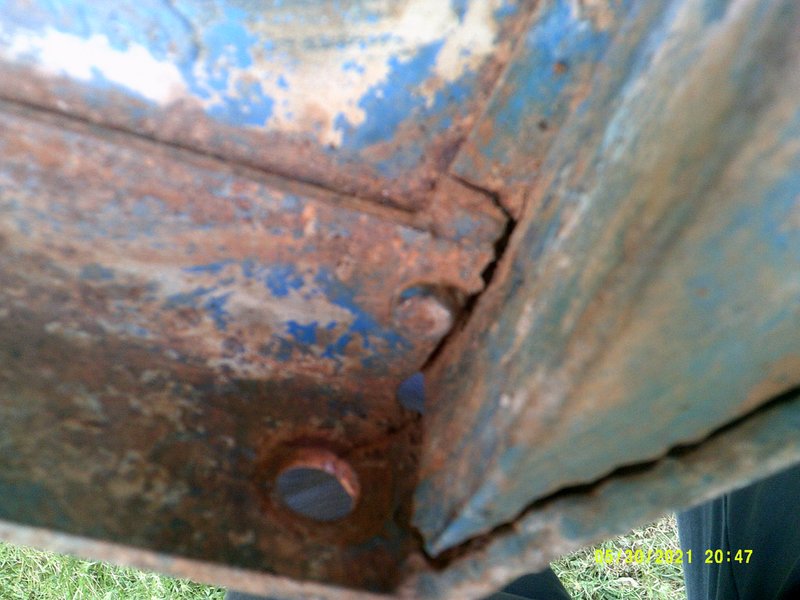
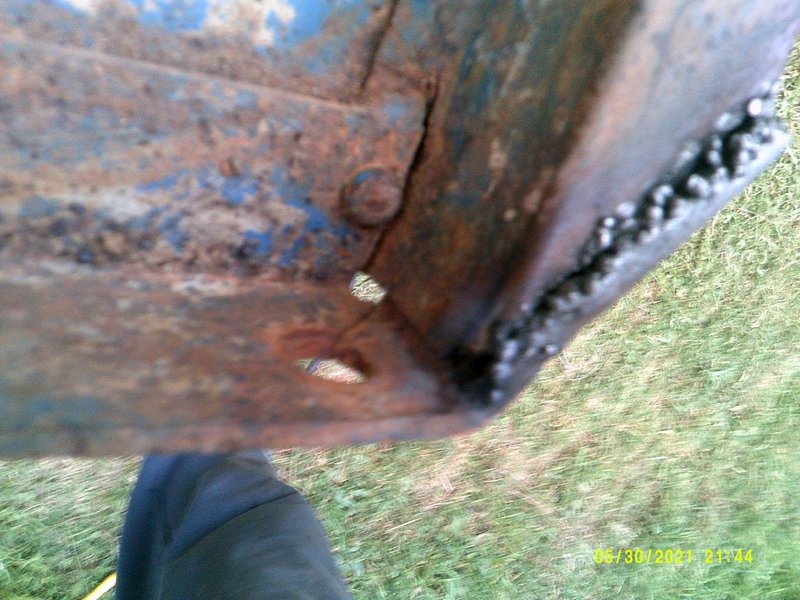
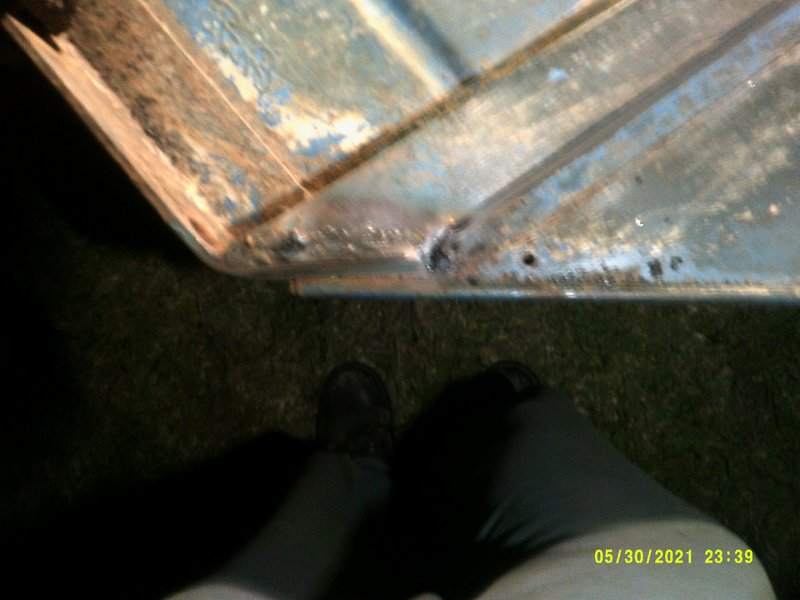
And some from the next morning after removing the mudguard, showing the extent of the damage.

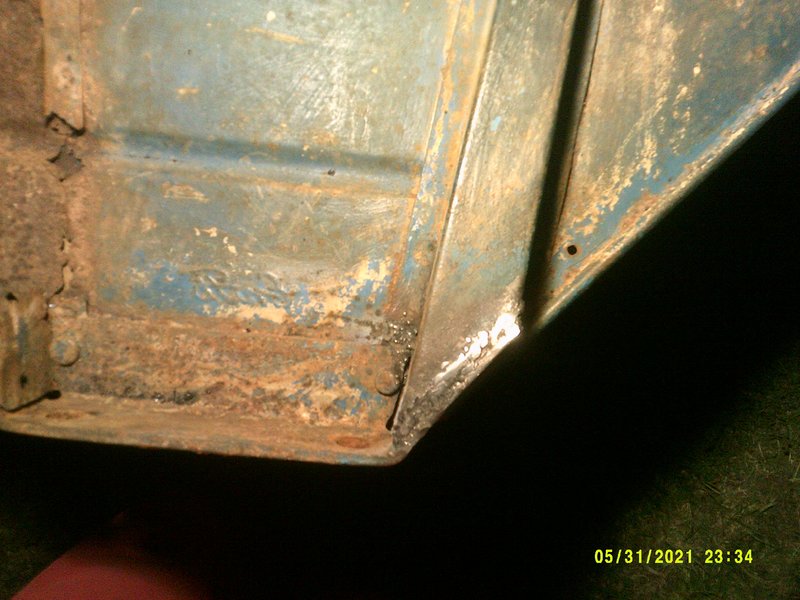
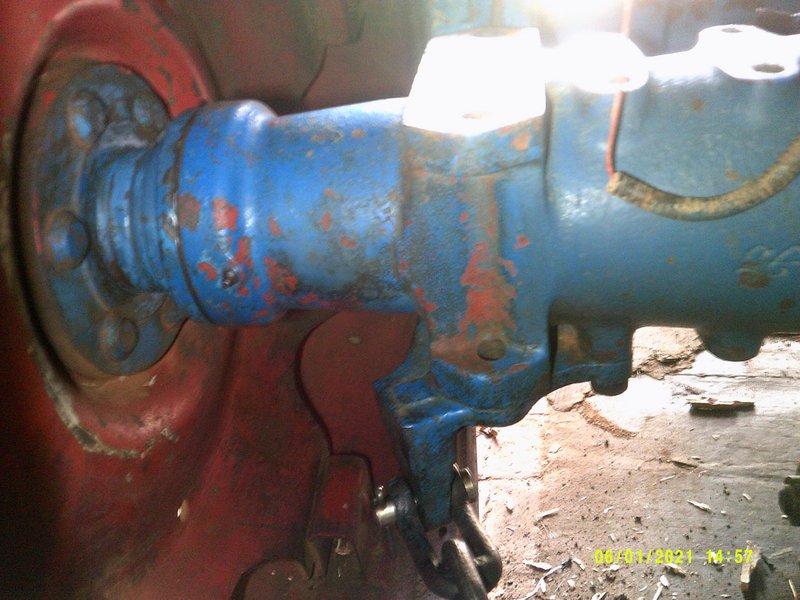
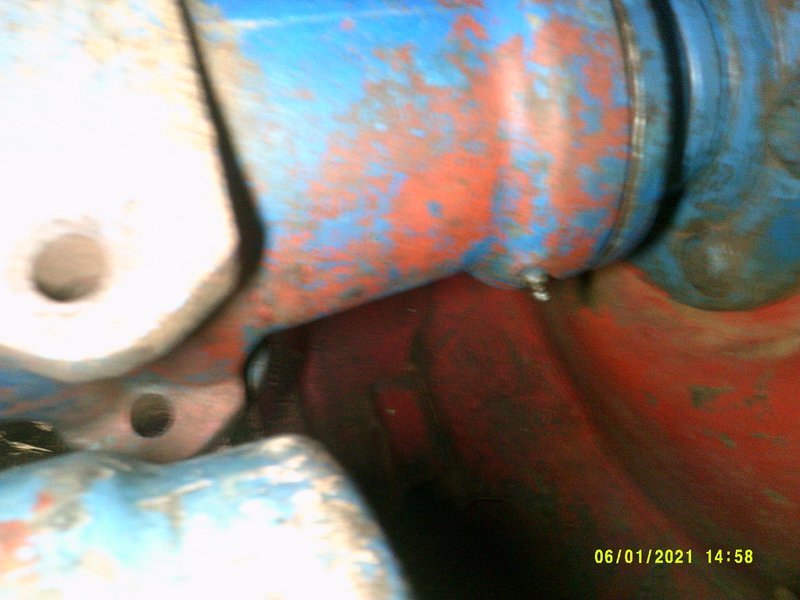
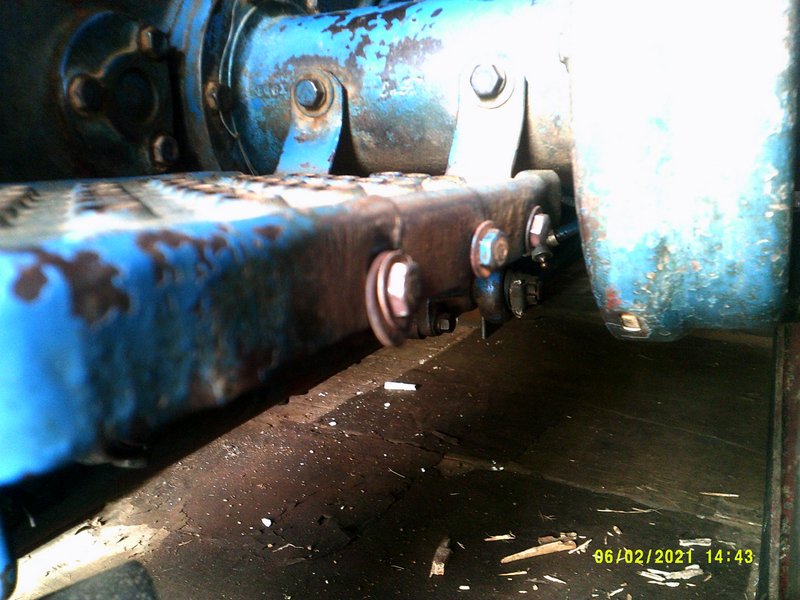
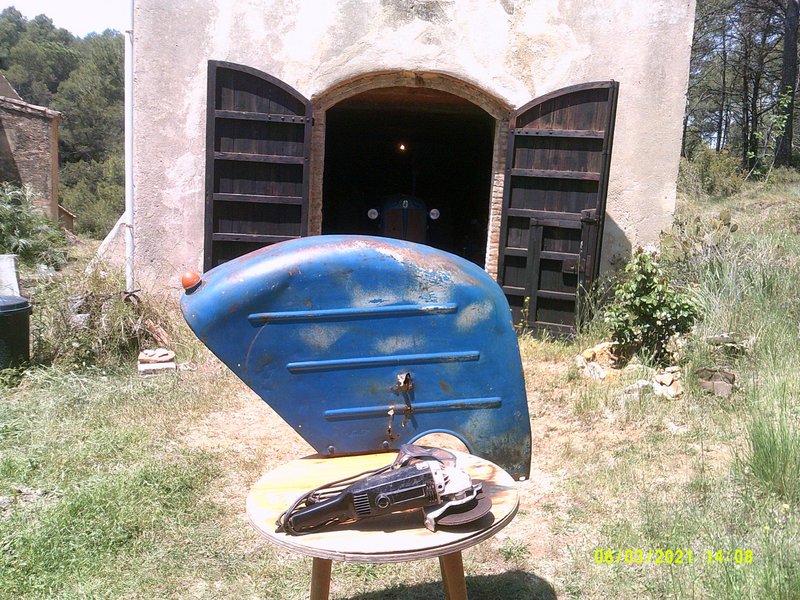
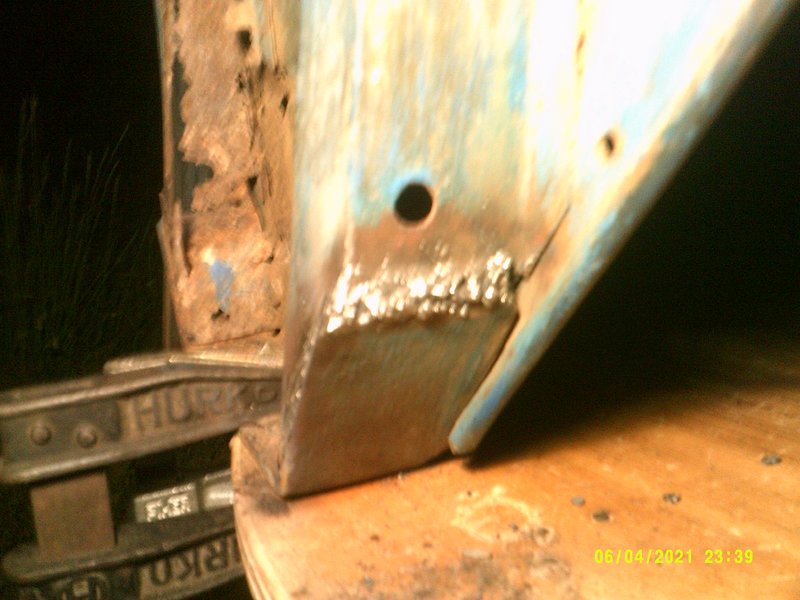
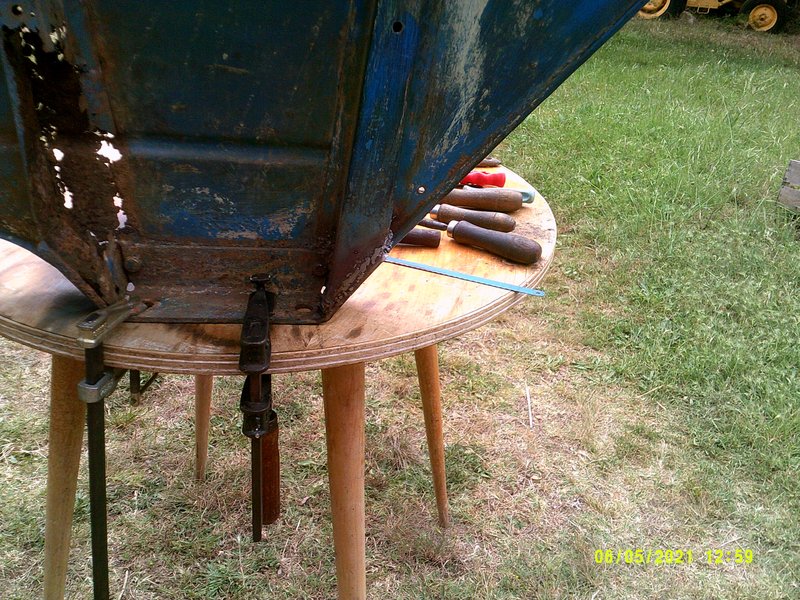
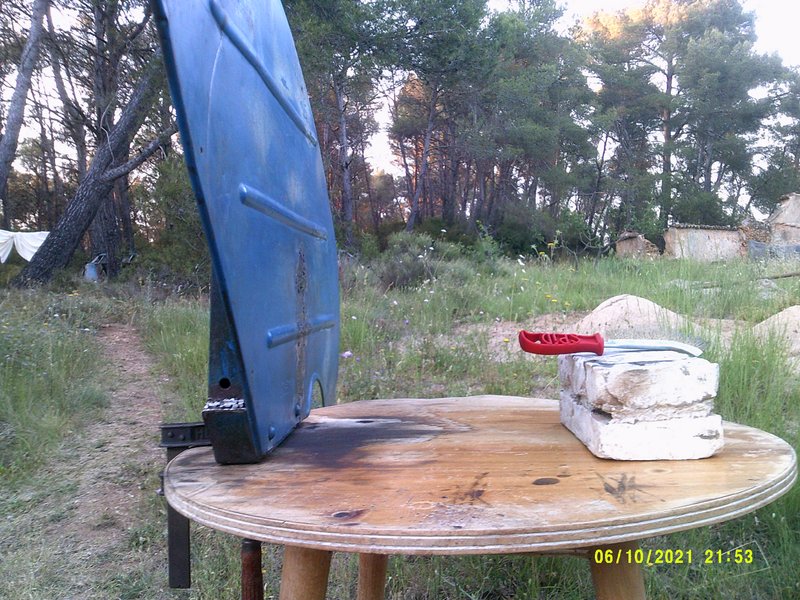
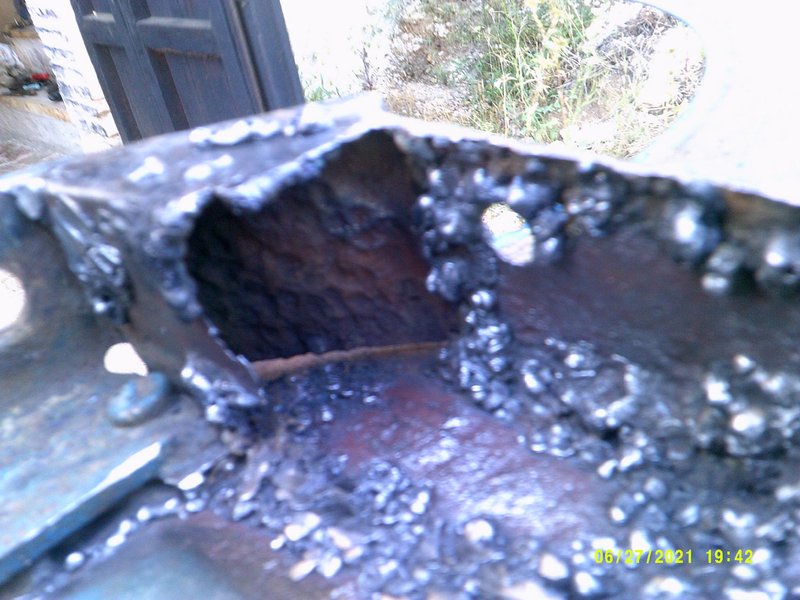
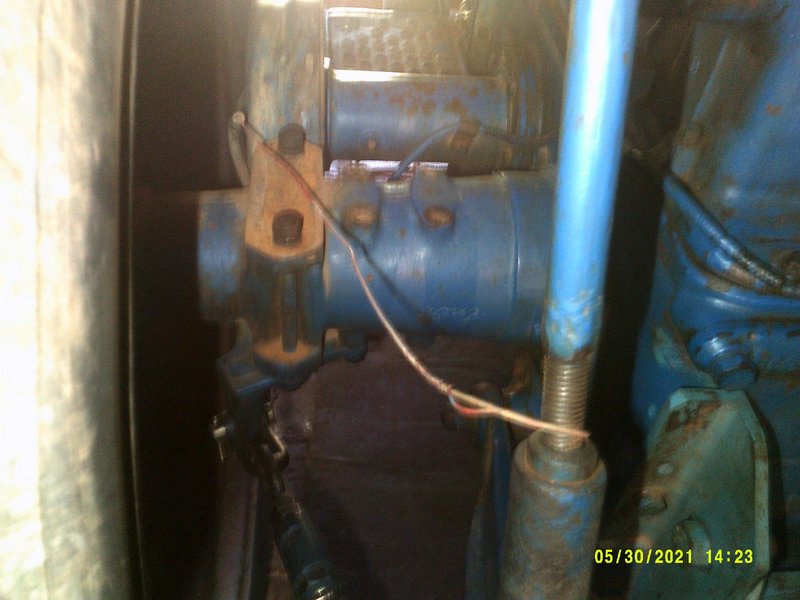
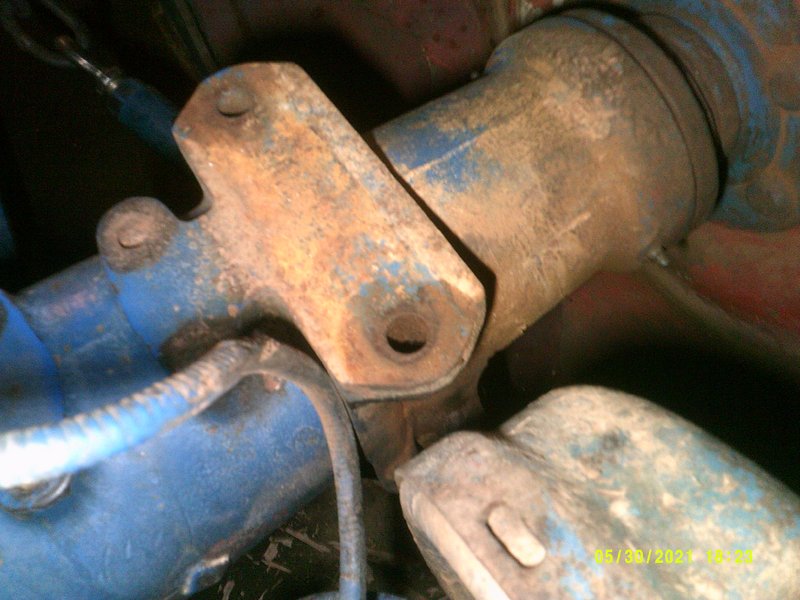
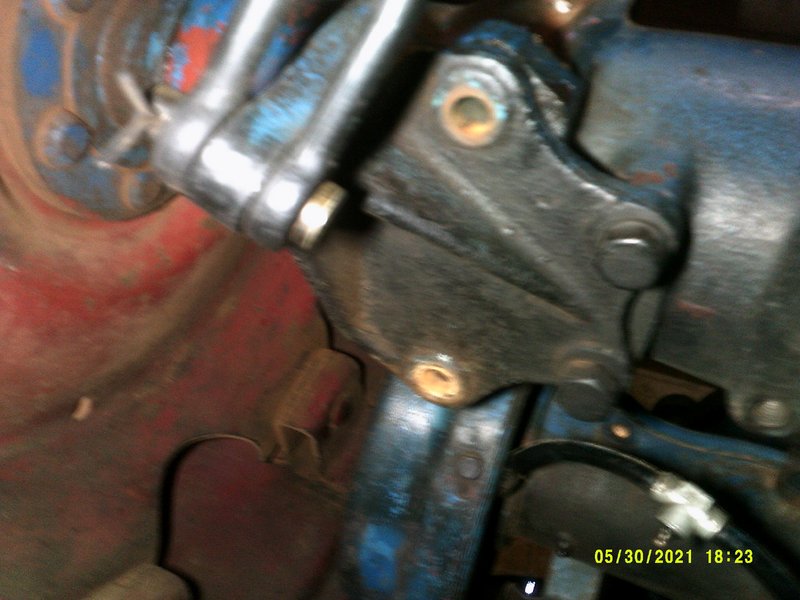
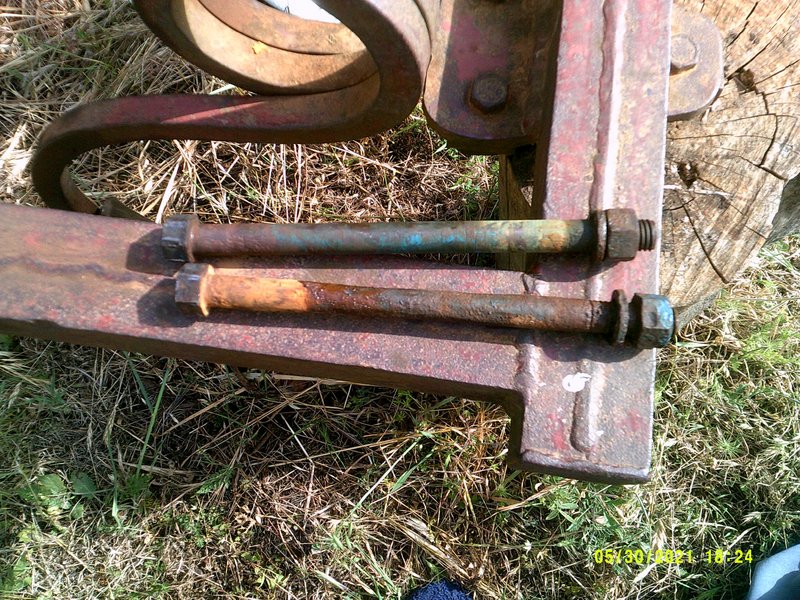
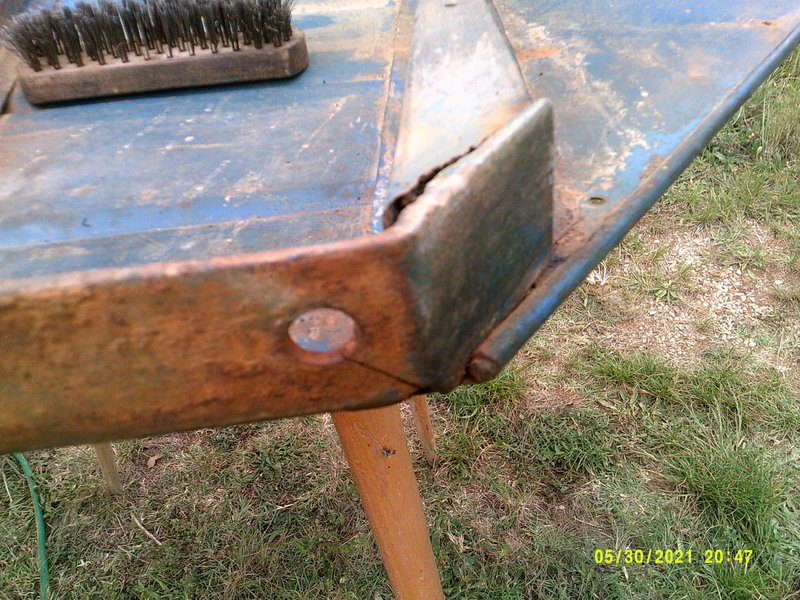
With the bolts now out cleaning can begin. The bolts will be refitted and tightened to ensure no damage to the check chain bracket if we need to do something in a hurry (hoping that's not the case though, as it's a bit exposed!)
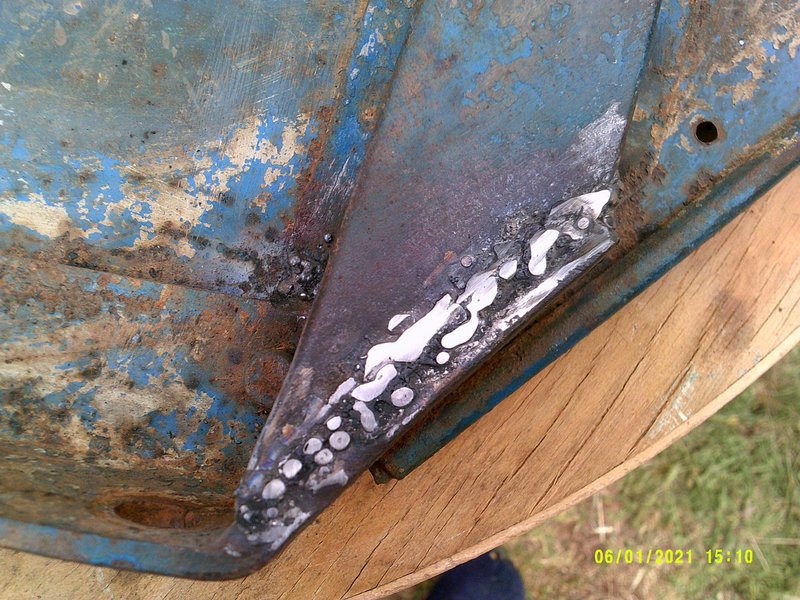
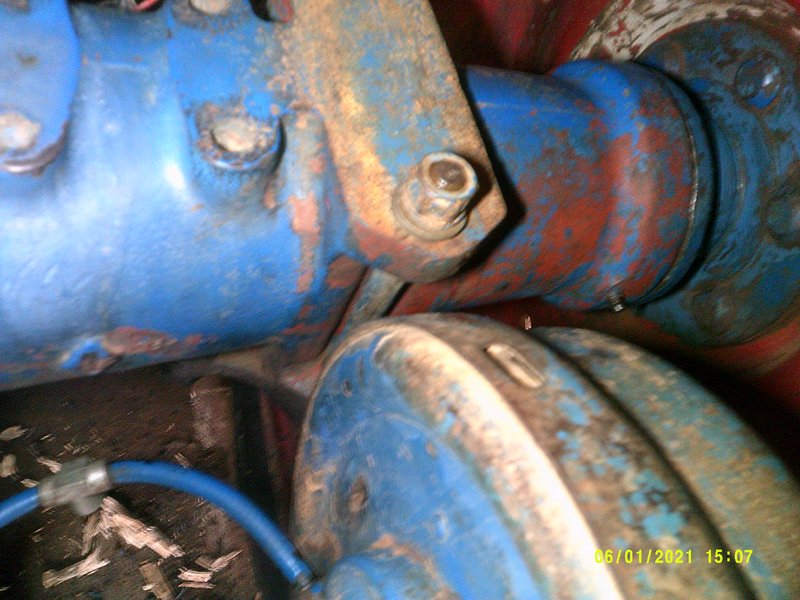
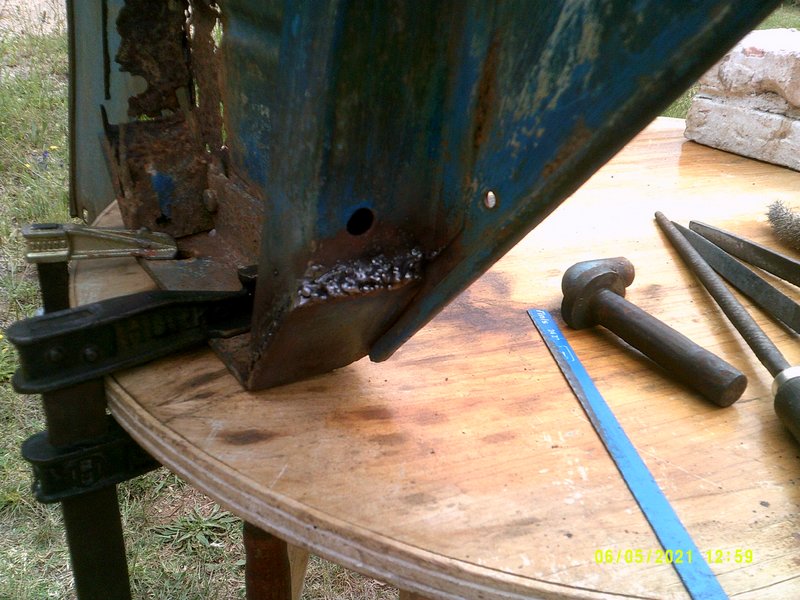
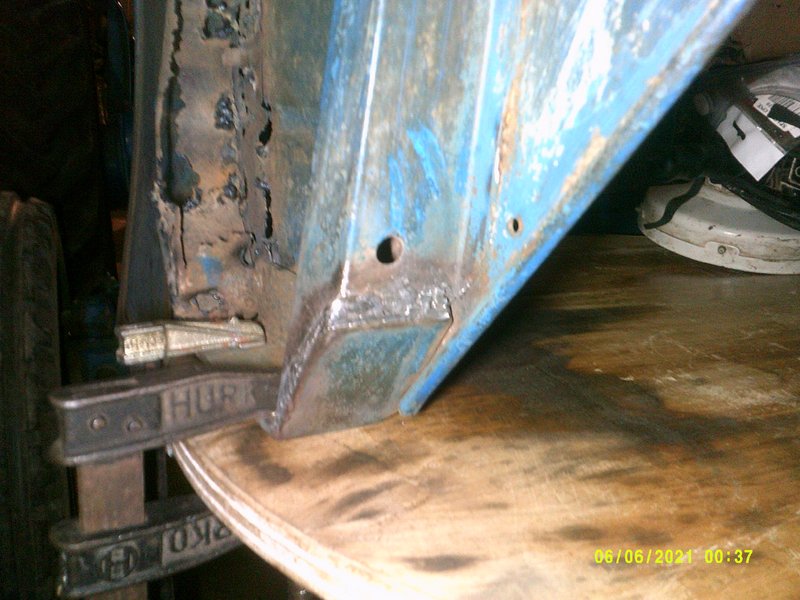
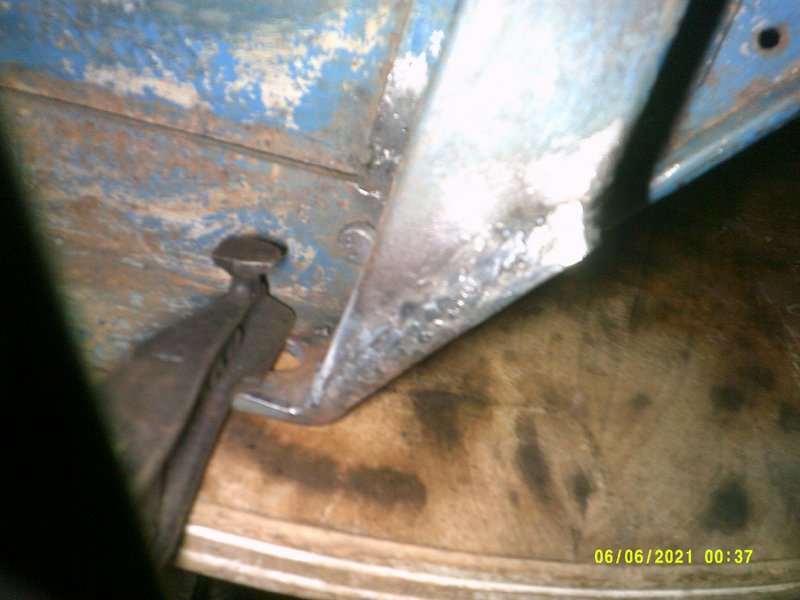
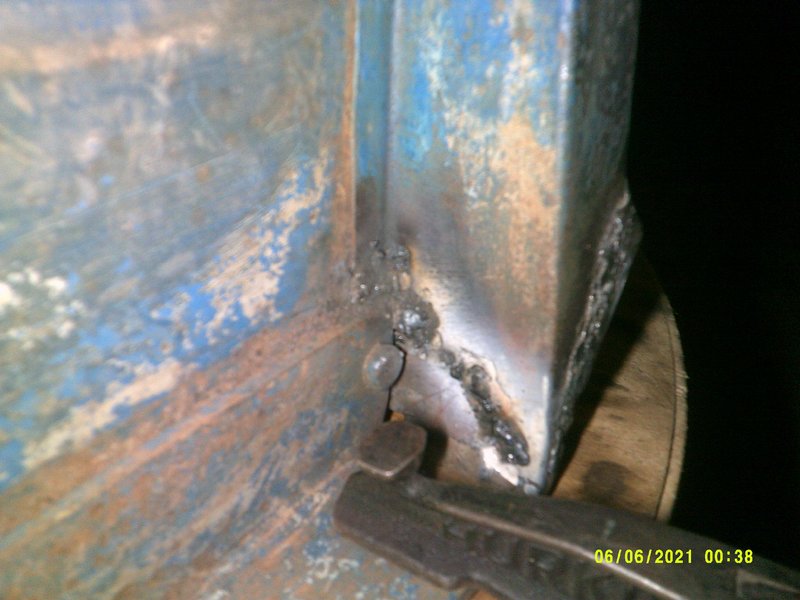
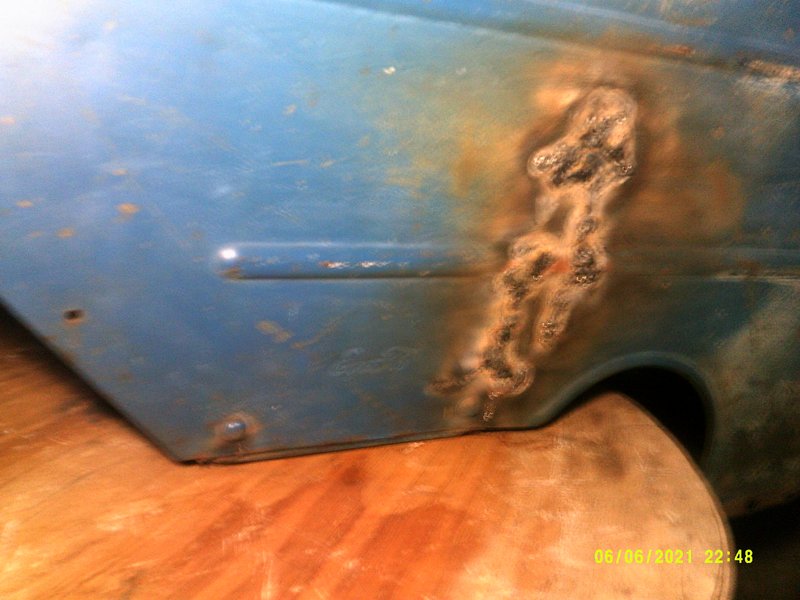
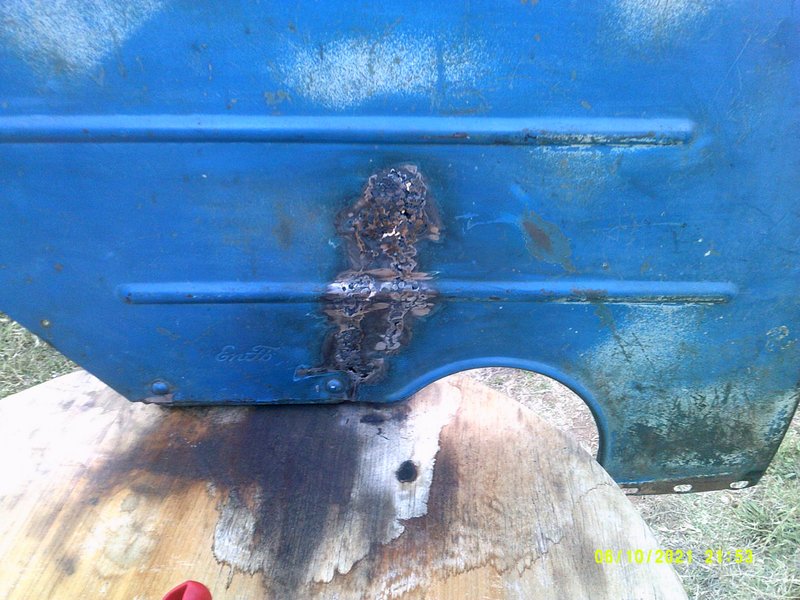
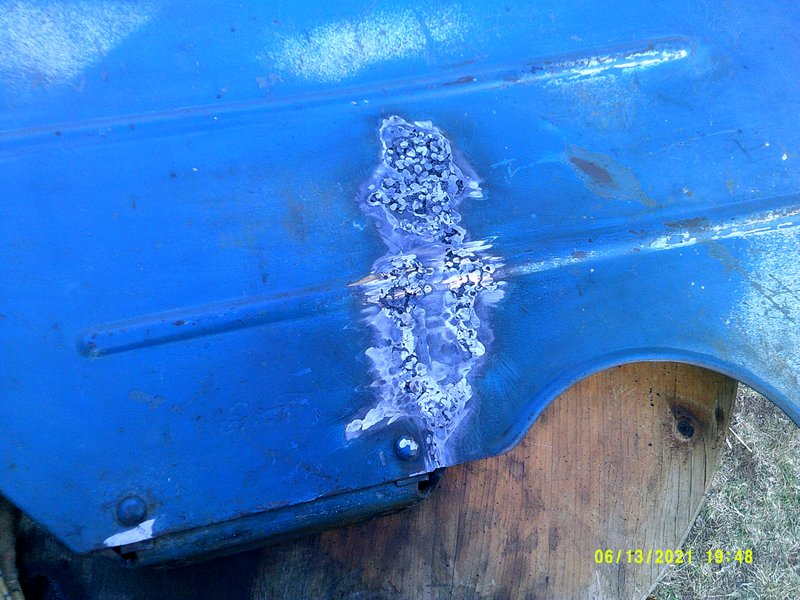
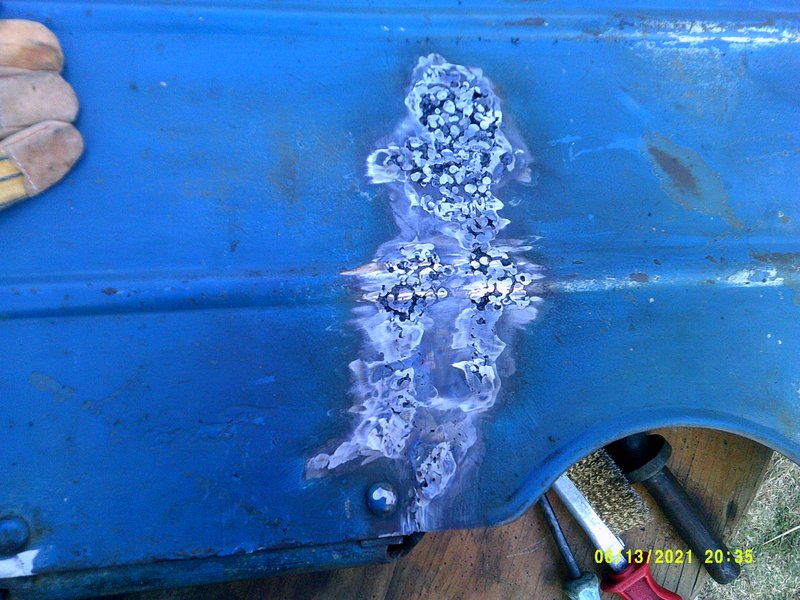
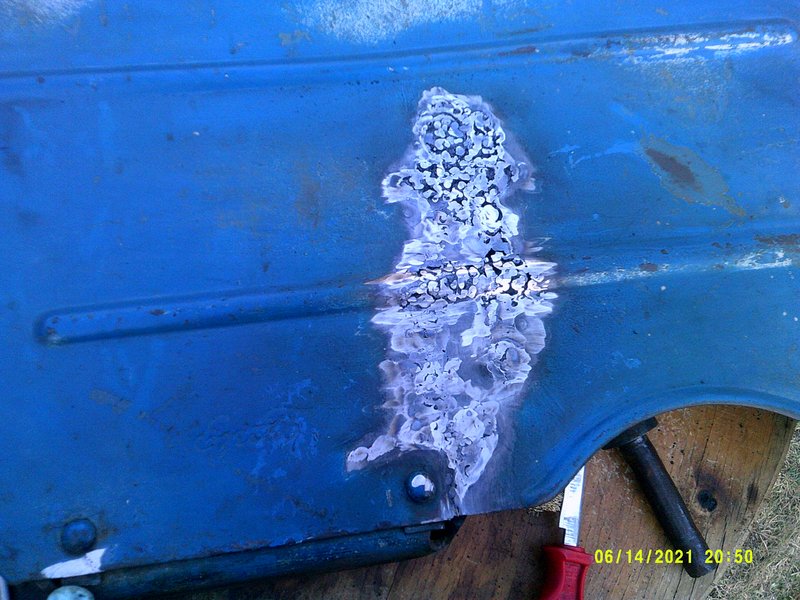
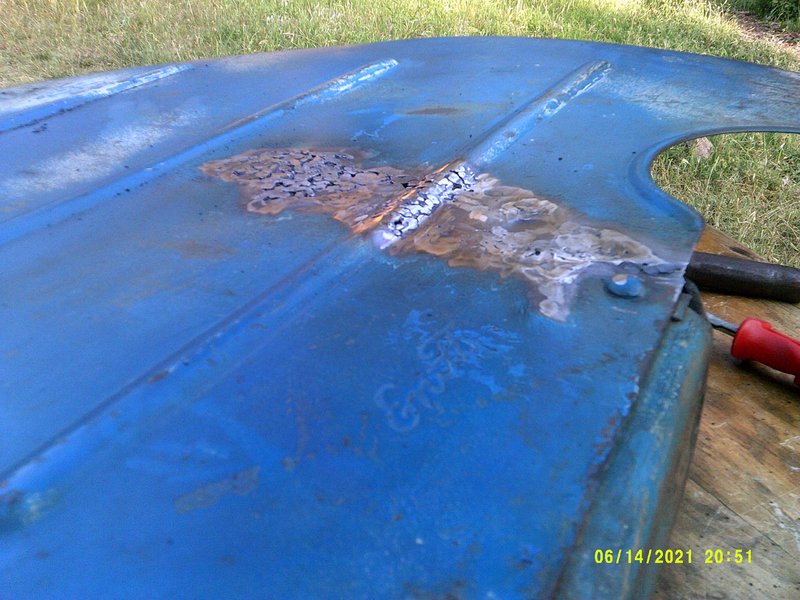
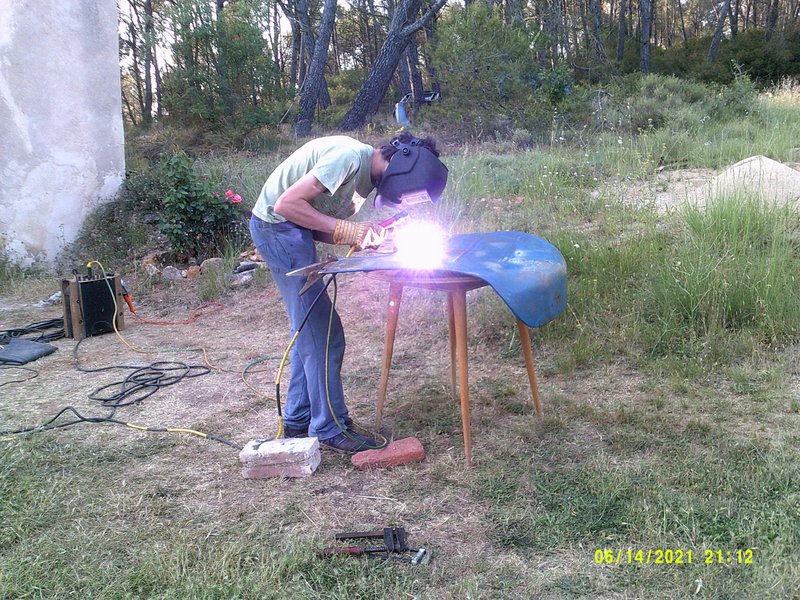
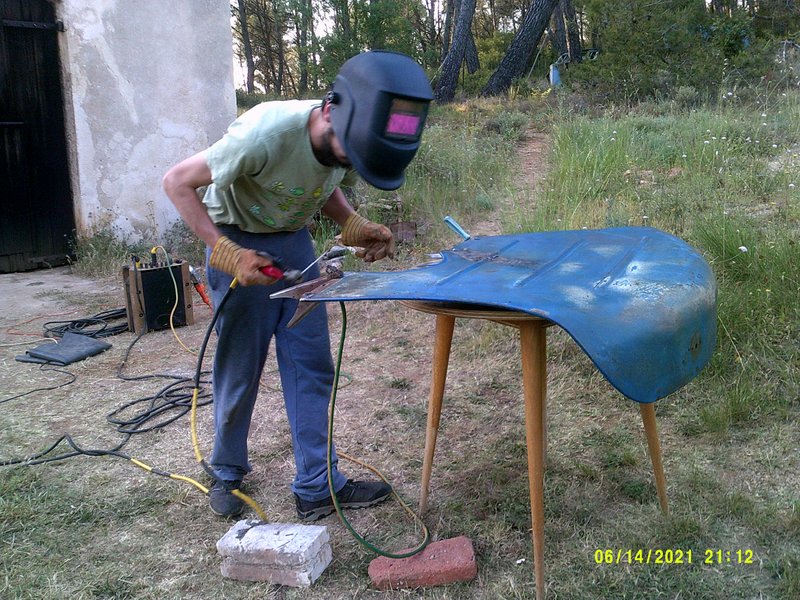
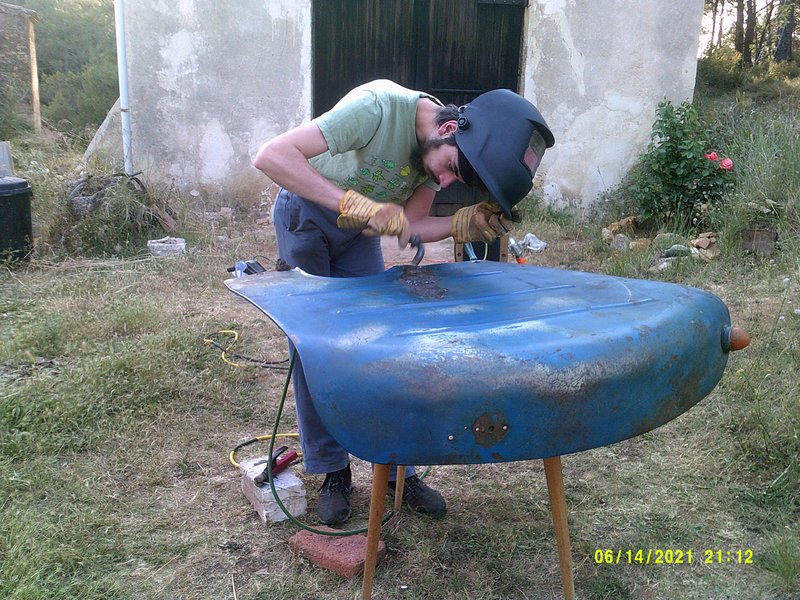
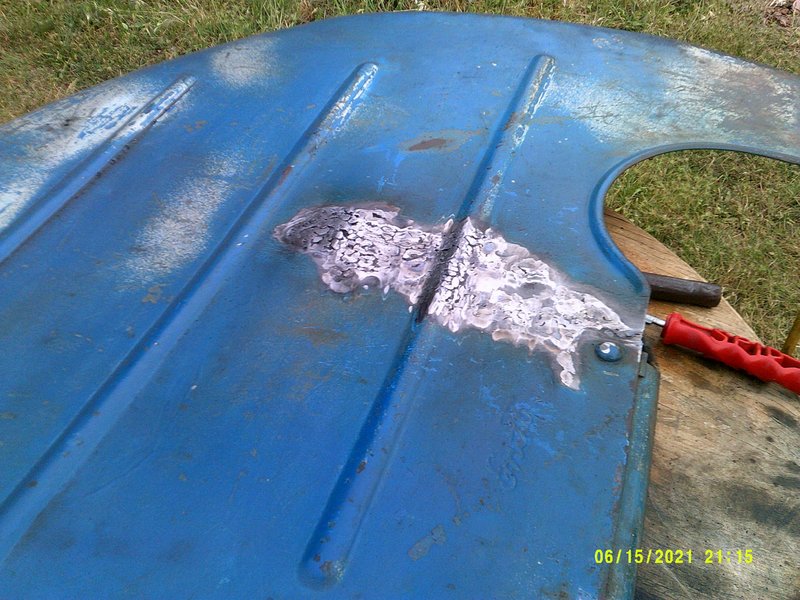
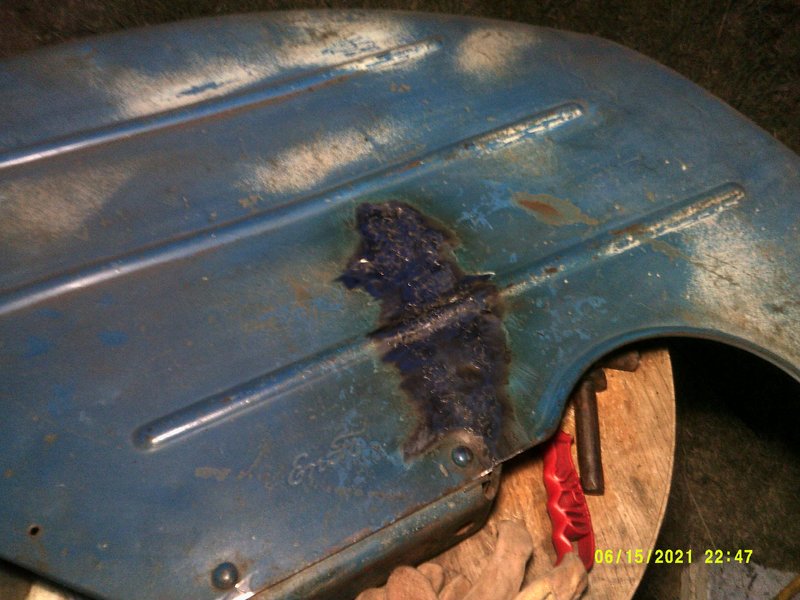
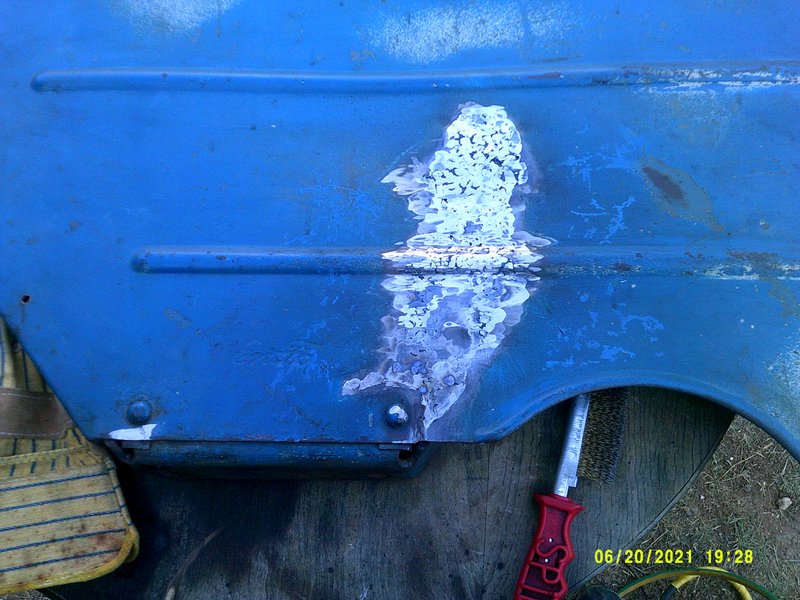
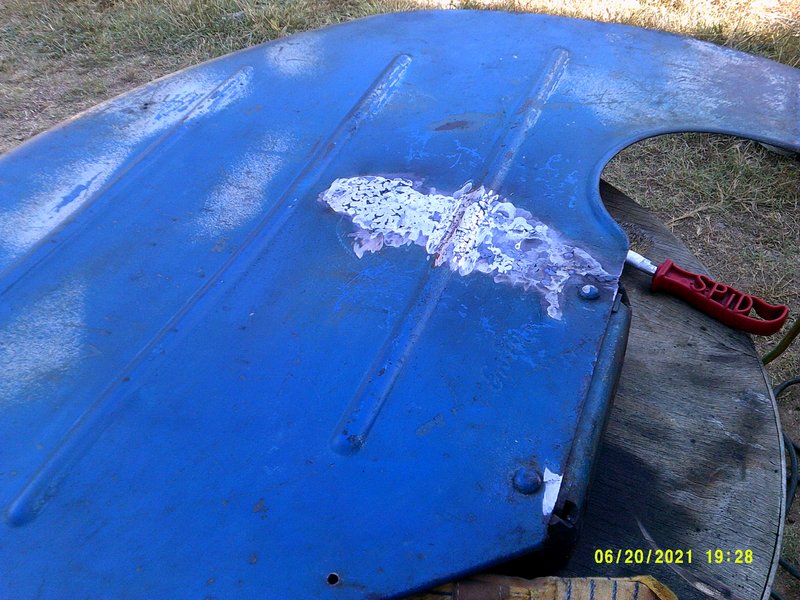
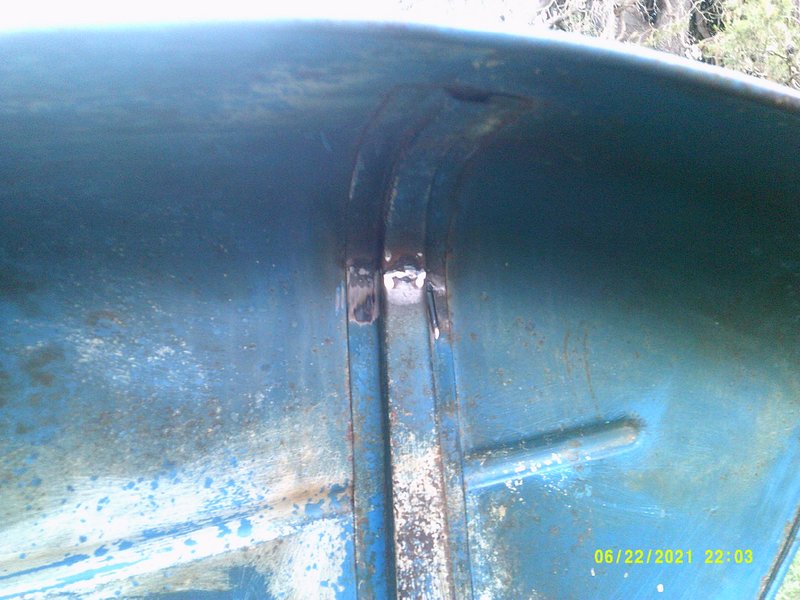
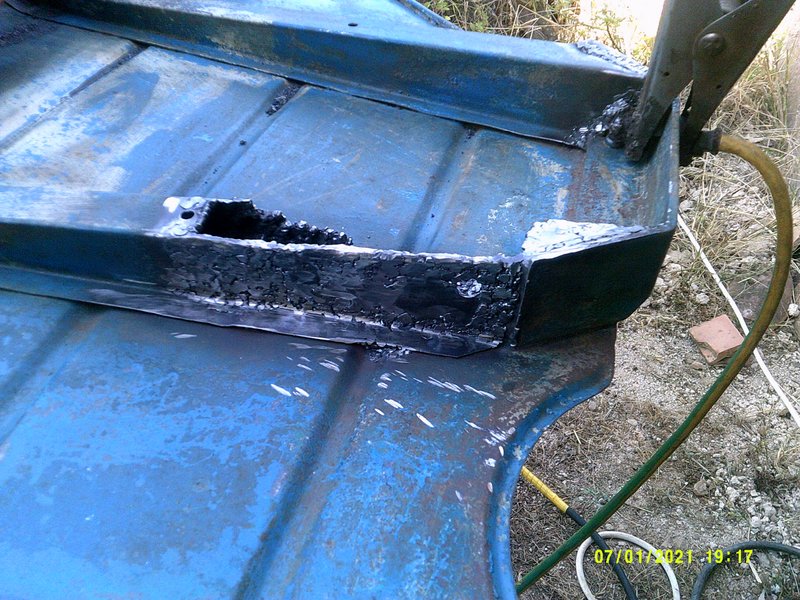
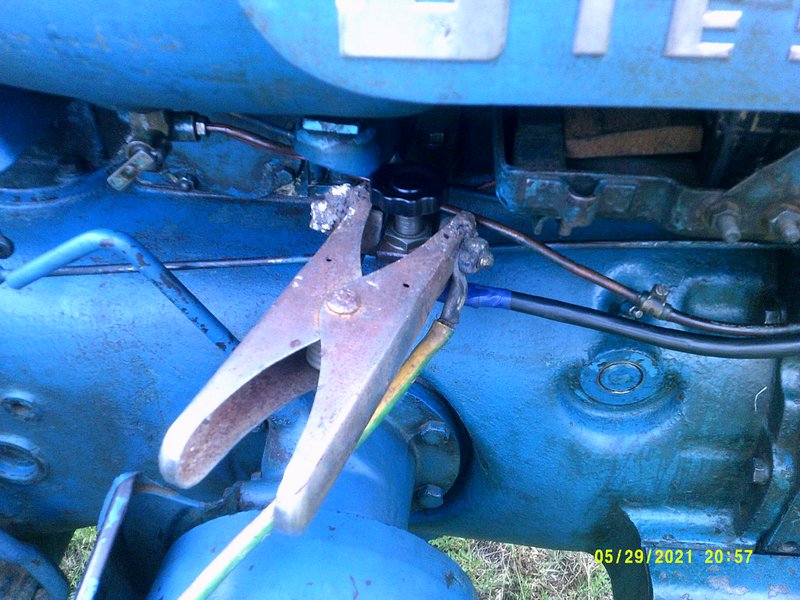
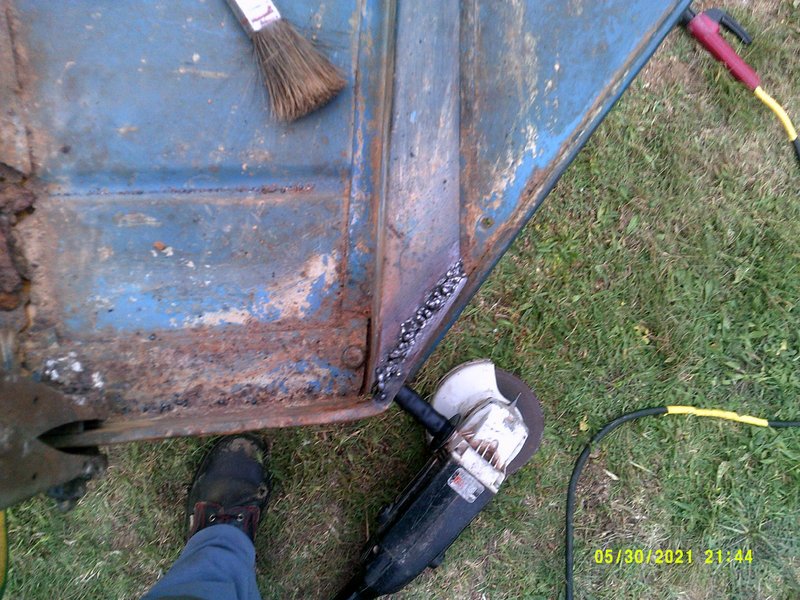
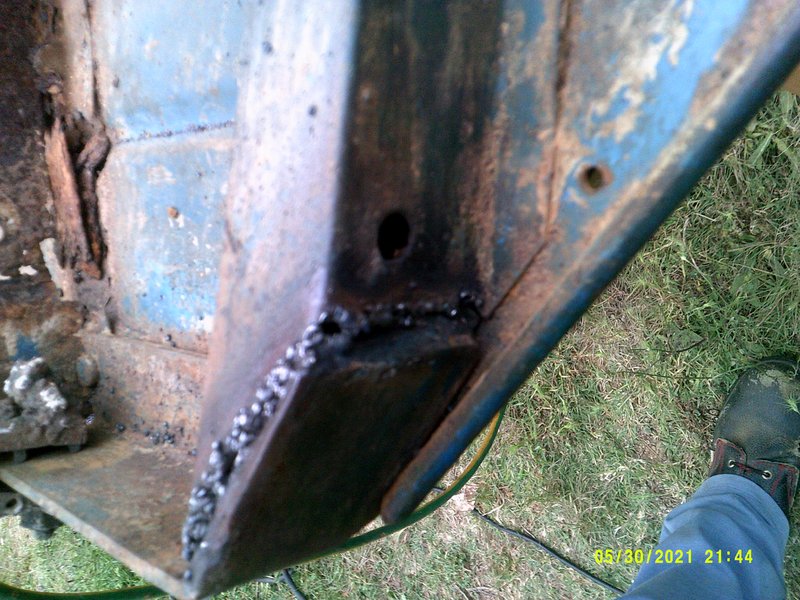
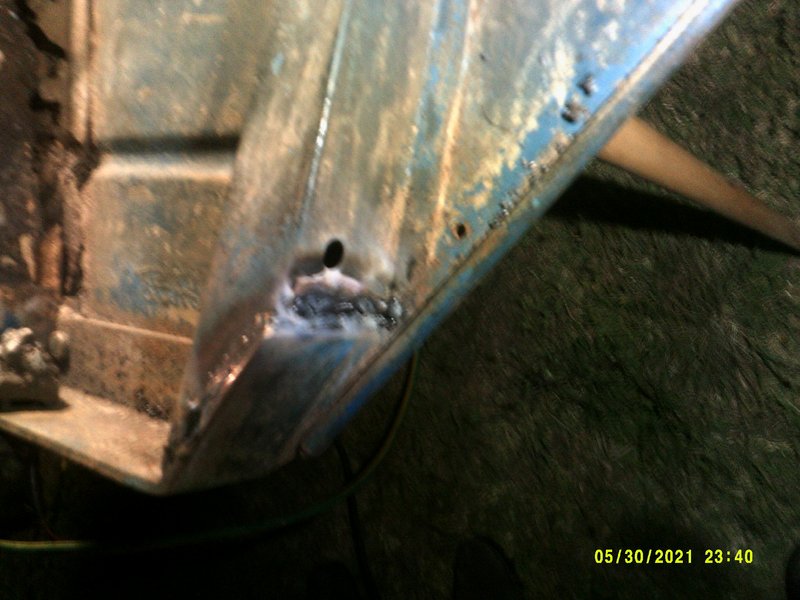
Now proper welding can begin, note this is only my second ever welding session!
That's that for now. More to come soon.
Sandy